- Home
- Articles
- Architectural Portfolio
- Architectral Presentation
- Inspirational Stories
- Architecture News
- Visualization
- BIM Industry
- Facade Design
- Parametric Design
- Career
- Landscape Architecture
- Construction
- Artificial Intelligence
- Sketching
- Design Softwares
- Diagrams
- Writing
- Architectural Tips
- Sustainability
- Courses
- Concept
- Technology
- History & Heritage
- Future of Architecture
- Guides & How-To
- Art & Culture
- Projects
- Interior Design
- Competitions
- Jobs
- Store
- Tools
- More
The Best Camera Settings for Architectural Photography: Tips for Stunning Building Shots
Discover the best camera settings for architectural photography and learn how to capture stunning images of buildings. From mastering aperture, ISO, and shutter speed to tips on composition, lighting, and perspective, this guide provides essential techniques to enhance detail, minimize distortion, and create visually compelling shots, making ordinary structures come alive in extraordinary ways.

Table of Contents Show
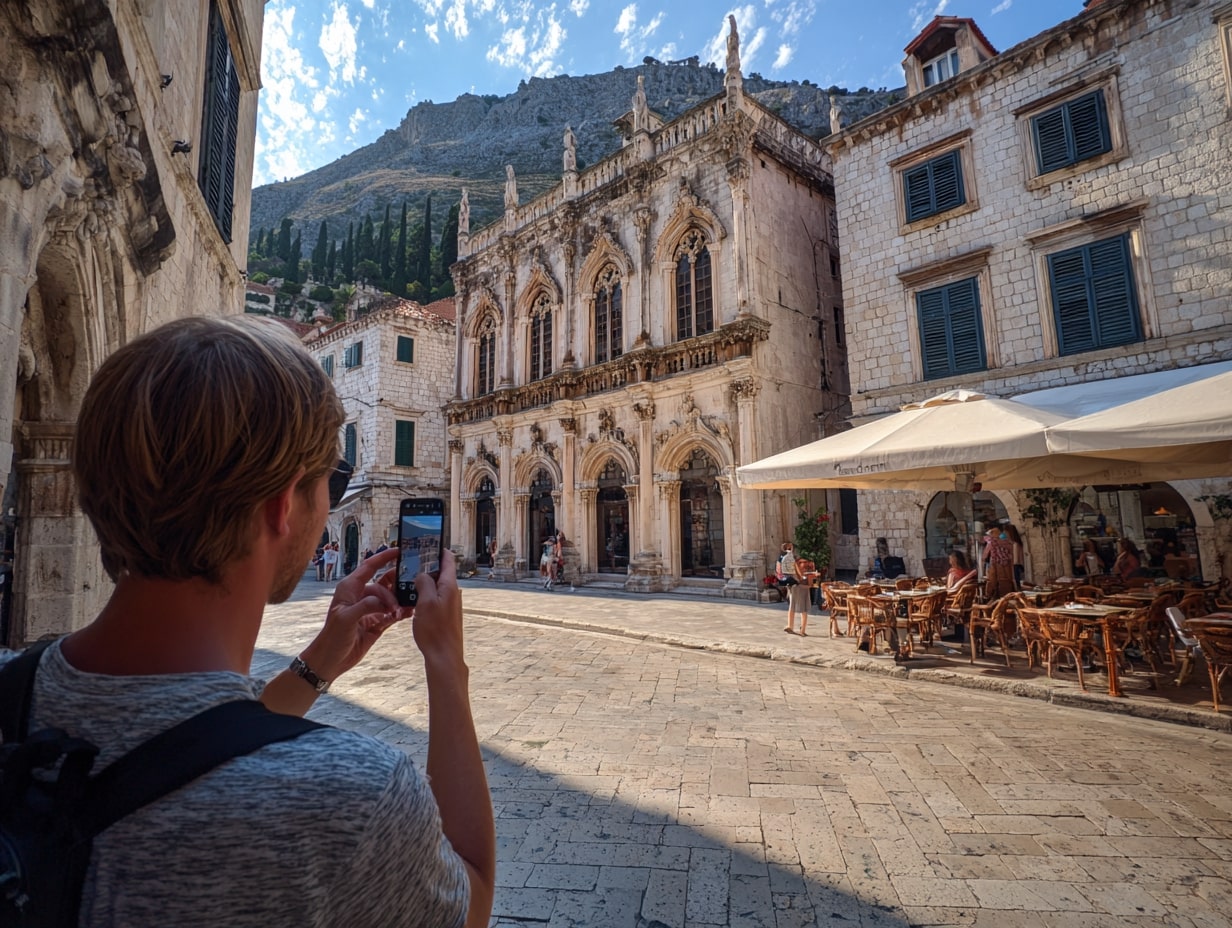
Capturing the beauty of architecture requires more than just pointing a camera at a building. It’s about highlighting intricate details, playing with light and shadows, and showcasing the structure’s personality. To do this effectively, we need the right camera settings that bring out the best in every shot.
Whether we’re photographing towering skyscrapers, historic landmarks, or cozy interiors, understanding how to adjust our camera is key. From aperture to ISO, each setting plays a critical role in shaping the final image. By mastering these, we can elevate our architectural photography and create stunning visuals that tell a story.
Let’s dive into the essential camera settings that’ll help us capture architecture in all its glory. With the right techniques, we can turn ordinary structures into extraordinary works of art.
Understanding The Basics Of Architectural Photography
Architectural photography relies on showcasing the building’s design, structure, and details in a visually engaging way. Composing the image thoughtfully enhances the visual impact of the subject. Aligning elements, avoiding distortion, and balancing foreground and background are crucial techniques.
Lighting significantly affects architectural photos. Using natural light during golden hours highlights textures and shadows, while overcast conditions reduce harsh contrasts. For interior shots, balancing artificial and natural light avoids color casts and improves clarity.
Perspective is a defining factor in architectural photography. Low angles emphasize height and grandeur, while symmetry draws attention to intricate designs. Maintaining straight vertical lines prevents distortion and keeps the geometry intact.

Key Elements To Consider For The Best Camera Settings
Architectural photography demands precision and attention to detail. Understanding the interplay between light, composition, perspective, and lens choice ensures high-quality images.
Lighting And Time Of Day
Lighting determines the mood and detail in architectural photography. Soft natural light during golden hours enhances textures and shadows on exteriors, while overcast skies create evenly lit conditions with minimal contrast. For interiors, combining natural light from windows with artificial sources achieves balanced exposure and minimizes color imbalance. Avoid harsh midday sunlight, as it can create unappealing shadows and overexposed areas.
Composition And Perspective
Effective composition highlights a structure’s design and symmetry. Aligning vertical lines with the frame avoids distortion, preserving the building’s proportions. Low angles emphasize height, while centered perspectives draw attention to intricate details and balance in symmetrical designs. Including leading lines, such as pathways or walls, helps guide the viewer’s eyes towards focal points. Framing architectural features with foreground objects ensures depth and visual interest.
Lens Selection And Focal Length
Using the right lens enhances clarity and captures intricate architectural details. Wide-angle lenses, like 16-35mm range, are ideal for expansive exteriors and compact interiors, though caution is needed to prevent distortion at the edges. Tilt-shift lenses correct vertical lines, maintaining geometry in tall structures. Medium focal lengths, like 50mm, work well for preserving accurate proportions in detail-focused shots. Opt for prime lenses with a fixed focal length to achieve sharper image quality.

Essential Camera Settings For Architectural Photography
Achieving exceptional architectural photographs requires precise camera settings. Adjustments to aperture, ISO, and shutter speed play a key role in capturing sharp, detailed, and well-lit images.
Aperture Settings For Sharpness And Depth
Using the appropriate aperture ensures both sharpness and control over depth of field. For exterior and interior shots, f/8 to f/16 is ideal to maintain sharpness across the frame while maximizing depth. Narrow apertures like f/16 provide clarity in distant elements, especially in wide-angle compositions. Avoid using extremes like f/22, as diffraction could reduce sharpness.
ISO Settings To Minimize Noise
Lower ISO settings maintain image quality by reducing digital noise. ISO 100 to 200 is optimal for architectural photography, offering clean and detailed results in well-lit conditions. When shooting interiors or low-light scenes, consider slightly increasing ISO, only if necessary, and combine it with a tripod to avoid compromising quality. Avoid ISO above 800 unless unavoidable, as grain can obscure architectural details.
Shutter Speed For Stability
Shutter speed ensures proper exposure and prevents motion blur. For static architectural scenes, slower speeds like 1/4 to 1/30 seconds work well, provided a tripod is used to stabilize the camera. Faster speeds, such as 1/100 to 1/250 seconds, are crucial if handheld shots include moving elements like people or vehicles. Stabilization aids, like image stabilization or remote shutters, enhance clarity with slower speeds.

Advanced Techniques For Capturing Architectural Details
Architectural photography benefits significantly from advanced techniques that enhance detail, color, and lighting. These methods help showcase intricate designs and achieve greater visual impact.
Using Bracketing And HDR
Bracketing captures multiple exposures of the same scene to balance highlights and shadows. In architectural photography, we use this technique when dealing with challenging lighting, such as bright exteriors paired with darker interiors. We can take three or more shots at different exposure levels and merge them through high dynamic range (HDR) processing to create a single image with balanced light and color. HDR works effectively for scenes with high contrast, helping retain architectural details in both the brightest and darkest areas.
Adjusting White Balance For Accurate Colors
Accurate white balance ensures color precision in architectural images. We adjust white balance depending on the lighting conditions: daylight settings for natural light, tungsten for warm artificial light, or custom settings for mixed lighting environments. Balancing white tones prevents color casts, preserving the building’s original material hues. For example, using manual Kelvin adjustments allows fine-tuned correction, especially in interiors where artificial lighting influences color accuracy.
Recommended Post-Processing Tips
Optimizing architectural images in post-processing enhances their visual appeal and preserves accurate details. Using professional software like Adobe Lightroom or Photoshop simplifies adjustments and corrections.
- Straighten Geometry: Correcting perspective distortion maintains straight vertical and horizontal lines. Tools like the Perspective Warp in Photoshop or Transform Tools in Lightroom help restore accurate geometry.
- Enhance Details: Adjusting clarity, sharpness, and texture strengthens the building’s intricate elements. Careful application ensures details stand out without overprocessing.
- Manage Exposure: Balancing highlights and shadows using tools like the Histogram avoids overexposed skies and underexposed areas. HDR techniques merge multiple exposures for high contrast scenes.
- Refine Colors: Tweaking white balance ensures accurate color representation based on lighting conditions. HSL (Hue, Saturation, Luminance) adjustments refine specific tones, emphasizing architectural accents.
- Noise Reduction: Reducing noise without losing details improves clarity, especially for low-light or high-ISO images. Dedicated settings in Lightroom achieve clean results.
- Fine-Tune Lighting: Dodging and burning highlight important sections and suppress distractions. Subtle use directs focus without altering the intended look.
- Crop Precisely: Adjusting framing aligns key elements and removes unnecessary distractions. Maintaining original aspect ratios is critical for consistency.
Integrating these post-processing techniques enhances composition, clarity, and overall image quality, reflecting professionalism in architectural photography.

Conclusion
Mastering architectural photography requires a deep understanding of camera settings, composition, and lighting. By applying the principles outlined in this guide, we can capture sharp, detailed, and visually compelling images that highlight the unique character of structures. Selecting appropriate aperture, ISO, and shutter speed settings ensures clarity and depth, while advanced techniques like bracketing and HDR enhance image quality in challenging lighting scenarios.
Post-processing plays a vital role in refining images. Tools like Adobe Lightroom or Photoshop allow us to correct perspective distortions, enhance details, balance highlights and shadows, and fine-tune colors. By combining meticulous camera techniques with thoughtful editing, we can elevate our architectural photography to professional standards.
- architectural detail photography
- architectural photography techniques
- architectural photography tips
- architecture photo tips
- architecture photography guide
- architecture photography ideas
- best aperture architectural photography
- best architectural photography camera settings
- best camera settings architectural photography
- best camera settings for buildings
- best camera setup for building shots
- best DSLR settings architecture
- best exposure settings architecture photos
- best focus settings architectural photography
- best ISO for architectural photography
- best lenses for architecture
- best mirrorless settings architectural photography
- best settings for architecture photography
- best shutter speed architecture shots
- best white balance architecture photos
- building photography settings
- camera settings for architecture
- camera techniques for buildings
- composition in architecture photography
- HDR for architectural photography
- how to photograph buildings
- low light architectural photography
- manual settings for building photography
- photographing architecture
- professional architectural photography
- stunning building photography
Architect specializing in digital products and content creation. Currently managing learnarchitecture.online and illustrarch.com, offering valuable resources and blogs for the architectural community.
Submit your architectural projects
Follow these steps for submission your project. Submission FormLatest Posts
Famous Architectural Photographers You Should Know
Famous architectural photographers you should know—Stoller to Baan. Learn their styles, what...
How to Restore Old Photos of Historical Buildings with AI Tools
Table of Contents Show IntroductionPart 1: Why Restoring Old Photos of Historical...
From Las Vegas to Rome: A Visual Journey by Iwan Baan at Princeton University
The Princeton University School of Architecture presents “From Las Vegas to Rome”...
Unlocking the Art of Architectural Photography: Techniques, Tips, and Equipment Guide
Explore the captivating world of architectural photography in our latest article. Discover...


Leave a comment