- home
- Articles
- Architectural Portfolio
- presentation
- Architecture News
- visualization
- Freelance Architecture
- Schooling
- Parametric Design
- Landscape Architecture
- Construction
- Interior Design
- Schooling
- Artificial Intelligence
- sketching
- Design Softwares
- diagrams
- writing
- Architectural Tips
- Roofing
- sustainability
- courses
- concept
- technology
- projects
- visualization
- Competitions
- Store
- Contact
- My account

Architectural rendering refers to the process of creating images of proposed architectural designs. Unlike rendering for products or characters, architectural rendering usually involves a building that does not yet exist. The process attempts to create an image that accurately represents the building, space, or project, providing visual context through things like color, scale, light, and textures. Since this is quite a complex task, many people prefer to order render services. But if you still want to give yourself and your abilities a chance, this article is just for you. Here is the guide to creating the best architectural rendering.
1. Sketch first!

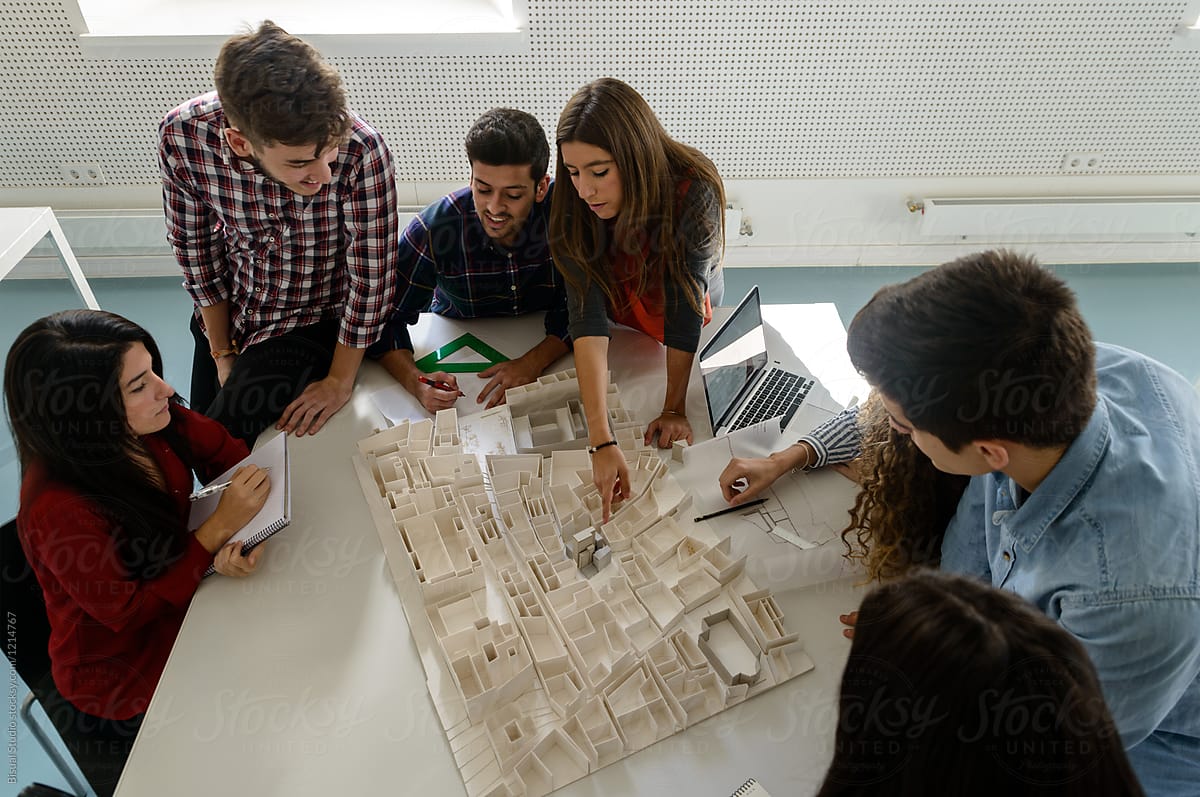
Though you had a wonderful idea for your render in mind and work really hard to bring it into your work, sometimes you may realize that the overall image does not align with the idea you had in mind. Sketching your scenes will help you. Yes! Sketching your imagination at first makes you quickly bring out a composition, that keeps you on the right path as you work. Whenever you misalign from your concept, the sketch may get you back on your path. So, always sketch your imagination before you start your render.
2. Break the chains of your medium

Where do you take inspiration? May be from the best renders ever. Yes, most of us search for inspiration and references in the same medium that we are working on. However, it does not work all the time. You should break the chains of your medium and seek inspiration in other media. The best medium of inspiration for an architectural render today would be Cinema. Photorealism is not realism, and realistic renders are not always the greatest. Taking references from cinema will unleash your imagination and get your work even greater.
3. Prepare the scene

After sketching the composition of the scenes, the next step is to prepare them. The 3-ground rule (Fore, mid, back) is the golden rule of rendering and visualization. As well as placing the “main actor” on the stage, you should have supporting actors to tell the story you are planning. If you render a house, the house is your main actor, but focusing only on the main actor is not enough. You should also give attention to the supporting actors such as trees, roads, and cars without which the render is incomplete.
4. Give attention to models
A good render always starts with a good model. The model you make is a crucial part of the render. If your model is of poor quality, then your result will be the same with your render. Start with organizations of layers, components, and blocks and make your process organized and neat. Get into the smaller details and refine your model to perfection before you render.
5. Work on Lights and shadows

Good lighting makes all the difference between an average and a well-done render. Whether it is natural or artificial lighting, you should understand how the balance between lights and shadows works. This is something fundamental to render and at the same time very crucial. The observation and consideration of each element of a photograph will help you reproduce natural or artificial lights in a virtual environment on par with the photographs.
6. Work on the textures- Quality is everything

When almost all is done for the render, the biggest downfall would be the quality of textures. The quality of textures you choose defines the quality of the render. You should strive for high-quality textures for every object. And the textures should be seamless. Many websites share seamless high-quality textures. The only thing is to choose the right one for the render. Also, be careful in choosing the blocks with appropriate textures.
7. Post-processing
Post-processing is the final stage where you give a complete image to the render. And it is not that great to render without post-production. The final render regularly goes through several passes of post-processing to enhance and complete the visual. Even, post-production is much more efficient in most aspects. For example, you can add images of background and humans in the post-processing stage, instead of populating the model and making it heavy. Post-processing also involves additional color correction, photo editing, and overlays on the rendered images to reach the final desired result.
8. Choose the right software and master it
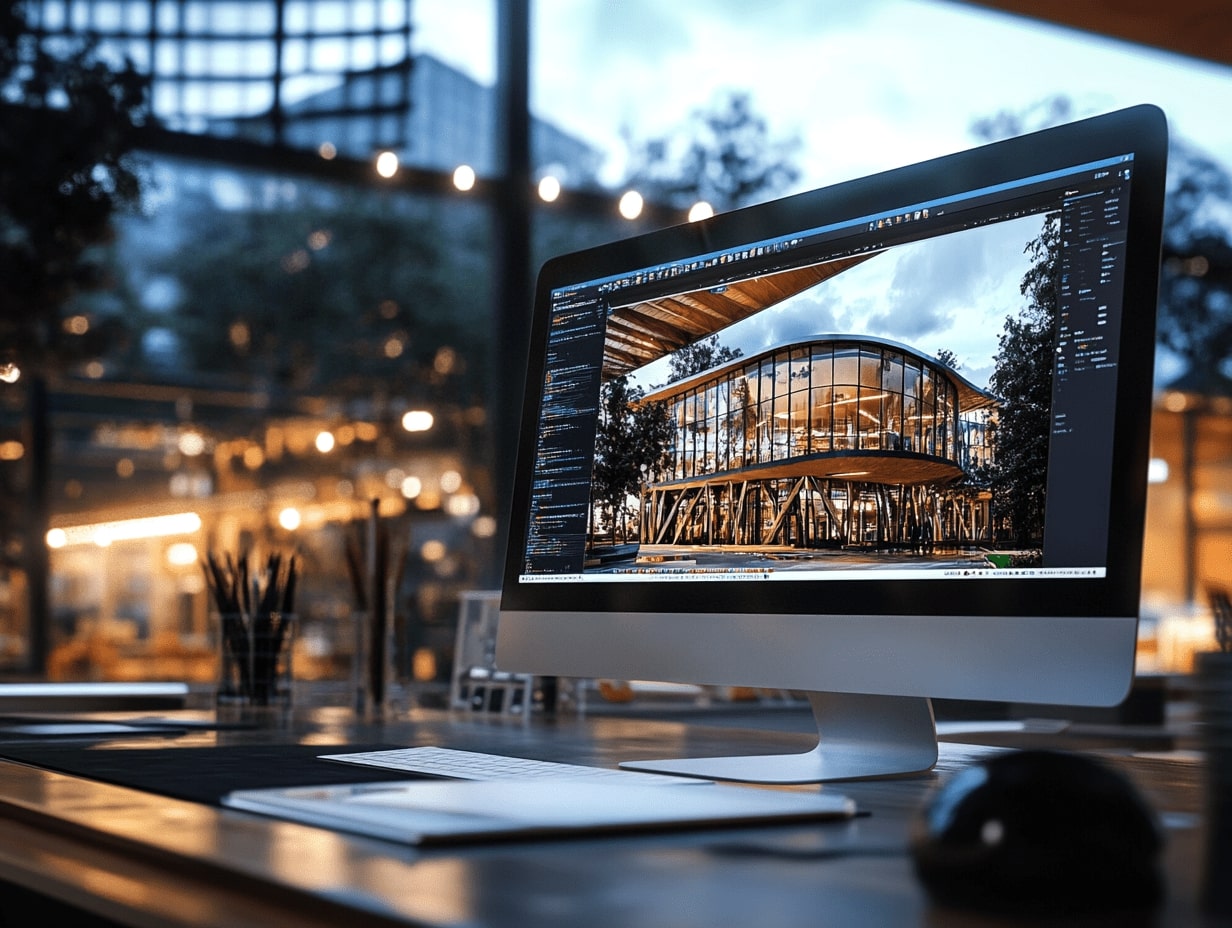
Lastly, the most important thing is to choose the right software that is accessible and easier for you to use and excel your skills in it. It may be Lumion, Blender, Enscape, etc., or any software you choose, master the software.
1 Comment
Submit your architectural projects
Follow these steps for submission your project. Submission FormLatest Posts
From Garage to Driveway: How to Select the Ideal Car for Your Property
Choosing the perfect car for your property is more than just picking...
The Must-Take Steps to Maximize Space and Accessibility in Modern Workplaces
Modern workplaces are evolving rapidly, spurred by the need for flexibility and...
The Importance of Mixing and Matching Patio Textiles
Your patio is an extension of your home, a place where design...
Effective Marketing for Architects: Strategies to Build Your Brand and Attract Ideal Clients
Discover how architects can go beyond showcasing designs to build trust, credibility,...


Thank you.