- Home
- Articles
- Architectural Portfolio
- Architectral Presentation
- Inspirational Stories
- Architecture News
- Visualization
- BIM Industry
- Facade Design
- Parametric Design
- Career
- Landscape Architecture
- Construction
- Artificial Intelligence
- Sketching
- Design Softwares
- Diagrams
- Writing
- Architectural Tips
- Sustainability
- Courses
- Concept
- Technology
- History & Heritage
- Future of Architecture
- Guides & How-To
- Art & Culture
- Projects
- Interior Design
- Competitions
- Jobs
- Store
- Tools
- More
Fix Your Roof in 6 Easy Steps by Following This Guide

Table of Contents Show
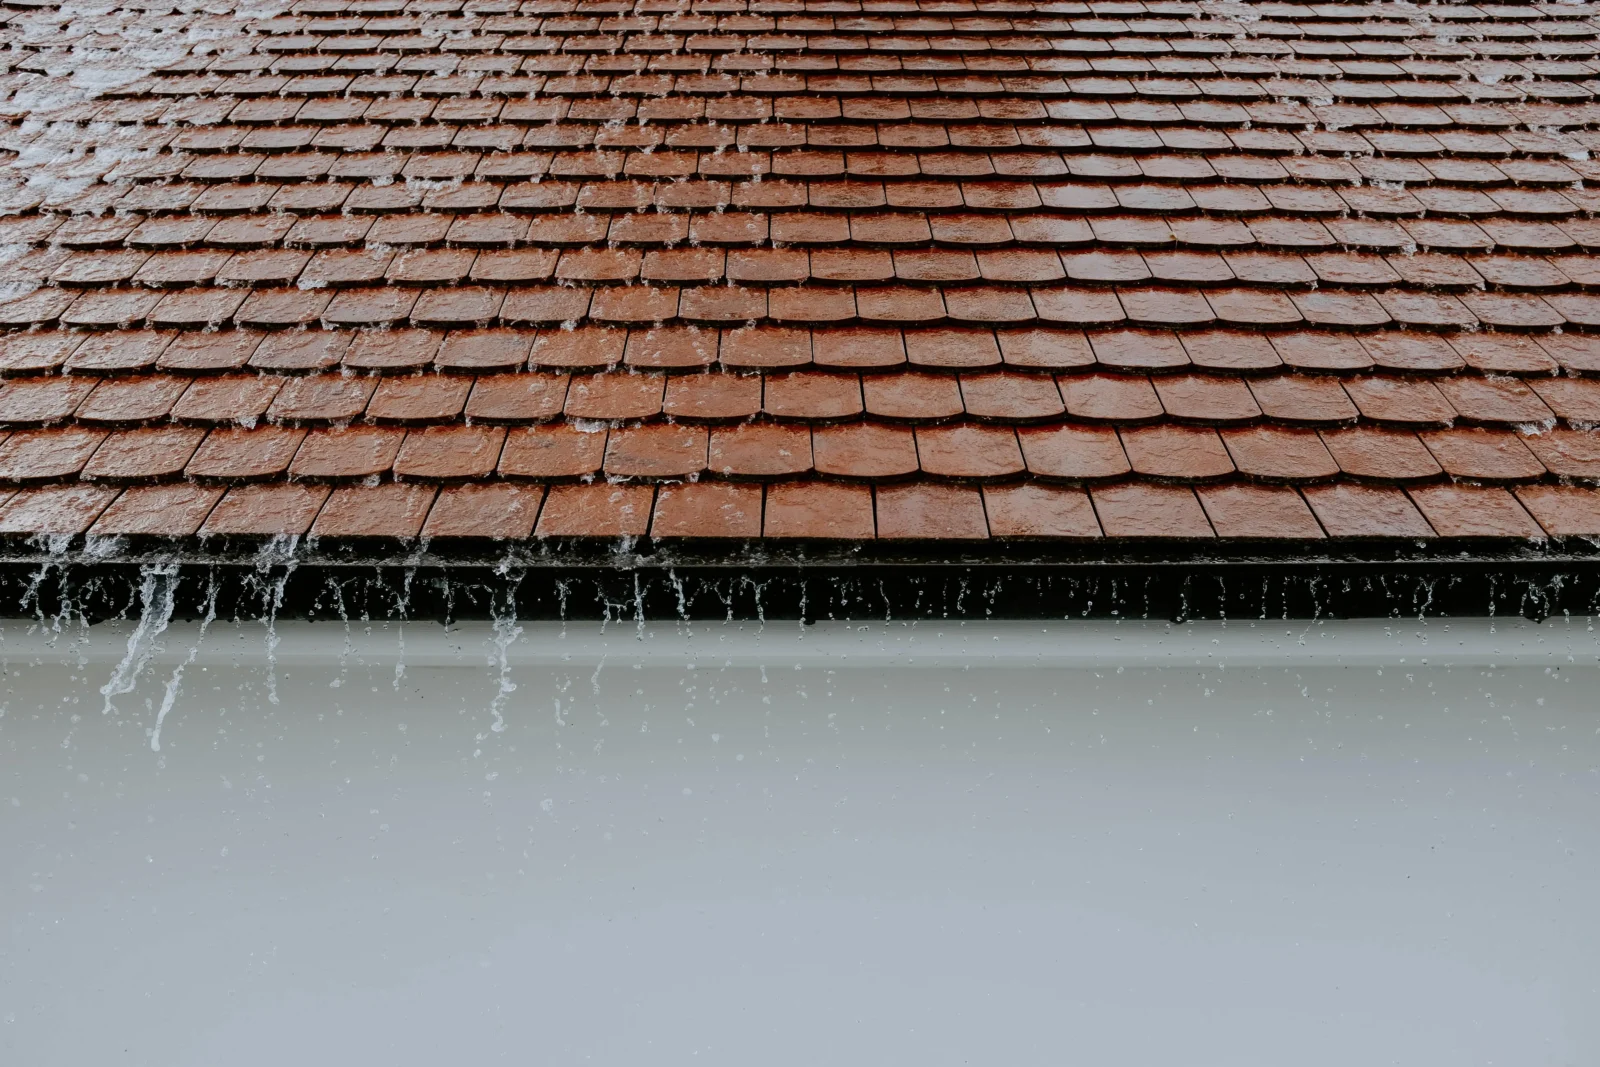
Maintaining your roof isn’t just about keeping up appearances; it’s about protecting your home from the elements. A well-maintained roof can save you from costly repairs in the long run, extend the lifespan of your home, and enhance energy efficiency. Over time, roofs can sustain damage from weather, wear and tear, or poor installation. Addressing these issues quickly is crucial. If you’re wondering how to get started on your roof repair, you’re in the right place. This guide will take you through six straightforward steps to ensure your roof remains in top shape.
Step 1: Inspect Your Roof
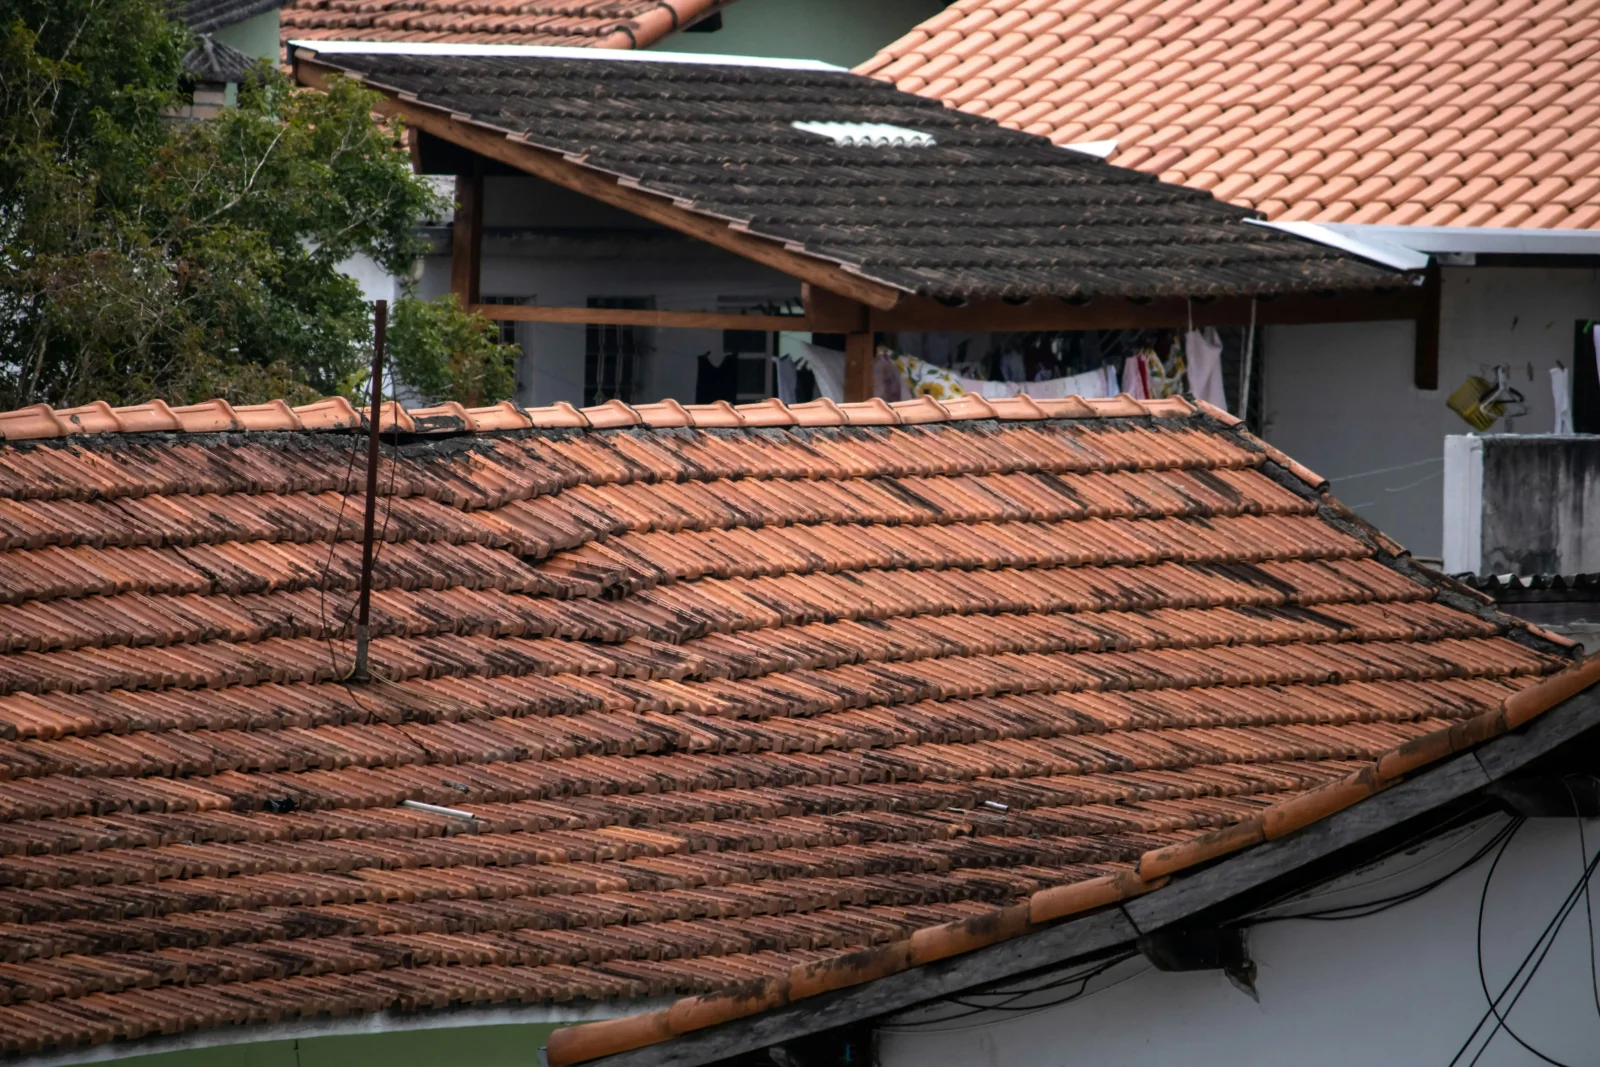
The first step in roof repair is a thorough inspection. This process starts with checking for visible damage like missing shingles, cracks, or discoloration. It’s vital to perform this inspection at least twice a year, ideally in the spring and fall. Most roofing problems start with minor leaks that grow into significant issues if neglected. A safety harness and ladder are crucial for reaching higher areas safely, allowing you to inspect your roof closely.
While inspecting, also look for sagging areas or any dips in the roof surface. These may indicate structural issues that will require immediate attention. Take note of the gutters; clogged gutters can lead to roof leaks. To understand the scope of the damage, a detailed inspection will help prioritize repairs, especially if you plan to consult with a professional contractor for specific advice.
Step 2: Gather Necessary Tools and Materials
Once you have a clear understanding of the damages, the next step is gathering the tools and materials required for the repair. Essentials generally include roofing shingles, nails, a hammer, a ladder, roofing sealant, and safety gear. Investing in high-quality materials might cost more upfront, but can save you money in repairs down the line. Poor-quality materials can lead to more frequent repairs, costing significantly more over time.

Consider visiting your local hardware store or researching online to find the supplies you need. When purchasing materials, ensure they are compatible with your current roofing system to avoid issues down the line. If you need clarity on what products to buy, numerous resources are available that offer guidance on materials suited for different roofing types.
Step 3: Fix Any Leaks
Leaks are among the most common issues faced by homeowners. Once leaks are identified during the inspection, the repair process can begin. For small leaks, applying a sealant can provide an immediate solution. For larger leaks or damage, replacing affected shingles may be necessary. Begin by lifting the edges of the damaged shingles, removing them carefully, and installing new ones in their place. Make sure to seal them tightly with roofing adhesive to prevent future leaks.
If your roofing system involves complex components like vents or chimneys, take extra care when repairing around these areas, as they often are the source of leaks. You can find more information here regarding professional help, and check out reputable roofing service providers who can guide you. Ensuring these intricate areas are properly sealed and maintained can save you from costly water damage and structural issues down the line.
Step 4: Replace Damaged Shingles
Much like handling leaks, replacing damaged shingles requires meticulous attention. Weather fluctuations can cause shingles to crack and lift, allowing water to seep underneath. Replacing these is vital for maintaining your roof’s integrity. When selecting new shingles for replacement, ensure they match the existing ones in color and style. It’s not just about aesthetics; mismatched shingles can cause issues with insulation and energy efficiency.
To replace a shingle, gently pry off the damaged piece and remove any fasteners that held it in place. Fasten the new shingle securely, ensuring that it interacts well with neighboring shingles. This process requires patience and precision to ensure all overlaps and seals are tight to avoid leaving gaps that can lead to leaks.
Step 5: Clean Your Roof
Regular cleaning plays a vital role in prolonging your roof’s lifespan. Leaves, debris, and dirt accumulate over time, which can trap moisture and diminish the roof’s capacity to withstand weather-related stressors. A clean surface also ensures that your sealants and other products adhere properly during repairs. Utilize a soft-bristle brush or a pressure washer, adjusting the pressure appropriately to avoid damaging shingles, to cleanse the roof thoroughly.

A clean roof prevents problems like mold and algae growth, which can compromise the integrity of the roof. Clearing gutters should coincide with roof cleaning; ensure that downspouts are free of obstructions to facilitate efficient water drainage. Remember, safety is paramount; when on the roof, wearing a harness and working with a partner is advisable to ensure a secure setup.
Step 6: Regular Maintenance and Inspection
The final step in keeping your roof in top condition is scheduling regular maintenance and inspections. Regular check-ups will help catch potential issues before they escalate. Many professionals recommend having a full inspection every few years or after dramatic weather events. At this stage, a professional roofer can provide an assessment and suggest any necessary repairs.
It’s beneficial to maintain records of repairs and inspections. Having a documented history can serve as a reference for future repairs or when discussing your roof with potential buyers, should you ever decide to sell your home. Regular maintenance ultimately saves you time, money, and stress, ensuring your roof serves your home efficiently for years to come.
By following these simple steps, your roofing worries can turn into manageable tasks. A well-maintained roof enhances your home’s value and contributes to a peaceful living environment. So, gather your tools today and start your roof repair journey.
illustrarch is your daily dose of architecture. Leading community designed for all lovers of illustration and #drawing.
Submit your architectural projects
Follow these steps for submission your project. Submission FormLatest Posts
How to Select the Most Reliable Shelter Installation Team
Table of Contents Show Set Clear Specs And Site CriteriaVet Credentials And...
How Smart Roof Design Reduces Maintenance Costs
Table of Contents Show Design for Drainage FirstPut The Anchor in The...
Top Roof Architecture Trends: Climate Specific Roofing Designs
From classic gabled roofs to innovative cool roofs and green roofing systems,...
To Upgrade or to Change Your Roof Completely: Key Facts to Know
Table of Contents Show Expert Guidance on Full Roof DecisionsThe True Cost...


Leave a comment