

Top 10 Ideas for Study Room Design
Effective study room design incorporates a quiet location, proper lighting, ergonomic furniture, smart storage solutions, and good air quality to enhance productivity.
 Elif Ayse Sen13 March 20248 Mins read463
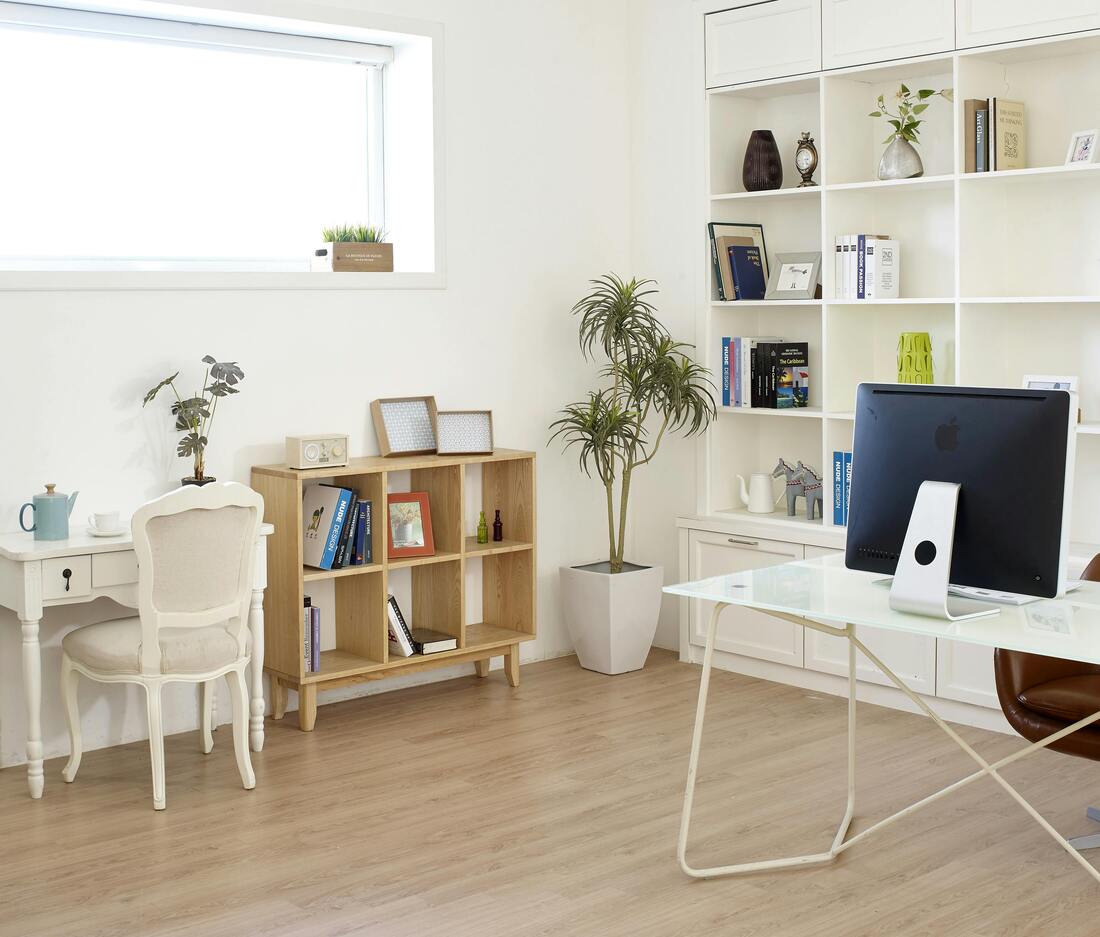
Table of Contents Show
Good study room design combines a quiet location, proper lighting, an ergonomic chair and desk, smart storage, and air you can actually breathe. Get those five elements right and the space supports focus instead of fighting it, whether you are studying for exams, working from home, or running personal projects.


A well planned study room or area helps people learn and stay creative. Whether you are a student, a professional working from home, or someone with personal projects, a dedicated and well designed space can lift your productivity and focus. Below are ten practical study room design ideas that balance function with comfort, plus the small details that separate a room you tolerate from one you want to spend time in. If you study architecture, a separate section further down covers large drawing sheets, pin-up walls, models and safe gluing.
What Makes a Good Study Room Design?
The best study spaces share a few traits. They limit distraction, support the body during long sittings, and adapt as your needs change. Light, sound, air quality, and layout each pull weight here, and they work together. A beautiful desk in a dim, stuffy corner will still feel like a chore. Think about how you actually work first, then let the design follow that pattern rather than the other way around.
Top 10 Study Room Design Ideas
1. Choose the Right Location
Pick a quiet, well lit part of your home to cut down on interruptions. A room with natural light and a view outside helps your mood and energy, and it gives your eyes a place to rest between tasks. If a spare room is not an option, a corner away from foot traffic and the television still works well.
2. Invest in a Comfortable Chair and Desk
Comfort carries long study sessions. Choose an ergonomic chair that supports your lower back and a desk set at a height that keeps your forearms roughly parallel to the floor. A standing desk or an adjustable model lets you shift posture during the day, which eases the stiffness that builds up after hours in one position. For desk options built around long technical work, the picks in our guide to standing desks for focused work translate well to any study setup.

💡 Pro Tip
Set the top of your monitor at or just below eye level and keep it about an arm’s length away. A common fix people skip is angling the screen away from windows, which removes the glare that quietly causes headaches and squinting during afternoon work.
3. Optimize Lighting
Good lighting reduces eye strain and keeps you alert. Combine daylight with an adjustable desk lamp or a floor lamp so the space stays evenly lit from morning to night. Aim for layered light rather than one harsh overhead source, since shadows and bright spots tire the eyes faster than a balanced glow.
📌 Did You Know?
The Heschong Mahone Group study Daylighting in Schools, prepared for the California Energy Commission in 1999, found that students in classrooms with the most daylight progressed faster on standardized math and reading tests than peers in the dimmest rooms. Natural light is doing more for concentration than most people assume.
4. Incorporate Storage Solutions
Keep the area tidy with shelves, cabinets, or drawers, and give frequently used items a fixed home within arm’s reach. Desk organizers handle pens, cables, and small tools, while closed storage hides the clutter that competes for your attention. Group materials by task so you are not hunting for a notebook in the middle of a study block.
5. Create a Color Scheme
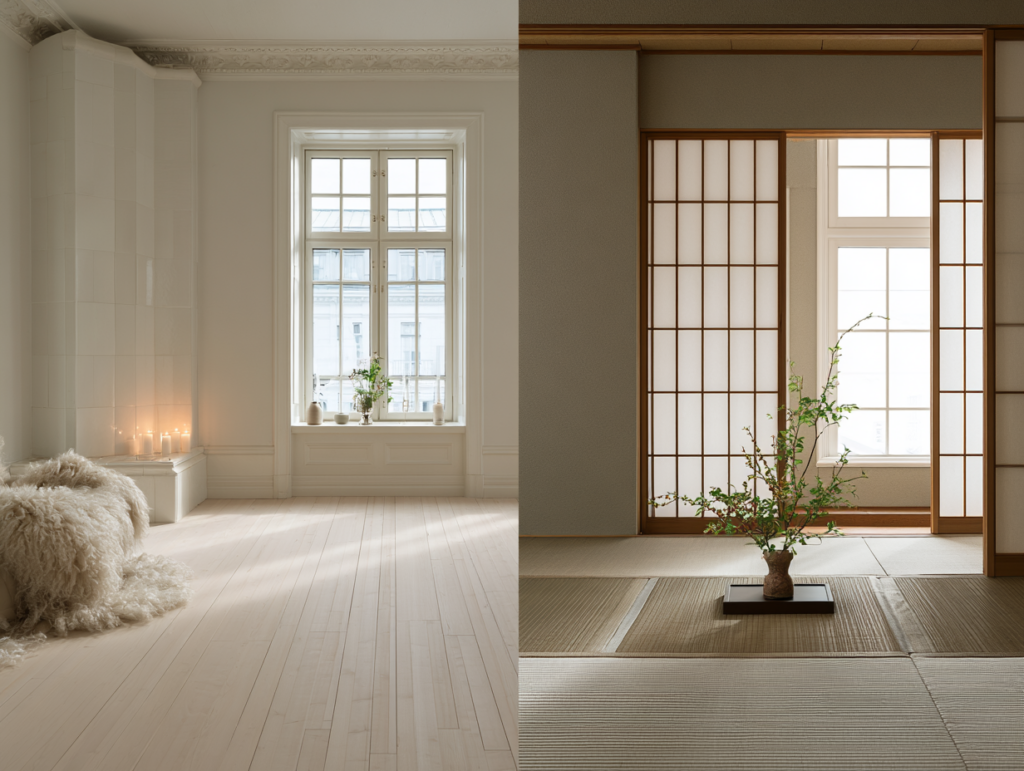
Color shapes mood and concentration. Calming tones like blue and green suit deep focus and reading, while warmer accents in yellow or orange add energy to a creative corner. Keep the palette simple, two or three colors at most, so the room feels intentional rather than busy. If you want a deeper look at restraint and tone, the contrast in Scandinavian and Japanese minimalism is a useful reference.

6. Personalize Your Space
Add touches that make the room inviting. Photos, artwork, a few motivational lines, or plants give the space character and make it somewhere you return to willingly. Personal details also signal that this corner is yours, which helps your brain switch into work mode when you sit down.
7. Incorporate Technology Thoughtfully
Make sure you have enough power outlets and plan cable management early so cords do not crowd the desk. If a phone or tablet pulls your attention, keep it out of reach or in another room during focused sessions. Technology should serve the work, not interrupt it every few minutes.
8. Use Flexible Furniture
Furniture that moves keeps the room adaptable. Mobile bookshelves, foldable chairs, and desks on casters let you change the layout for reading, writing, or spreading out a project. Flexibility matters most in small or shared spaces where one room covers several roles across the day.
⚖️ Dedicated Room vs Shared Corner at a Glance
✔️ Dedicated room: fewer distractions, a door you can close, room to store materials, easier to keep set up.
✖️ Shared corner: saves space and cost, but needs flexible furniture and strict tidiness to stay usable, and noise control is harder.

9. Designate Zones
If space allows, split the room into zones for different activities: a reading nook with a soft chair and a lamp, a writing area with your desk and computer, and a spot for brainstorming or hands on projects. Clear zones reduce the friction of switching tasks because each one already has what it needs.
10. Focus on Air Quality and Comfort
Fresh air keeps you sharp. Ventilate the room, open a window when you can, and add an air purifier if the space feels stale. A few indoor plants help too, bringing a bit of nature inside while you work. For practical steps on ventilation and source control, the U.S. Environmental Protection Agency guide to improving indoor air quality is a solid reference. Temperature counts as well, since a room that runs too warm makes concentration slip.
How Do You Design a Study Room in a Small Space?
Small rooms reward vertical thinking. Run shelving up the wall instead of out across the floor, pick a desk that tucks against a window or into an alcove, and choose a chair that slides fully under the desk when you are done. A wall mounted folding desk frees the floor entirely when the room doubles as a guest space or hobby corner.
Mirrors and light paint colors make a tight study feel larger and bounce daylight deeper into the room. Keep the surface in front of you clear and push storage to the edges, since a cluttered sightline in a small space feels heavier than the same mess in a big one. One well chosen multipurpose piece, like a desk with built in drawers, often beats three separate items fighting for floor area.
Study Room Design If You Study Architecture
An architecture student’s room has to do more than hold a laptop and a stack of books. You draw on large sheets, pin work up to look at it from a distance, cut card and foam board, glue models together and leave them to dry. A standard study desk handles none of this well. The five additions below turn an ordinary study room into a small home studio.
A Work Surface Sized for A1 and A2 Sheets
Start with the paper. Under the ISO 216 paper standard, an A2 sheet measures 420 × 594 mm (16.5 × 23.4 in) and an A1 sheet 594 × 841 mm (23.4 × 33.1 in). Your desk needs to hold the sheet flat with room around it for a scale ruler, a set square and your hand, so pick a top that is clearly larger than the biggest sheet you draw on most often. If the desk is too small, a drawing board that rests on the desk edge or on trestles is a cheaper fix than a new table. For more on sizes and finishes, our guide to desk selection for architects compares the main desk types.
- Keep the drawing surface hard and smooth. A soft or textured top dents under a pencil.
- Put your laptop or monitor to one side of the drawing area, not in the middle of it.
- A small side table or rolling cart keeps pens and tools off the sheet.
A Vertical Pin-Up Surface
Studio crits happen at a wall, and your room should have one too. A cork board, a fabric covered pinboard or a sheet of soft fibreboard fixed to the wall lets you pin drawings at eye level and step back to read them as a tutor will. Aim for a surface that can hold at least one A1 sheet in landscape so you can test a full board layout at home. Masking tape on a painted wall works for a single semester, but a proper board saves the paint and your deposit.
A Model Shelf
Models are fragile and take up more space than you expect, especially once you keep study models from earlier stages of a project. Give them one dedicated shelf above desk height, away from the chair and the door, where they cannot be knocked off. One deep shelf is better than stacking models on top of each other. Label the base of each model with the project name and date so you can find the right one for your portfolio photos.
A Protected Cutting and Drying Zone
Cutting card with a scalpel on your study desk will eventually scar the top and blunt the blade. Set aside a separate area, even a section of a shelf or a folding table, with a self-healing cutting mat, a metal ruler and a lidded box for blades. Use the same zone for glued parts that need to dry overnight, so wet models are not sitting next to drawings or the laptop. Our list of model making equipment covers what to keep in this corner.
⚠️ Common Mistake to Avoid
Using spray adhesive or spray paint at the desk in a closed bedroom. The U.S. EPA lists aerosol sprays and craft glues and adhesives among the household sources of volatile organic compounds, and notes that high levels can persist long after the activity ends. Spray outside or on a balcony whenever you can.
Ventilation for Spray and Glue
Model making brings chemicals into a room that was designed for reading. The EPA page on volatile organic compounds and indoor air quality advises increasing ventilation when you use products that emit VOCs, following label precautions and buying only as much as you will use soon. In a student room that means placing the cutting and drying zone next to a window you can open, closing the lids on glue and paint straight after use, and not storing open cans of spray in the room where you sleep.
Small-Room Layout for an Architecture Student
Most student rooms are small, so the layout matters more than the furniture. The plan below reads the room wall by wall and keeps clean work, messy work and rest apart.
| Wall or zone | What goes there | Why |
|---|---|---|
| Window wall | Cutting and drying zone, folding table or shelf | Fresh air for glue and spray, daylight for fine cutting |
| Side wall next to the window | Main desk and drawing board, lamp on the side opposite your drawing hand | Side light without screen glare, no shadow from your own hand |
| Wall above or beside the desk | Pin-up board at eye level | Review drawings from a few steps back |
| Upper shelf, away from the door | Model shelf | Models stay out of reach of elbows and bags |
| Under the bed or desk | Flat storage for large sheets, a portfolio case or a flat box | Rolled drawings curl, flat ones stay ready to pin |
If you share the room, agree on the cutting zone and the hours for spraying first. Those two cause most of the friction between roommates in architecture school.
Putting It All Together
For the chair, desk, and screen setup that protects your back and eyes, the OSHA Computer Workstations eTool lays out the measurements worth following, and design platforms like ArchDaily’s interior design projects are a good place to gather visual ideas before you commit to a layout.
Bottom Line: A study room works best when it fits how you actually study. Start with location, light, and a chair that supports you, then layer in storage, color, and air quality. Architecture students should add a desk that holds an A1 sheet, a pin-up wall, a model shelf and a ventilated cutting corner. The room does not need to be large or expensive to keep you focused, it just needs to be planned around you.






Studio KO Rebuilds Paris’s Bus Palladium Nightclub as a Five Star Hotel
The 1965 Pigalle club is back as a hotel by Studio KO:...
 illustrarch Editorial Team2 Mins read

Charlotte Perriand’s Built-In Interiors Survive in Édouard Albert’s 1960 Paris Tower
A high-floor apartment in Édouard Albert's listed 1960 tower in Paris's 13th...
illustrarch Editorial Team1 Mins read

How to Structure an Interior Design Presentation for an Empty Room
A client can like a furnished image and still leave unsure what...
illustrarch Editorial Team6 Mins read

A New Book Records the 1970s Interiors of Ebony and Jet’s Chicago Headquarters
820 Ebony/Jet collects Barbara Karant's photographs of the empty Johnson Publishing Company...
illustrarch Editorial Team2 Mins read






Leave a comment