

3D Printing Workshops for Architecture Students: Using Your School Fab Lab in 2026
How architecture students use a school fab lab: inductions, booking, file preparation for 3D printing and laser cutting, and safety rules.
 Begum Gumusel27 August 20247 Mins read541

Table of Contents Show
3D printing workshops for architecture students usually start in the school fab lab: a short induction, a booking system for printers and laser cutters, and strict rules on file preparation and safety. Learn those three things early and your models get cut and printed on time instead of waiting in a queue the night before a review.


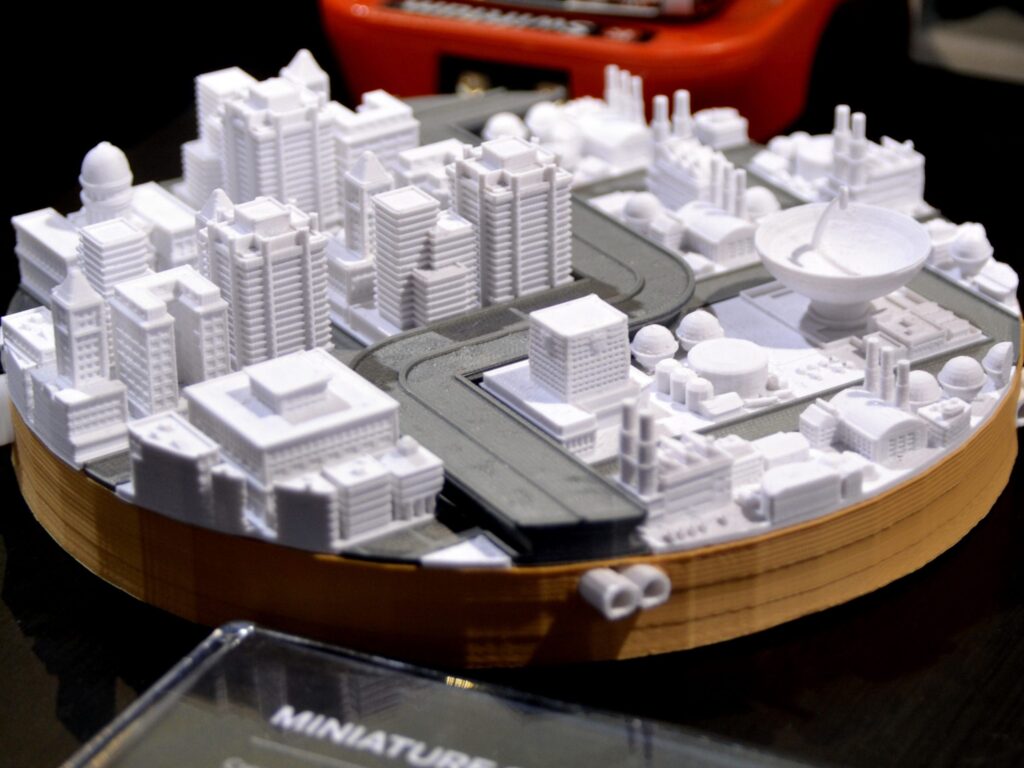

3D printing has changed how designers approach design and manufacturing, and it is now part of everyday model making in architecture school. Next to it sits the laser cutter, which most students use even more often for card, board and wood parts. Both machines are easy to start with and easy to misuse, which is why schools run workshops and inductions before giving you access.
This guide is written for students using a school fab lab in 2026. It covers what the workshops teach, how inductions and booking work, how to prepare files for 3D printing and laser cutting, which safety rules you will be held to, and where to keep learning outside your school.

What a School Fab Lab Workshop Covers
Most architecture schools group their digital fabrication tools in one place, often called the fab lab, the model shop or the digital fabrication lab. A typical lab has filament 3D printers, sometimes resin printers, several laser cutters and, in larger schools, CNC routers. Workshops in this setting are short and practical. They teach you how to get from a digital model to a physical part without wasting material or machine time.
What Is 3D Printing?
3D printing, or additive manufacturing, builds three-dimensional objects layer by layer from a digital model. It can produce complex forms, from quick massing studies to detailed final pieces, in plastics, resins, metals and ceramics. In architecture school, most prints are site models, massing blocks, facade fragments and small structural studies.
Why Hands-On Learning Matters
You learn a printer by running it. Workshops let you load a file, start a print, watch the first layers and see what goes wrong when a model is not prepared properly. That experience is hard to get from a video, and it saves you from failed prints when a deadline is close.
Start with the Induction
No school lets you walk up to a laser cutter on day one. Expect an induction or certification before you can book any machine. At Ball State University’s College of Architecture and Planning, for example, the CAP Fab Lab laser cutting page states that students may only use the laser cutter after online training and certification, and that first-year CAP students may not use the lasers at all. The Harvard GSD Fabrication Lab encourages students to finish training as early as possible and requires returning students, faculty and staff to complete a refresher.
- Find out in the first week which inductions your studio needs and when they run.
- Book the induction before your first model assignment, not after.
- Keep proof of completion. Some labs link certification to your student ID.
- Ask whether each machine type needs its own training. Laser, 3D printer and CNC inductions are often separate.
Booking Machine Time
Machine time is the real bottleneck, especially before midterms and finals. The Harvard GSD laser cutter policies allow students to reserve a maximum of two hours per day, and a booking is forfeited if you are more than 10 minutes late. At the end of the semester extra limits apply, with most machines available by reservation only and one walk-up machine capped at one hour per user per day.
Ball State’s lab works on a similar logic with tighter numbers: students can book one hour per day, no less than 30 minutes in advance, an appointment goes to the next person if you are 4 minutes late, and a missed appointment brings a non-refundable $10 fine (as listed on the lab’s page as of November 2026). For 3D printing, the same school uses a color-coded queue, with a goal of printing within 2 business days when demand is low and within 7 business days when demand is high.
The lesson is the same everywhere. Treat the fab lab as part of your project schedule and book time before you think you need it.
Preparing Files for 3D Printing
Most failed prints come from the file, not the printer. The Ball State CAP 3D printing guidelines are a good example of what labs check before they accept a job:
- Each object fits within the printer’s build plate.
- Each object is watertight, with no openings and no bad geometry.
- Surface normals are unified and point outward.
- The model is exported to STL in millimeter units.
- Large closed objects are exported as separate STL files, and the file name lists the filament size and color.
- Unless you say otherwise, the lab prints with brims, supports and 20% infill.

In Rhino, the Properties panel should read “closed polysurface” or “closed mesh” before you export. The guide points to Join, Cap and Patch for closing gaps and Dir or Flip for checking surface direction. If you are new to Rhino, our beginner’s guide to Rhino 3D covers the basic modeling commands. Simpler programs such as Tinkercad, Fusion 360 and SculptGL also export STL files and are often used in introductory workshops.
Scale matters as much as geometry. A wall that looks solid at 1:1 in your model can become thinner than the printer can handle once you scale the building down to 1:200. Check the minimum wall thickness your lab recommends, thicken thin elements in a copy of the model and print a small test piece before committing to the full site model.
Preparing Files for Laser Cutting
Laser cutters work from 2D vector line drawings, not 3D models. You unroll or draw each part flat, place the parts on a sheet layout that matches the material size, and assign each line to cut, score or engrave according to your lab’s template. Ball State provides setup guides for Adobe Illustrator and Rhino, and most labs give you a template file with the correct layers or colors.
Check the materials list before buying anything. Ball State’s laser lab permits acrylic, mat board, illustration board, balsa, basswood, chipboard, plywood and Masonite, and does not permit foam core, PVC, vinyl, metal, cement or concrete. It also limits cut material to a maximum thickness of 1/4 inch. Your school’s list may differ, so read it before you buy sheets for a model.
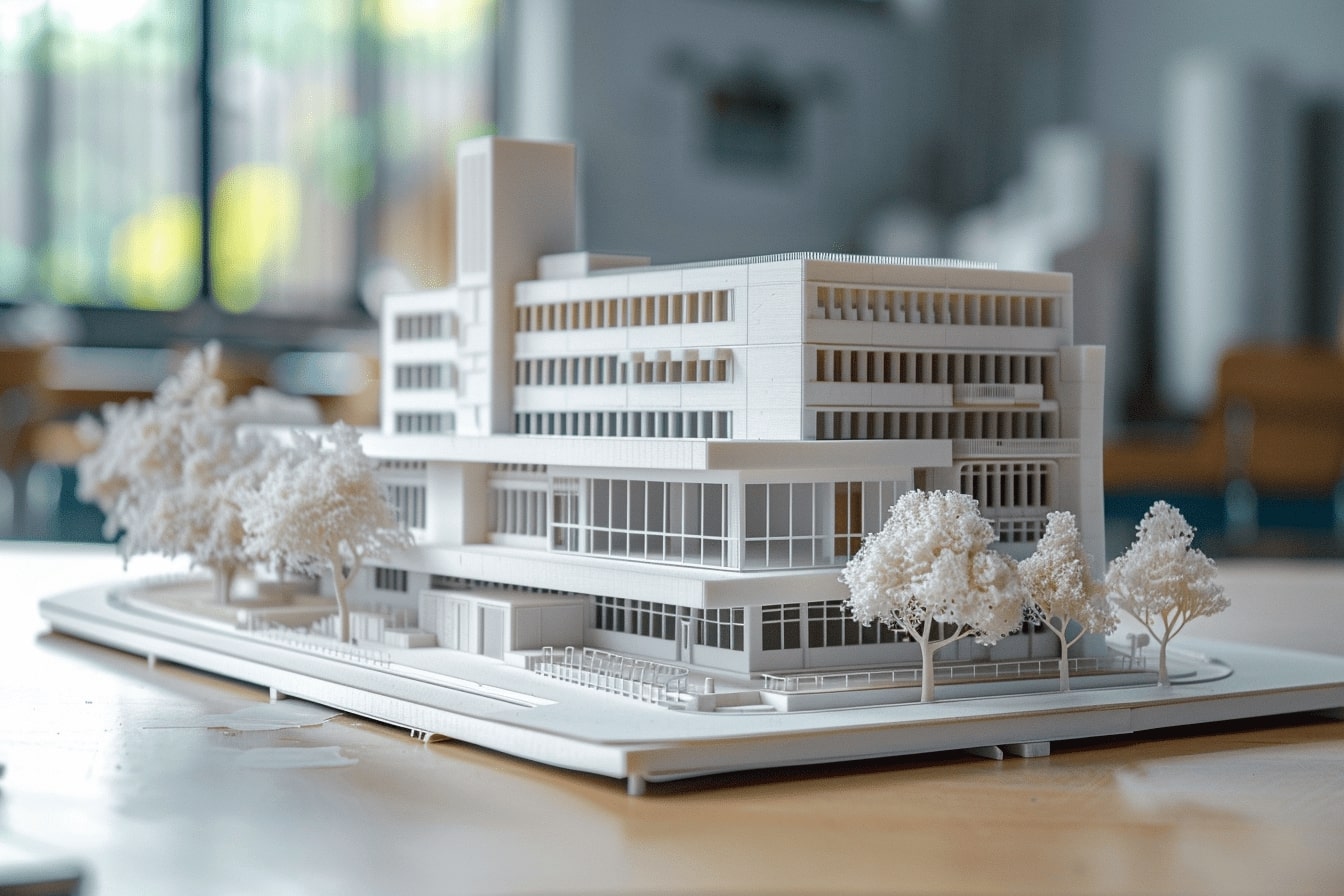
- Nest parts tightly to save material, but leave a small gap so thin pieces do not burn.
- Label parts with a light engrave or score so you can assemble them later.
- Keep a test strip on every sheet to check power and speed before the full cut.
- Bring extra material in case the first sheet fails.
At Harvard GSD, model assembly is not allowed in the laser room and materials left unattended are moved to the freecycle racks, so plan to cut, collect and leave. For tools to assemble your parts once they are cut, see our list of model making equipment.
Safety Rules You Will Be Held To
Fab lab rules are strict because laser cutters can start fires. The MIT EHS laser cutter safety page lists the basics: never leave an operating laser cutter unattended, know which materials are safe to cut, never defeat the laser’s interlocks, keep a fire extinguisher near the machine and vacuum the cutting deck regularly to prevent fires. It also warns that PVC produces hydrogen chloride gas, which is extremely dangerous.
School policies turn these into conduct rules. The GSD laser policies require the user to be present while the machine runs, to pause it if they must step away, to use only one machine at a time and never to share login details or cut under another person’s account. Ball State shuts down any job left unattended.
- Never leave a running laser cutter, even for a minute.
- Never cut a material you cannot identify.
- Watch the first minutes of every 3D print and every cut.
- Report any flame, smell or error to the lab staff straight away.
- Clean the machine and your area when you finish.
Types of 3D Printing Workshops
Several types of workshops serve different skill levels. Inside school, they are usually free and tied to your courses. Outside school, they may be paid courses run by makerspaces, libraries or companies.
Beginner Workshops
Beginner workshops cover printer setup, slicing software and simple model creation. Instructors walk you through your first print step by step, so even students with no experience can produce a part. Tinkercad is a common starting point because it is simple and runs in a browser.
Advanced Skill Development
Advanced sessions go deeper into modeling software such as Fusion 360 or Rhino, and into print settings: support structures, infill, layer height and multi-material printing. These are worth taking once you start printing detailed facade studies or complex roof forms that fail with default settings.
Specialty Workshops
Specialty workshops focus on one application or machine, such as resin printing, large-format printing or CNC routing. Outside architecture, they also cover fields such as medical devices or jewelry design. For architecture students, the most useful specialty sessions are usually resin printing for fine detail and CNC routing for site models and furniture prototypes.
Learning Outside Your School
If your school lab is small or always booked, public makerspaces, library fab labs and community workshops often run beginner sessions on 3D printing and laser cutting. Before paying for a course, read reviews from past participants, check which machines and software it uses and confirm that it ends with a printed part you take home. Online sessions need a laptop or desktop computer, a stable internet connection and ideally a mouse with a scroll wheel for moving around 3D models.
For choosing a printer of your own, our guide to the best 3D printers for architectural model making compares models suited to architecture students.

Fab Lab Checklist Before a Deadline
- Complete every induction you need in the first weeks of the semester.
- Book machine time at least a few days before the review, and again as a backup.
- Check that every 3D model is watertight, in millimeters and inside the build plate.
- Prepare laser files on the lab’s template with the right line colors or layers.
- Buy only materials on the lab’s permitted list, plus a spare sheet.
- Run a small test print or test cut before the full job.
- Stay with the machine for the whole job and clean up when you finish.
Conclusion
The best 3D printing workshop for an architecture student is often the one your own school runs. Complete the inductions early, learn the booking rules, prepare files the way the lab expects and treat the safety rules as non-negotiable. With those habits in place, the fab lab becomes a reliable part of your design process rather than a source of last-minute stress.
Architecture Students Hub
This guide is part of School Life and Learning, stage 6 of our student roadmap from the first diagram to the first internship. Next stage: Concept and Diagrams, or browse every free tool and guide in the Architecture Students Hub.
- 3D Printer Hands-On Workshops
- 3D Printing Certification Courses
- 3D Printing Design Workshops
- 3D Printing Education Programs
- 3D Printing for Beginners Workshop
- 3D Printing Training Near Me
- Advanced 3D Printing Workshops
- Expert 3D Printing Guidance
- Hands-On 3D Printing Training
- Professional 3D Printing Training




Interior Design for Commercial Spaces: Enhancing Functionality and Brand Identity
Commercial interior design has to serve brand, function and regulation at once....
Begum Gumusel4 Mins read

Futuro House Production Revived in Finland After Decades-Long Hiatus
A Facebook listing for abandoned moulds led to the first new Futuro...
 illustrarch Editorial Team3 Mins read
Building Your Dream Home in NSW: What You Should Know About Montgomery Homes
Montgomery Homes has been building across Sydney, Newcastle, the Hunter, Wollongong and...
illustrarch Editorial Team4 Mins read
Designing a Home Theater: Where Drapery Fits Into the Plan
In a media room the curtains are a performance layer, not decoration....
illustrarch Editorial Team3 Mins read





Leave a comment