

Why Installing Your Own Chimney System Makes Financial and Practical Sense

Table of Contents Show
When homeowners consider adding a wood stove or upgrading their existing chimney system, the first instinct is often to call a contractor and brace for a hefty invoice. Installation quotes can easily reach several thousand dollars, with labor costs frequently exceeding the price of the materials themselves. However, many homeowners are discovering that chimney installation is more accessible than they imagined, particularly when they have access to quality guidance and the right components.
The decision to install your own chimney system isn’t just about saving money, though that’s certainly a compelling factor. It’s about understanding one of your home’s most important systems and having confidence in its proper function. When you handle the installation yourself, you know exactly what materials were used, how each connection was made, and how the system operates. This knowledge proves invaluable for maintenance and troubleshooting down the road.
Why Installing Your Own Chimney System Makes Financial and Practical Sense
When homeowners consider adding a wood stove or upgrading their existing chimney system, the first instinct is often to call a contractor and brace for a hefty invoice. Installation quotes can easily reach several thousand dollars, with labor costs frequently exceeding the price of the materials themselves. However, many homeowners are discovering that chimney installation is more accessible than they imagined, particularly when they have access to quality guidance and the right components.
The decision to install your own chimney system isn’t just about saving money, though that’s certainly a compelling factor. It’s about understanding one of your home’s most important systems and having confidence in its proper function. When you handle the installation yourself, you know exactly what materials were used, how each connection was made, and how the system operates. This knowledge proves invaluable for maintenance and troubleshooting down the road.
Understanding the True Cost of Professional Installation
Professional chimney installation costs vary widely depending on your location, the complexity of the installation, and the height of the chimney. For a typical installation, homeowners might receive quotes ranging from $3,000 to $8,000 or more. Break down these numbers, and you’ll often find that materials account for only 30 to 40 percent of the total cost. The remainder goes toward labor, which typically involves two installers working for one to three days.
Consider a standard installation requiring 20 feet of chimney pipe. The materials themselves might cost between $1,200 and $2,000, depending on the quality and specific requirements. Yet the final invoice could easily reach $5,000 or higher. That gap represents the opportunity for homeowners willing to invest their own time and effort.
Beyond the initial installation, there’s another financial consideration that many homeowners overlook. When you hire contractors, you’re paying not just for their labor but also for their markup on materials. Many installation companies purchase components at contractor pricing and then add their own margin when billing customers. By sourcing your own materials directly from suppliers, you eliminate this markup entirely.

The Reality of DIY Chimney Installation
Chimney installation certainly requires attention to detail and careful planning, but it doesn’t demand specialized training or years of experience. The systems available today are designed with installation in mind. Modern chimney components feature connections that fit together logically, with clear visual indicators when sections are properly joined.
The process involves several key steps: planning your route from the stove to the roof termination, calculating the required height based on building codes, selecting the appropriate components, assembling the indoor sections, creating proper roof penetrations, and installing the exterior sections with adequate support. Each step requires care, but none require expertise beyond the capabilities of someone comfortable with basic home improvement projects.
What the installation does require is patience and willingness to follow instructions. Rushing through the process or skipping steps can lead to problems, but taking a methodical approach yields professional results. Many homeowners find that the most challenging aspect isn’t the physical installation but rather the planning phase, where you determine the optimal route and calculate the necessary components.
Physical demands vary depending on your installation. Roof work always requires caution and appropriate safety equipment. Lifting and positioning sections, particularly exterior chimney sections, can be physically demanding. Having a second person available for certain stages, particularly roof work and lifting longer sections, makes the process significantly easier and safer.
Selecting the Right System for Your Home
Chimney systems fall into two main categories, each serving specific purposes and meeting different requirements. Understanding these categories helps you select appropriate components and ensures your installation meets building codes.
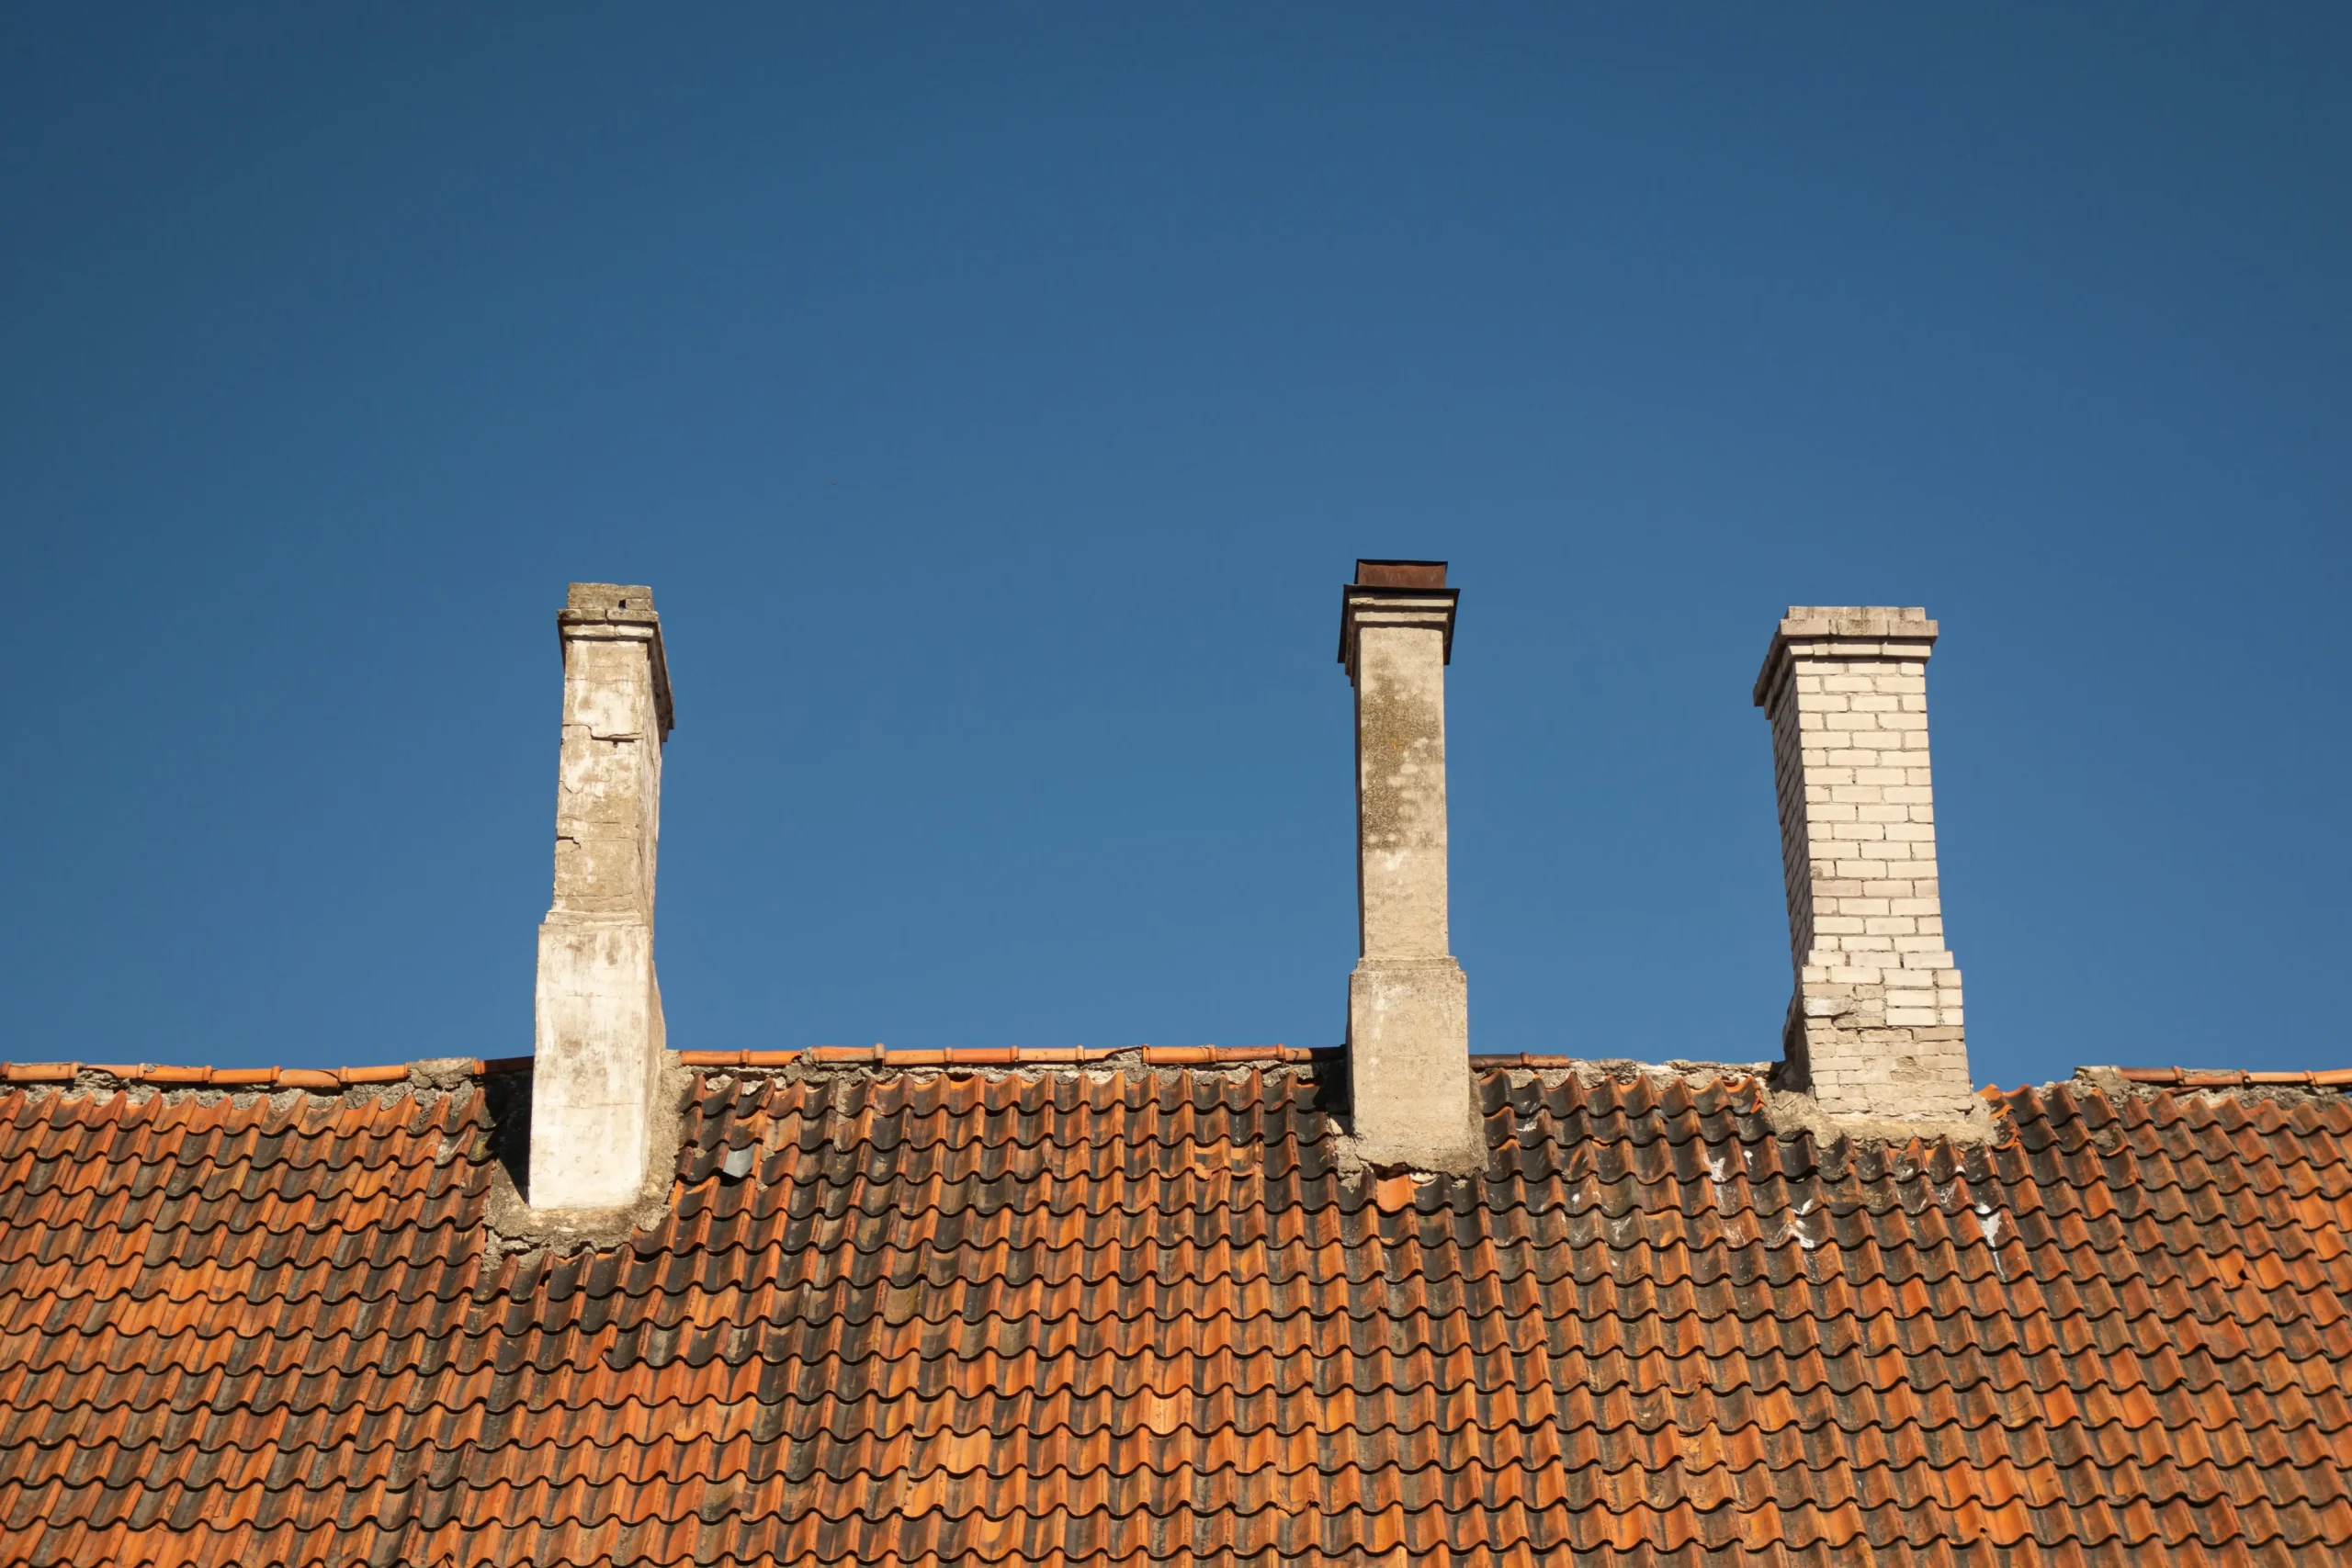
Class A chimney pipes represent the gold standard for residential installations. These double wall or triple wall insulated systems are designed for use from the stove connection all the way through the roof and above. They can pass through walls, ceilings, and roofs with proper clearances, and they handle the high temperatures of solid fuel burning while remaining safe for residential applications. Building codes typically require these systems for most installations, particularly when the chimney passes through living spaces or requires protection from combustible materials.
The construction of these pipes typically features an inner stainless steel flue surrounded by insulation and an outer wall, creating a system that keeps exterior surfaces cool enough to meet clearance requirements while maintaining optimal draft by keeping flue gases hot. This insulation is critical not just for safety but also for performance, as cooler flue gases can lead to creosote buildup and poor draft.
Stove pipes, in contrast, serve a different purpose in your system. These single wall sections connect your stove to the chimney system. They’re used exclusively in the room where the stove is located and never pass through walls, ceilings, or roofs. While they require greater clearances from combustible materials due to their single wall construction, they serve an important function by radiating heat into your living space, improving your stove’s overall efficiency.
The distinction between these systems matters for both safety and code compliance. You cannot substitute one for the other in locations where building codes specify which type is required. Many installations use both: stove pipe from the appliance to the ceiling or wall penetration, then transitioning to Class A chimney pipe for the protected portion of the installation.
Selecting the right diameter is equally important. Your stove’s specifications will indicate the required flue size, typically 6 inches or 8 inches for residential wood stoves. Using an incorrectly sized flue can create draft problems, increase creosote buildup, and potentially void your stove’s warranty.
Planning Your Installation Route
The route your chimney takes from stove to roof termination significantly affects both installation difficulty and system performance. While the ideal installation would go straight up through the roof with no offsets, most homes require at least some deviation from vertical to avoid obstacles or reach an appropriate exterior location.
Building codes limit how much horizontal run you can include in a chimney system. Excessive horizontal sections reduce draft and allow more creosote accumulation. As a general guideline, for every foot of horizontal run, you need to add additional vertical height to maintain adequate draft. The exact ratios depend on your local codes and the specific installation requirements.
When planning your route, consider these factors: minimizing horizontal runs improves draft and reduces maintenance, avoiding multiple directional changes simplifies installation and improves performance, locating the exterior section on a gable end rather than the main roof slope when possible reduces flashing complexity, and keeping the chimney within your home’s thermal envelope as much as possible prevents the extreme temperature differentials that can cause draft problems.
Many homeowners initially think about the most direct route but then discover that an alternative path might offer advantages. For example, routing through a closet or utility room might provide easier access for installation and future maintenance compared to a route through a primary living space, even if it adds slight additional length.
Physical obstacles require careful planning. Structural elements like floor joists and roof trusses can be worked around using offsets and elbows, but each change of direction adds complexity and slightly reduces system performance. When you encounter an obstacle, you’ll need to decide whether to offset around it or, in some cases, whether structural modifications might be warranted to allow a straighter route.
The Planning Process and Component Selection
Before ordering a single component, successful installation requires detailed planning. Start by measuring the vertical distance from your stove connection point to where the chimney will penetrate the roof. Add the required height above the roof based on building codes, typically at least 3 feet above the penetration point and 2 feet above any structure within 10 feet horizontally. Then account for any horizontal runs, offsets, or transitions your installation requires.
With these measurements in hand, you can calculate the required components. Beyond the straight sections, you’ll need support systems for the chimney, flashing and storm collar for the roof penetration, chimney cap, and appropriate adapters to connect your stove to the chimney system. For installations with offsets, you’ll need elbows and the additional support those elbows require.

One common mistake is underestimating the importance of proper support. Chimneys experience significant stress from wind loads, thermal expansion and contraction, and their own weight. Supporting the system at appropriate intervals isn’t optional; it’s a critical safety requirement. Roof brackets, wall straps, and other support hardware must be selected based on the specific installation and installed according to manufacturer specifications.
Building codes govern many aspects of chimney installation, from required heights to clearances from combustible materials to support requirements. While codes vary by location, they’re based on established safety principles developed over decades of testing and real world experience. Your installation must meet these codes not just for legal compliance but for safety and insurance purposes. Many insurance companies require evidence of code compliant installations for coverage.
Where Expert Guidance Makes the Difference
This is where access to knowledgeable support becomes invaluable. While chimney installation is achievable for motivated homeowners, having expert guidance available helps you avoid costly mistakes and ensures your installation meets all requirements. Specialists who understand the nuances of different installations can help you select appropriate components, plan an effective route, and address the specific challenges your home presents.
Telephone support from experienced professionals at companies like Flue Pipes provides this guidance without the expense of on site consultation. When you’re planning your installation, you can discuss your specific situation, review your measurements, and receive recommendations for components that will work together properly. During installation, questions inevitably arise. Having access to someone who can answer those questions promptly keeps your project moving forward and helps you make informed decisions when you encounter unexpected situations.
This support is particularly valuable for homeowners tackling their first chimney installation. While the basic principles remain consistent, every home presents unique challenges. An expert can help you recognize potential problems before they become expensive mistakes. They can explain why certain clearances matter, how different components work together, and what alternatives exist when your original plan needs adjustment.
The combination of quality components and expert guidance bridges the gap between professional installation and DIY work. You’re not just buying materials; you’re accessing the knowledge that typically comes with professional installation, while maintaining control over the actual work and capturing the labor cost savings.
Common Challenges and How to Address Them
Even well planned installations encounter challenges. Understanding common issues and their solutions helps you anticipate and address problems effectively.
Roof penetration requires careful attention to waterproofing. Creating a weathertight seal around the chimney involves proper flashing installation and attention to how water flows around the penetration. Take time to understand flashing installation before making your roof cut. Once the hole exists, you need to protect that opening from weather, so have your flashing components ready before you cut.
Maintaining proper clearances from combustible materials throughout the installation protects your home and ensures code compliance. Even with insulated chimney systems, minimum clearances must be maintained. When routing through walls or ceilings, you’ll need to frame openings that provide the required clearances. This sometimes means modifying your planned route or enlarging openings to accommodate the clearance requirements.
Draft problems occasionally occur even with properly sized and installed systems. Multiple factors affect draft, including chimney height, local weather patterns, nearby structures or trees, and air tightness of your home. If your installation experiences draft issues, solutions might include adding height to the chimney, installing a chimney cap designed to improve draft in windy conditions, or addressing air balance issues in your home.
Working at heights demands appropriate safety equipment and precautions. Roof work should never be attempted in windy or icy conditions. Use proper ladder positioning, wear appropriate footwear, consider fall protection equipment for steep roofs, and recognize when having professional help for specific tasks makes sense despite your overall DIY approach.
The Installation Process Step by Step
While detailed installation instructions come with quality components, understanding the general process helps you prepare mentally and practically for the project.
Begin with interior installation if your system includes indoor stove pipe sections. Starting from the stove outlet, you’ll work upward, connecting sections and ensuring each joint is secure. Most systems use either a twist lock or slip connection that creates a gas tight seal when properly engaged. Pay attention to the orientation of sections; they’re designed to fit together in a specific direction that prevents creosote leakage.
As you approach the ceiling or wall where your system transitions to the chimney, you’ll install the support box or wall thimble that provides both fire protection and structural support for the transition. These components are specifically designed to allow safe passage through combustible framing while providing a stable platform for the chimney system above.
Creating the roof penetration is perhaps the most anxiety inducing step for many DIYers. Careful measurement and marking on the interior help you locate the exit point precisely on the roof. When cutting through roofing materials, work from the interior if possible, drilling locator holes that let you mark the opening size on the roof. Cut carefully and conservatively; you can enlarge an opening, but you cannot unsee it.
Installing flashing requires understanding how water flows over your roof. The flashing must integrate with your existing roofing material so that water moves over and around it naturally. Base flashing goes under the upslope roofing and over the downslope roofing, while storm collars and other weather protection components create barriers against wind driven moisture.
Exterior chimney sections install from bottom to top, with each section supporting the sections below while being supported by wall brackets or other hardware. Maintaining plumb alignment throughout the installation ensures proper appearance and function. Regular checking with a level prevents cumulative errors that could result in a noticeably crooked chimney.
The cap installation completes your system. Quality caps provide spark arrestment, prevent rain entry, reduce downdrafts, and deter birds and other animals from entering the flue. Don’t view the cap as an optional accessory; it’s an integral component that protects your investment and ensures proper function.
Long Term Benefits of DIY Installation
The financial savings from self installation are immediately obvious, but other benefits emerge over time. Understanding your chimney system because you installed it yourself makes you more confident in operating and maintaining it properly. You know where every joint is, how everything fits together, and what to watch for during annual inspections.
Maintenance becomes more straightforward when you understand your system. Annual cleaning and inspection are essential for any chimney, but when you know exactly how your installation was done, you can spot potential issues early and address them before they become serious problems.
Should you ever need to modify your system or add a second appliance, you already understand the basics and have sources for compatible components. The knowledge you gain from one installation transfers to future projects, whether in your current home or a future property.
There’s also the satisfaction that comes from completing a significant home improvement project. Chimney installation represents real accomplishment. When you light your stove for the first time and watch smoke exit cleanly through the system you installed, you gain confidence that transfers to other projects you might have previously considered beyond your abilities.
Making the Decision
Deciding whether to tackle your own chimney installation requires honest assessment of your capabilities, available time, and comfort with heights and roofing work. Not every homeowner should install their own chimney, but many who assume they cannot are actually quite capable with proper guidance and quality components.
Consider starting with thorough research and planning. Reach out to suppliers who offer technical support and discuss your specific installation. Many homeowners find that a detailed conversation with knowledgeable staff helps them determine whether self installation makes sense for their situation.
The potential savings often exceed $3,000 to $5,000 for typical installations, providing strong financial motivation. Combined with the knowledge and confidence you gain, the project offers returns that extend well beyond the immediate cost savings.
For homeowners ready to take this step, having access to quality components and expert telephone guidance makes the difference between a frustrating experience and a successful project. The combination allows you to work at your own pace, ask questions as they arise, and achieve professional results without professional labor costs. Your chimney system will provide warmth and comfort for decades, making it a home improvement project with lasting value that you can take genuine pride in completing yourself.


Benefits of Green Roofing vs Solar Roof: Which Performs Better in Urban Buildings?
Green roof or solar roof? In dense city buildings, the two systems...

How to Select the Most Reliable Shelter Installation Team
Table of Contents Show Set Clear Specs And Site CriteriaVet Credentials And...

How Smart Roof Design Reduces Maintenance Costs
Table of Contents Show Design for Drainage FirstPut The Anchor in The...

Top Roof Architecture Trends: Climate Specific Roofing Designs
From classic gabled roofs to innovative cool roofs and green roofing systems,...

Leave a comment