


Rhino 3D, also known as Rhinoceros or simply Rhino, is a powerful software tool that is widely used in the fields of architecture, industrial design, and engineering. If you’re new to Rhino 3D, it can seem overwhelming at first, but with a bit of guidance and practice, you can quickly become proficient in using the software. In this article, we’ll provide a beginner’s guide to using Rhino 3D, covering the basics of the interface, modeling tools, and workflow.
Rhino 3D is compatible with a wide range of other software programs, including Autodesk Revit, AutoCAD, and SketchUp. This allows architects to easily transfer data between different software programs and collaborate with other professionals who may be using different software.Rhino 3D is based on Non-Uniform Rational B-Splines (NURBS) modeling, which allows for highly accurate and precise modeling of complex geometry. This makes Rhino 3D an ideal software program for architectural design tasks that require a high level of detail. Rhino 3D is a highly versatile software program that can be used for a wide range of architectural design tasks, including 3D modeling, rendering, and animation. It also has a large library of plugins and add-ons that can extend its functionality even further.
Getting Started with Rhino 3D
When you first open Rhino 3D, you’ll see a blank workspace with a toolbar on the left-hand side and a menu bar at the top. The toolbar contains various tools for creating and modifying objects, while the menu bar contains options for opening and saving files, changing settings, and accessing help resources.
Creating Objects in Rhino 3D
To create an object in Rhino 3D, you’ll need to select a tool from the toolbar and then use it to create a 2D or 3D shape. Some of the most commonly used tools include the Line, Circle, Rectangle, and Polyline tools. To use these tools, simply click on the icon in the toolbar and then click and drag in the workspace to create the shape. You can then use other tools to modify the shape, such as the Move, Rotate, and Scale tools.

Editing Objects in Rhino 3D
Once you’ve created an object, you can use various tools to edit and modify it. For example, you can use the Move tool to move an object to a different location, or the Scale tool to resize it. You can also use the Fillet or Chamfer tools to add rounded or beveled edges to an object.
Working with Surfaces and Curves in Rhino 3D
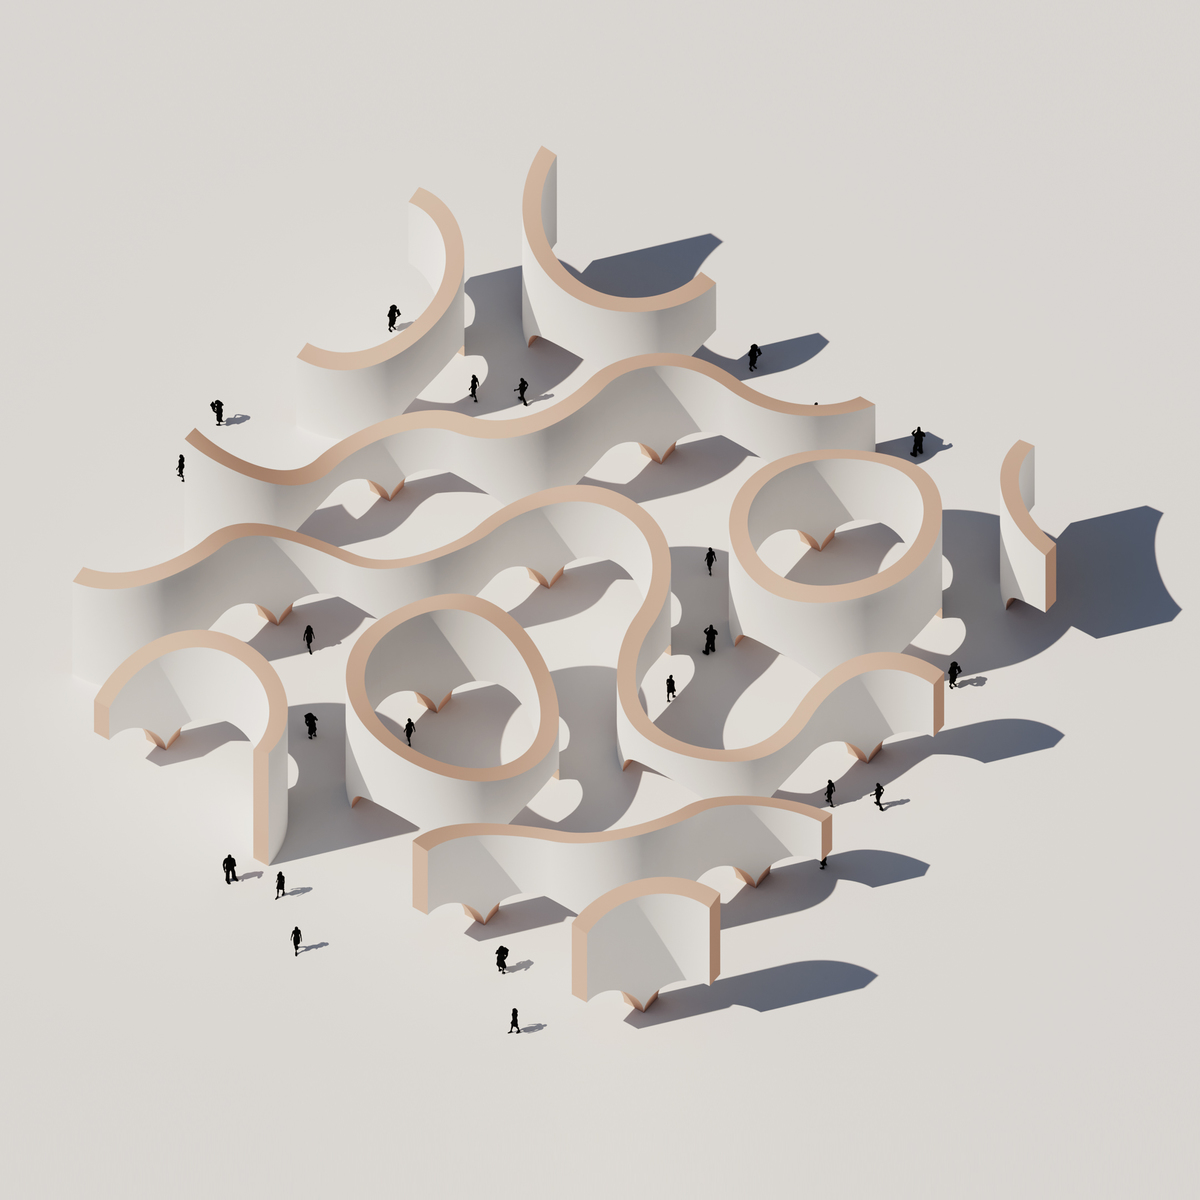
Rhino 3D is particularly well-suited for working with surfaces and curves, which are used extensively in architecture and industrial design. To create a surface in Rhino 3D, you’ll need to use a tool like the Loft or Sweep tool to create a 3D shape from one or more curves. You can then use other tools to modify the surface, such as the Trim or Split tools.
Using Layers and Groups in Rhino 3D
To keep your projects organized, you can use layers and groups in Rhino 3D. Layers allow you to organize objects based on their type or function, while groups allow you to group together objects that are related or belong to the same part of the design. To use layers and groups, simply open the Layers or Groups panel in the toolbar and then create or select the layer or group you want to use.

Exporting and Importing Files in Rhino 3D
When you’re finished creating a design in Rhino 3D, you can export it to various file formats for use in other programs or to share with others. To export a file, simply go to the File menu and select Export. You can then choose the file format you want to use, such as OBJ, STL, or DXF. Similarly, if you want to import a file into Rhino 3D, simply go to the File menu and select Import.
Rhino 3D is a powerful and versatile software tool that can be used for a wide range of design projects. By following this beginner’s guide, you should have a good understanding of the basics of the interface, modeling tools, and workflow. With practice and experimentation, you can explore the full potential of Rhino 3D and create complex and beautiful designs.


Mid-Century Modern vs Contemporary Minimalism: Retro Warmth or Cool Restraint?
How do mid-century modern architecture and contemporary minimalism actually differ in practice?...

The Best Standing Desks for Architects: Stable, Large Picks for CAD and Drawing Work
Choosing a standing desk as an architect means more than picking any...

Hagia Sophia Istanbul and the Mosques That Define Sacred Geometry
From the pendentive dome of Hagia Sophia Istanbul to the retractable roof...

Curves of Genius: Oscar Niemeyer’s Brazilian Modernism and His Most Iconic Buildings
Oscar Niemeyer turned reinforced concrete into a sculptural language of sweeping curves,...

Leave a comment