

Architecture School Starting Guide
Architecture school requires students to engage extensively in studio classes, model making, and presentations while being open to constructive criticism for improvement.
 Elif Ayse Sen6 December 20215 Mins read501

Table of Contents Show
This architecture school guide covers what changes on day one: most of your learning happens in a design studio, you build models by hand, you show unfinished work to tutors at regular crits, and each project ends with a public review. Knowing how each of these works, and what to bring to it, makes the first semester far calmer.
 Starting Architecture School: Tips to Thrive and Prepare for Success in Your First Year
 Navigating Architectural Education: A Guide to Choosing the Right School
 Essential Architectural Model Making Equipment: A Starter Kit and Safety Guide
 Architecture Crit Presentation: How to Present Your Project With Confidence
Architecture school works differently from most university departments. Instead of lectures followed by an exam, you learn by making things, showing them, hearing feedback and making them again. These programs prepare architecture students for professional life in a disciplined way, and a few habits are worth setting up before your first studio meeting. This guide brings them together: how the studio runs, what model making involves, how crits and reviews work, how to manage your time and what supplies to buy first.

Welcome to the Studio
Studio is the core of an architecture degree. Most of your design work, sketch exercises and technical drawing practice happens there, and the rest of your courses tend to be planned around it. The Georgia Tech School of Architecture studio culture policy describes the studio as a version of the architect’s atelier, a place surrounded by drawings, models, computers and books, and states plainly that design work “entails a commitment to time in the studio outside of regular class hours.”
In practice, that means you will often stay after the scheduled session to finish drawings and models. The upside is the people around you. You work next to the same classmates every day, you see how they solve the same brief, and you learn as much from their desks as from your own. Music, long conversations and shared late dinners are part of studio life in most schools.
Studio habits that help from week one
- Use your desk every day, even for an hour. Work that stays at home does not get feedback.
- Keep the desk clear enough to pin up a sheet or put a model down when a tutor walks by.
- Respect other people’s work. Never move or borrow a classmate’s model or drawings without asking.
- Photograph your work at the end of each day. These photos become your process record and, later, portfolio material.
Get Ready for Making Models
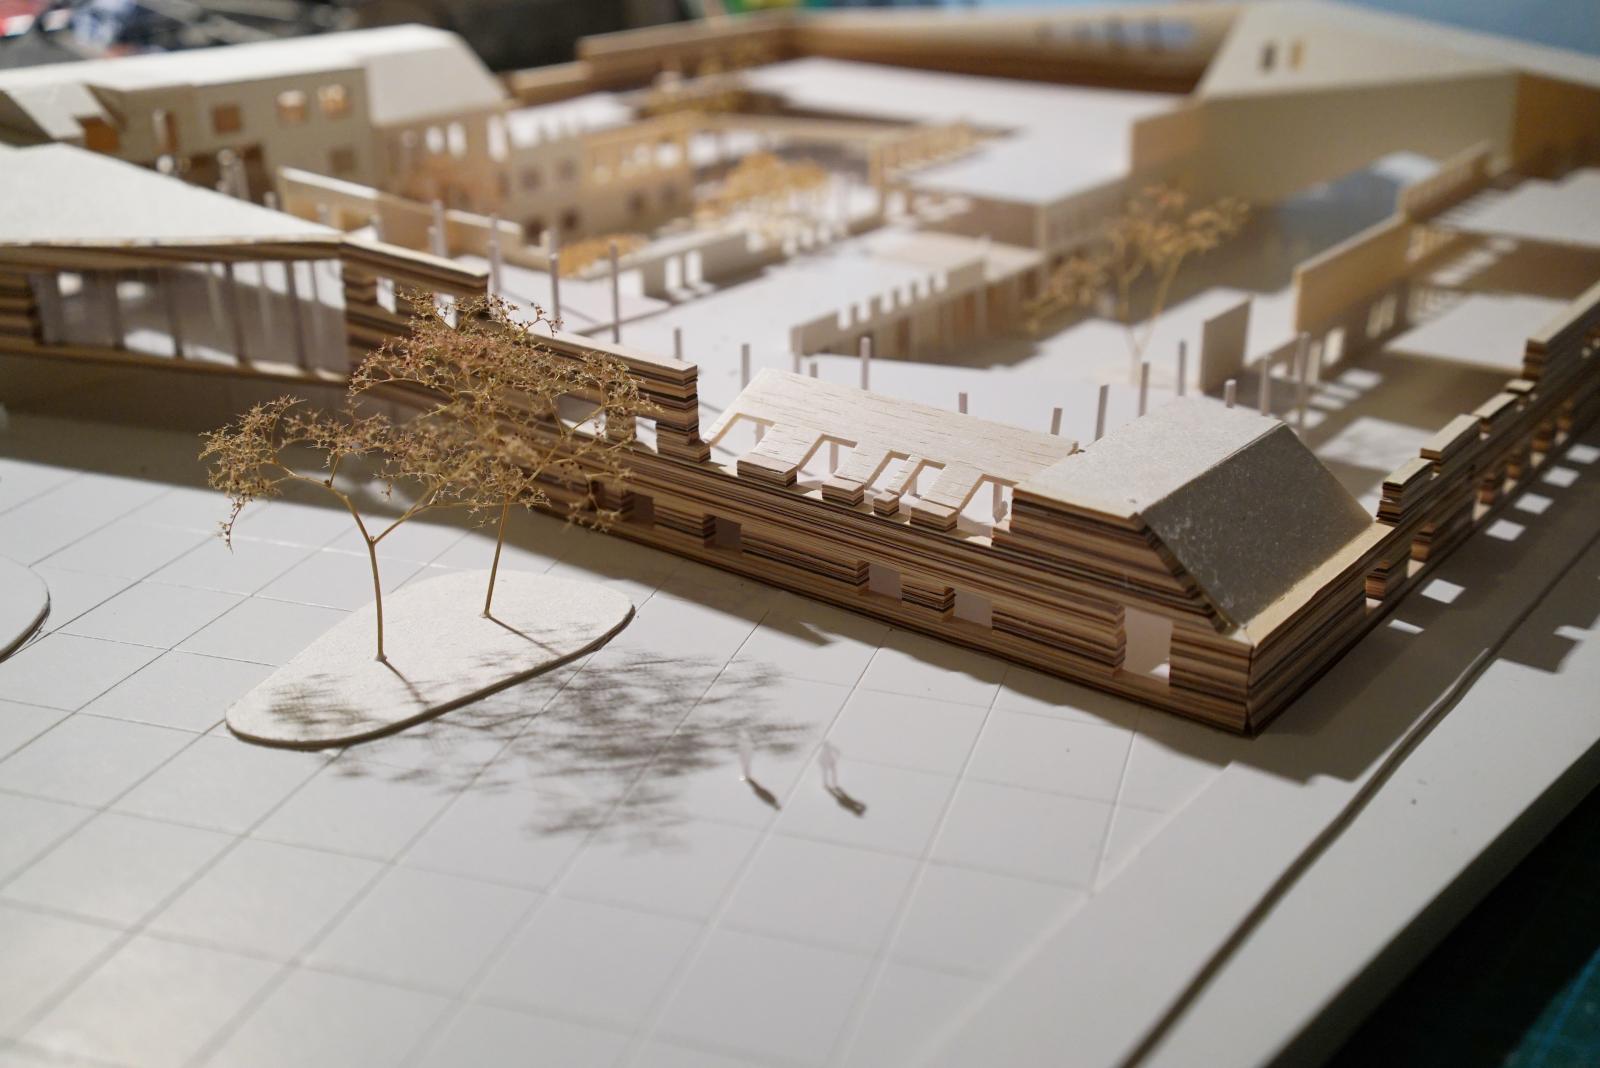
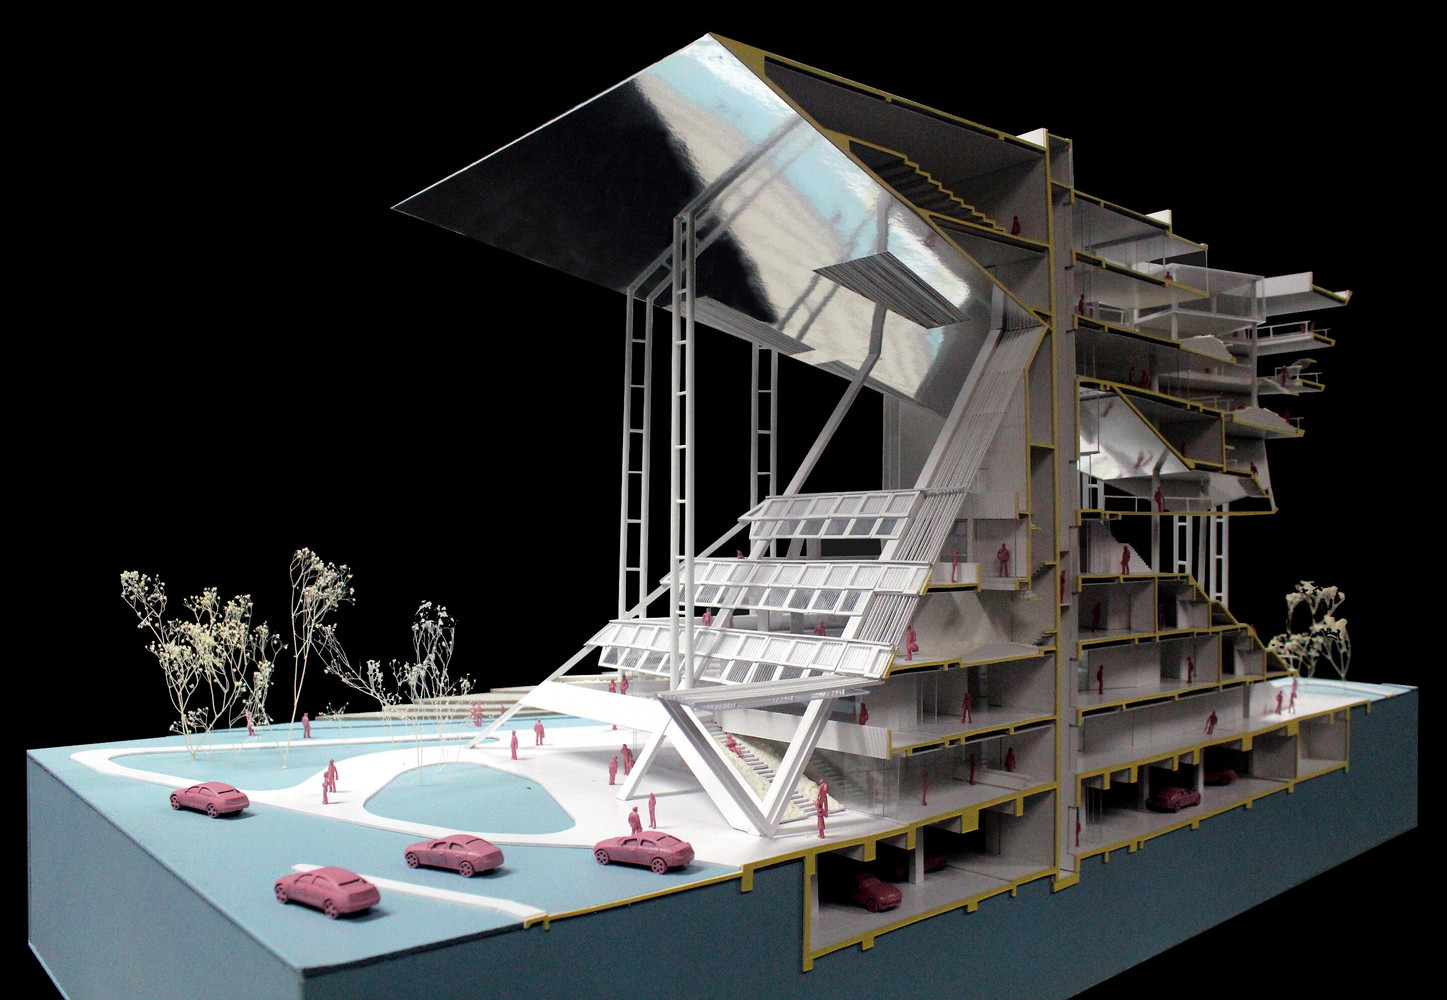
In the first years especially, you will get assignments built to train your model making skills: massing blocks, abstract compositions, site models and section models. You will spend many hours with friends in the model workshop or in the studio itself. Model making is a way of thinking, not only a presentation skill. A quick card model often answers a question that would take an hour to draw. Luckily, that is what studios are for: to cut, glue, break and redo.
Start with a small, reliable kit rather than everything at once. Our guide to model making equipment lists the tools worth buying first and what each one is for.
A first model making kit
- A self-healing cutting mat (A3 is a practical first size) and a metal ruler with a cork back.
- A scalpel or snap-off cutter with plenty of spare blades. A dull blade tears card and slips.
- White card, greyboard and foam board in two or three thicknesses.
- PVA glue, a glue stick and masking tape.
- A small set square for checking right angles.
Be Open to Crits
Sooner or later you will present your drawings and models to your tutors. These crits happen while a project is still developing, and each one is meant to push the work forward. Take notes while you listen, and ask a classmate to write them down if you are presenting. Read the comments as advice about the work, not about you. Asking friends for a quick review between official crits is just as useful. In architecture school, the more feedback you hear, the faster you improve.
Not every review looks the same. The Georgia Tech policy defines desk crits as conversations at the student’s desk and pin-ups as sessions at a review wall that often involve two, three or more students and may include outside critics. In both cases, students are expected to prepare visual material and questions in advance. Formal design reviews are held in a public setting with faculty and guest reviewers, and students are expected to take part in their peers’ reviews too.

Review types and what to bring
Names vary between schools, so check your course outline. The table below shows the four formats most first-year students meet.
| Review type | Where and who | What to bring |
|---|---|---|
| Desk crit | At your desk, usually one tutor | Current sketches, a working model and two or three questions you want answered |
| Pin-up | At a review wall, a small group of students, sometimes a guest | Drawings pinned in reading order, a short spoken summary and pins or tape |
| Midterm or interim review | Review room, studio tutors and often invited reviewers | A clear concept diagram, plans and sections at the set scale, a study model and a list of open questions |
| Final review (jury) | Public setting, faculty and guest critics | Finished boards, the final model, a rehearsed presentation and a notebook for comments |
For the spoken part, our guide to the architecture crit presentation breaks a review into a short opening, the walk through the drawings and the answers to questions.
Plan Your Time
Time is the resource most first-year students run out of. Studio deadlines stack on top of history, structures and technology courses, and model making always takes longer than planned. A few rules make a real difference:
- Work backwards from each review date and set your own deadline two days earlier for printing and pinning.
- Split the week into studio blocks and non-studio blocks so that lecture courses do not get pushed aside.
- Draw and model in parallel. Waiting for a “finished” plan before starting the model wastes days.
- Protect sleep before a review. A rested presenter explains a project better than an exhausted one.
If you keep missing deadlines, read why architecture students struggle with time management and which fixes work in studio.
Get the Right Supplies
You need a sketchbook to develop ideas, note what comes to mind, analyze your project site or record abstract thoughts. You will often sketch things you have read or watched in daily life. Keep the artistic side of architecture alive and make sketching part of your routine. Good sketch materials, a few colored markers and some paints make that habit easier to keep.
Do not buy the full shopping list before classes begin. Many tutors set specific pens, scales or paper sizes in the first week. Start with the basics below and use our list of essential tools for architecture students to fill the gaps once you know your course requirements.
- A sketchbook you are happy to fill quickly, A5 or A4.
- Pencils in a few grades, an eraser and a sharpener.
- Fine liners in two or three line weights.
- An architectural scale ruler in the units your school uses.
- Tracing paper for overlaying and redrawing.


Your First Two Weeks: A Checklist
- Find your studio desk and set it up with a lamp, a cutting mat and a place to pin drawings.
- Read the studio brief and the course outline twice, and write every review date into your calendar.
- Ask which pens, scales, paper sizes and model materials your tutor expects before buying them.
- Complete any workshop or model shop induction so you are allowed to use the tools.
- Read your school’s studio culture policy. It sets out what you can expect from tutors and what they expect from you.
- Learn the names of the people at the desks around you. You will work beside them for months.
- Start a sketchbook and a folder of progress photos, and add to both every day.
- Prepare at least two questions for your first desk crit.
Get Ready for the Excitement of Jury Day
Then comes the big day. On jury day you present your project to your professors and guest critics. The aim is to summarize the project clearly and explain it with drawings that read without long explanations. Rehearse a short opening that states the idea in one or two sentences, then walk the jury through your drawings in a logical order. You will probably spend some late nights preparing, so plan the final days carefully. Take the criticism that follows as a starting point for the next project, and enjoy the moment when your work goes up on the wall.

Architecture Students Hub
This guide is part of School Life and Learning, stage 6 of our student roadmap from the first diagram to the first internship. Next stage: Concept and Diagrams, or browse every free tool and guide in the Architecture Students Hub.






Interior Design for Commercial Spaces: Enhancing Functionality and Brand Identity
Commercial interior design has to serve brand, function and regulation at once....
 Begum Gumusel4 Mins read

What Architecture Students Should Know About Structural Glass and Guardrail Code
Glass guards look minimal, but structural behavior, safety glazing, connections and guardrail...
 illustrarch Editorial Team6 Mins read

Futuro House Production Revived in Finland After Decades-Long Hiatus
A Facebook listing for abandoned moulds led to the first new Futuro...
illustrarch Editorial Team3 Mins read

Building Your Dream Home in NSW: What You Should Know About Montgomery Homes
Montgomery Homes has been building across Sydney, Newcastle, the Hunter, Wollongong and...
illustrarch Editorial Team4 Mins read






Leave a comment