

Architectural Visualization with Blender: Free Assets and PBR Materials Guide
This guide breaks down how free asset packs, PBR material libraries, and Blender's built-in render engines help architects produce realistic visualizations without paid software. Covers sourcing assets, setting up materials, lighting for architecture, and practical workflow tips for both beginners and experienced users.

Table of Contents Show
What Is Architectural Visualization and Why Does Blender Fit?
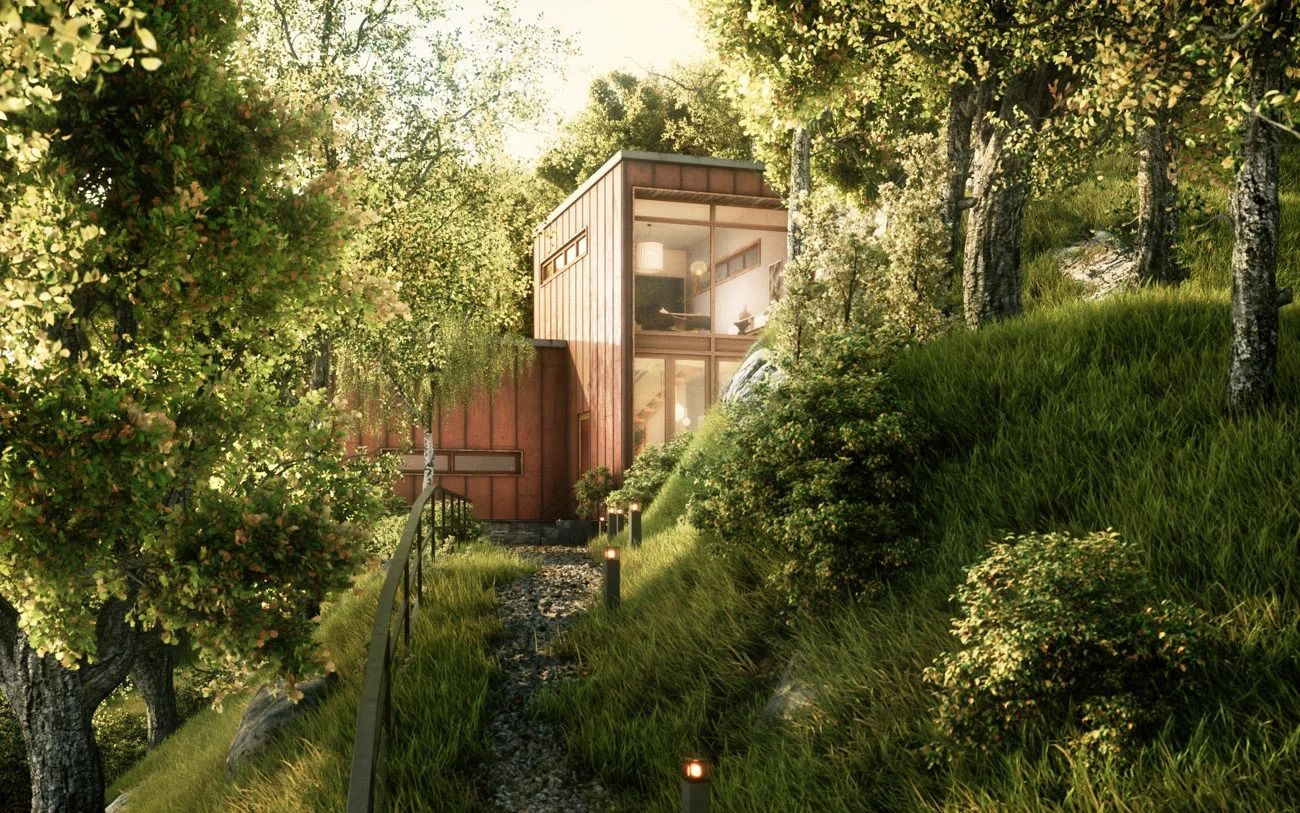
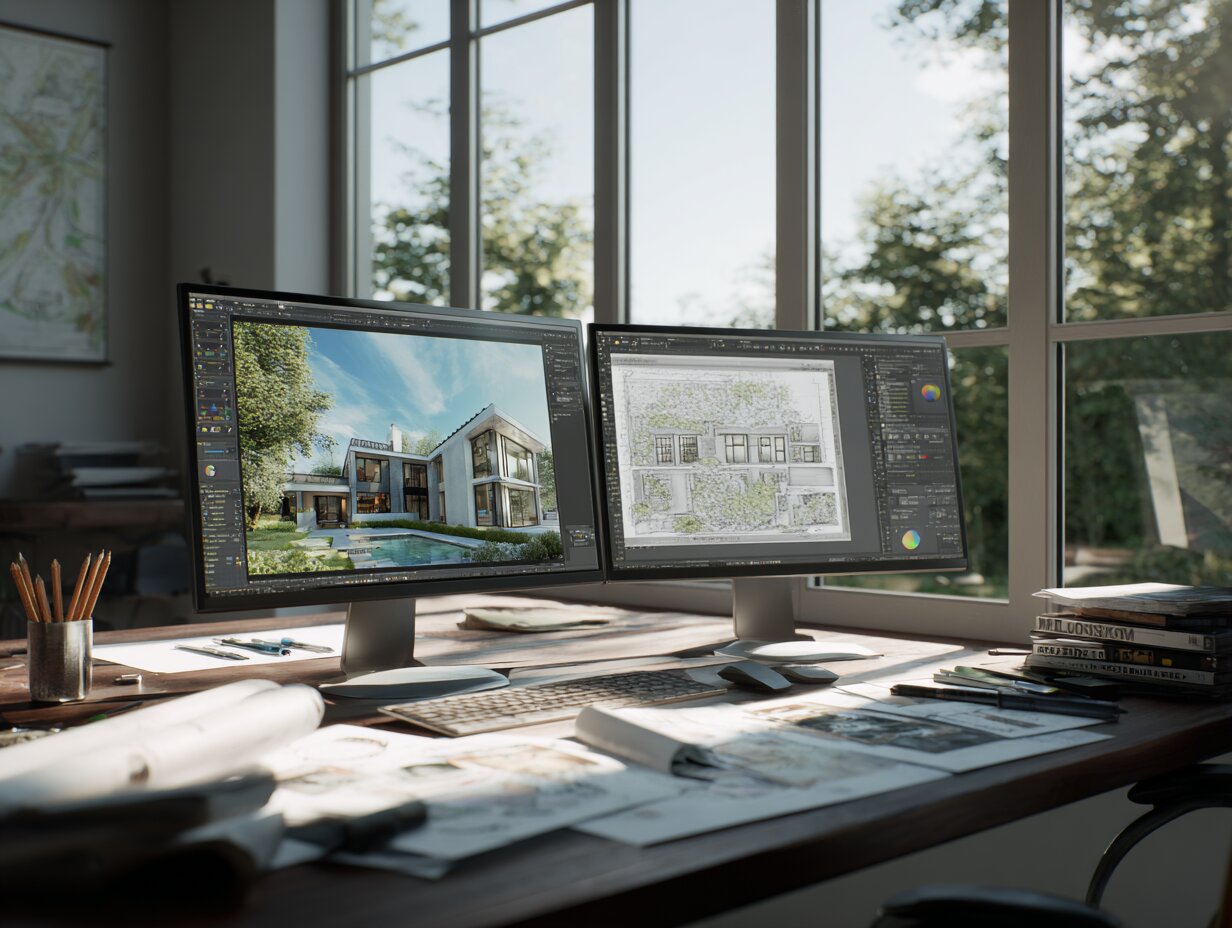 Architectural visualization is the process of creating 2D or 3D representations of a building design before construction begins. It covers everything from static exterior renders and interior walkthroughs to animated flyovers and VR experiences. The goal is to communicate spatial relationships, material choices, lighting conditions, and atmosphere to clients, investors, or planning authorities.
Blender fits this workflow because it handles the full pipeline in one application. You can import CAD files or floor plans, build 3D models using polygon or parametric tools, apply realistic materials through the Principled BSDF shader, set up natural or artificial lighting, and render final images or animations. The BlenderBIM add-on even brings IFC compliance and OpenBIM support into the same environment, making Blender viable for practices that need BIM interoperability alongside visualization.
Compared to commercial alternatives, the learning curve is steeper. Blender’s interface was designed for a broad range of 3D tasks, not specifically for architecture. But with consistent practice, most architecture students reach functional proficiency within four to six weeks. The payoff is access to a toolset that handles everything from early massing studies to final marketing renders.
Architectural visualization is the process of creating 2D or 3D representations of a building design before construction begins. It covers everything from static exterior renders and interior walkthroughs to animated flyovers and VR experiences. The goal is to communicate spatial relationships, material choices, lighting conditions, and atmosphere to clients, investors, or planning authorities.
Blender fits this workflow because it handles the full pipeline in one application. You can import CAD files or floor plans, build 3D models using polygon or parametric tools, apply realistic materials through the Principled BSDF shader, set up natural or artificial lighting, and render final images or animations. The BlenderBIM add-on even brings IFC compliance and OpenBIM support into the same environment, making Blender viable for practices that need BIM interoperability alongside visualization.
Compared to commercial alternatives, the learning curve is steeper. Blender’s interface was designed for a broad range of 3D tasks, not specifically for architecture. But with consistent practice, most architecture students reach functional proficiency within four to six weeks. The payoff is access to a toolset that handles everything from early massing studies to final marketing renders.
💡 Pro Tip
If you are switching from SketchUp or Rhino, start by importing one of your existing models into Blender rather than building from scratch. This lets you learn the material and lighting workflow first, which is where Blender’s architectural strength really shows, without getting stuck on modeling conventions that differ between programs.
Understanding PBR Materials for 3D Architectural Visualization
📐 Technical Note
A standard PBR material set for architecture includes at minimum five maps: Albedo (base color), Normal (surface detail), Roughness (glossiness control), Displacement (geometry offset), and Ambient Occlusion (shadow detail in crevices). Resolutions typically range from 1K (1024px) for background objects to 4K (4096px) for close-up surfaces. Higher resolutions increase VRAM usage significantly, so use 2K as a default and reserve 4K for hero surfaces only.
Where to Find Free PBR Material Libraries for Blender Architecture Renders
Comparison of Free PBR Material Libraries
The following table compares the key features of the most popular free PBR sources for Blender architectural rendering:| Library | Free Materials | Max Resolution | License | Blender Add-on |
|---|---|---|---|---|
| ambientCG | 2,000+ | 8K | CC0 (Public Domain) | No |
| Poliigon (Free Tier) | 50+ (rotating) | 4K | Royalty-Free | Yes |
| FreePBR | 600+ | 2K | Free for all use | No |
| CGAxis Free | 100+ | 4K | Commercial OK | No |
| LotPixel (Free Tier) | 1,500+ | 8K | Commercial OK | No |
| BlenderKit | Varies (free plan) | 4K | Mixed (per asset) | Yes (built-in) |
Free Asset Packs That Speed Up Blender Architectural Rendering
📌 Did You Know?
IES (Illuminating Engineering Society) light profiles are small text files that describe how real-world light fixtures distribute light. Tens of thousands of these files are available for free download, and when used in Blender, they produce accurate light patterns on walls and ceilings that significantly increase the realism of interior architectural renders. You can preview IES files with the free Photometric Viewer application before importing them.
Cycles vs. EEVEE: Which Render Engine for Architecture Visualization?
Blender includes two render engines, and choosing between them depends on your project stage and delivery requirements. Cycles is a physically accurate, ray-tracing render engine. It simulates light bounces, caustics, and global illumination to produce photorealistic results. For final presentation renders, competition entries, and marketing materials, Cycles is the standard choice. The tradeoff is render time: a single high-resolution exterior image can take anywhere from 15 minutes to several hours depending on scene complexity and hardware. Cycles supports both CPU and GPU rendering, and GPU acceleration (especially with NVIDIA CUDA or OptiX) reduces render times substantially. EEVEE is a real-time render engine that uses rasterization rather than ray tracing. It produces results in seconds rather than hours, making it ideal for design iteration, client presentations where you need to show changes on the fly, and animated walkthroughs where rendering thousands of frames with Cycles would be impractical. EEVEE’s quality has improved significantly in recent Blender versions, and for many interior scenes with controlled lighting, the visual difference from Cycles is minimal at typical presentation resolution. Many architects use both engines in a single project. EEVEE handles rapid iteration during the design phase, and Cycles produces the final deliverables. Since both engines use the same Principled BSDF shader and the same PBR materials, switching between them requires only changing the render engine setting. No material rebuilding is needed.🎓 Expert Insight
“Blender allows them to escape paid subscriptions and competes well with industry standards.” — Blender Foundation Feedback Survey 2025
The 2025 Blender user survey, with 5,102 participants, showed high satisfaction scores across modeling, rendering, and community support. Users frequently cited the ability to avoid subscription costs as a key reason for choosing Blender, with Cycles rendering quality receiving specific praise.
How to Set Up a Blender Architectural Visualization Scene Step by Step
Step 1: Import or Model Your Geometry
If you already have a 3D model from SketchUp, Rhino, Revit, or FreeCAD, import it using Blender’s built-in file format support (FBX, OBJ, DAE, IFC via BlenderBIM). Check scale immediately after import. Architectural models need to be at 1:1 real-world scale for lighting and material displacement to behave correctly. If you are modeling from scratch, start with your floor plan as a background reference image and extrude walls, floors, and ceilings from there.Step 2: Apply PBR Materials
Open the Shader Editor and build material nodes using the Principled BSDF shader. For each surface, connect your downloaded PBR maps: albedo to Base Color, roughness map to Roughness, normal map through a Normal Map node to the Normal input. Add displacement maps through the Material Output’s Displacement socket if you want geometric surface detail (for close-up shots of brick, stone, or wood grain). Set your texture mapping scale using a Mapping node connected to Texture Coordinate to ensure patterns appear at the correct real-world size.Step 3: Set Up Lighting
For exterior scenes, use an HDRI (High Dynamic Range Image) environment map. Free HDRIs from sites like ambientCG or Poly Haven provide realistic sky lighting with accurate sun position and color temperature. For interior scenes, combine an HDRI for window light with area lights or IES-profiled point lights for artificial fixtures. Avoid placing lights arbitrarily. Position them where real light sources would exist: ceiling recesses, floor lamps, window openings.Step 4: Compose and Render
Set your camera at a realistic height (approximately 1.5 to 1.7 meters from ground level for standing eye height). Use focal lengths between 16mm and 50mm for interiors and 30mm to 100mm for exteriors. Enable depth of field sparingly to guide viewer attention. Render a low-resolution test first to check lighting balance and material appearance, then increase resolution for the final output.💡 Pro Tip
When building your material library, organize textures into folders by category (wood, stone, metal, fabric, ground) and resolution (1K, 2K, 4K). Use Blender’s Asset Browser to mark frequently used materials as assets. This turns them into drag-and-drop resources you can apply across projects instantly, saving significant time on future scenes.
Essential Blender Add-ons for Architectural Visualization Software Workflows
⚠️ Common Mistake to Avoid
Many architects dismiss Blender because its interface looks like a VFX or animation tool rather than an architecture program. With the BlenderBIM add-on, Blender supports full IFC workflows and is used in professional BIM practice by studios worldwide. If your primary reason for avoiding Blender is that it does not look like “an architecture tool,” that assumption no longer applies.
How Does Blender Compare to Paid 3D Architectural Visualization Software?
The honest comparison depends on what stage of the visualization process you are evaluating. For modeling speed on standard architectural geometry, dedicated tools like Revit and ArchiCAD are faster because their interfaces are built specifically for walls, doors, and floor plans. Blender’s general-purpose modeling tools require more manual steps for the same tasks. For rendering quality, Blender’s Cycles engine produces results that stand alongside V-Ray, Corona, and Lumion at the top end. Professional architectural visualization artists worldwide use Cycles for client-facing deliverables. The 2024-25 State of Architectural Visualization report by Chaos and Architizer found that 11% of firms actively use AI in their visualization workflows, and tools like Blender are increasingly part of hybrid pipelines that combine traditional rendering with AI-assisted visualization. Where Blender genuinely excels over paid alternatives is total cost of ownership. A V-Ray license costs several hundred dollars per year. 3ds Max runs approximately $1,700 annually. Lumion’s annual license starts around $1,500. Blender, including all updates and features, costs nothing. For students, freelancers, and small practices, this difference is significant enough to build an entire visualization pipeline around. The main areas where paid software still holds advantages are real-time presentation (Lumion and Twinmotion offer faster setup for walkthrough presentations), automated documentation generation (Revit and ArchiCAD), and specialized post-processing tools. For many practices, the practical solution is to use Blender alongside other tools rather than replacing everything.🏗️ Real-World Example
BlendFX Studio (Germany): This small visualization studio uses Blender as its primary tool for creating interior and exterior architectural visualizations, VR experiences, and AR presentations for clients. By building their entire pipeline on Blender, they eliminated software licensing costs while producing work competitive with studios using commercial tools. Their workflow demonstrates that Blender can serve as the sole visualization platform for professional-level output.
Optimizing Render Quality and Speed in Blender for Architecture
Building a Complete Free Visualization Pipeline
✅ Key Takeaways
- Blender’s Cycles and EEVEE render engines handle both photorealistic and real-time architectural visualization at zero software cost.
- Free PBR material libraries like ambientCG, FreePBR, and LotPixel provide thousands of architecture-ready textures that work directly with Blender’s Principled BSDF shader.
- Asset packs, IES light profiles, and the BlenderKit add-on eliminate hours of manual asset creation per project.
- The BlenderBIM add-on brings full IFC and OpenBIM compliance, making Blender viable for professional BIM-integrated visualization workflows.
- A complete free visualization pipeline (SketchUp Free + Blender + ambientCG + GIMP) can produce professional-quality output suitable for client presentations, competitions, and portfolios.
Final Thoughts
Architectural visualization with Blender is no longer a workaround or a student-budget compromise. It is a legitimate production tool used by professionals worldwide. The combination of free PBR materials, community-built asset packs, and two capable render engines means the barrier to producing high-quality architectural renders has dropped to nothing more than time and skill investment. If you have been considering Blender for your architecture practice or studies, the ecosystem around it has matured to the point where the software itself is rarely the limiting factor. Your design ideas and visualization skills are. Technical specifications and software features described in this article are based on Blender 4.x series releases. Features and interface details may vary between versions. Always verify add-on compatibility with your specific Blender version before installing.Related Articles
- 3D architectural visualization
- 3d architectural visualization rendering
- 3d architectural visualization software
- Architectural Visualization
- architectural visualization company
- architectural visualization software
- architecture visualization
- blender architectural rendering
- blender architecture
- blender architecture render
- blender for architecture
- what is architectural visualization


FormIt Alternatives for Architects: 6 Tools for Conceptual Design in 2026
Autodesk FormIt entered maintenance mode in 2024 and is merging into Forma....

Houdini Alternatives for Architects: 7 Practical Options Compared
A practical comparison of seven Houdini alternatives suited for architectural workflows. Each...

Illustrator Alternatives for Architects: 7 Tools That Actually Work
Adobe Illustrator dominates architectural diagramming, but its subscription is hard to justify...

Enscape Alternative: 6 Best Rendering Tools for Architects in 2026
A practical comparison of six enscape alternatives for architects in 2026, covering...

Leave a comment