

How to Read Construction Drawings: A Practical, Field-Tested Guide
How to read construction drawings: a clear, step-by-step guide to decode sheets, scales, symbols, and specs—spot clashes, cut rework, and build as designed.

Table of Contents Show
If you’ve ever unrolled a set and wondered where to start, you’re not alone. Learning how to read construction drawings is about finding the story in lines, symbols, and notes, so we can build exactly what was intended, on time and without costly rework. In this guide, we’ll walk through the parts of a drawing set, how to decode sheets, and how to connect drawings with specs, so we can navigate confidently from concept to punch list.
Understand What Construction Drawings Include
Types Of Drawings (Architectural, Structural, MEP, Civil)
A full set covers multiple disciplines, each telling a slice of the same story:
- Architectural (A): plans, elevations, sections, details, interiors, finishes.
- Structural (S): foundations, framing plans, rebar, structural details.
- MEP (M, E, P, FP): mechanical ductwork and HVAC, electrical power/lighting/single-line, plumbing piping/fixtures, fire protection.
- Civil (C): site grading, utilities, stormwater, paving.
We’ll also see specialty sheets (ID for interiors, L for landscape, FA for fire alarm, etc.).

Sheets, Sets, And How They Fit Together
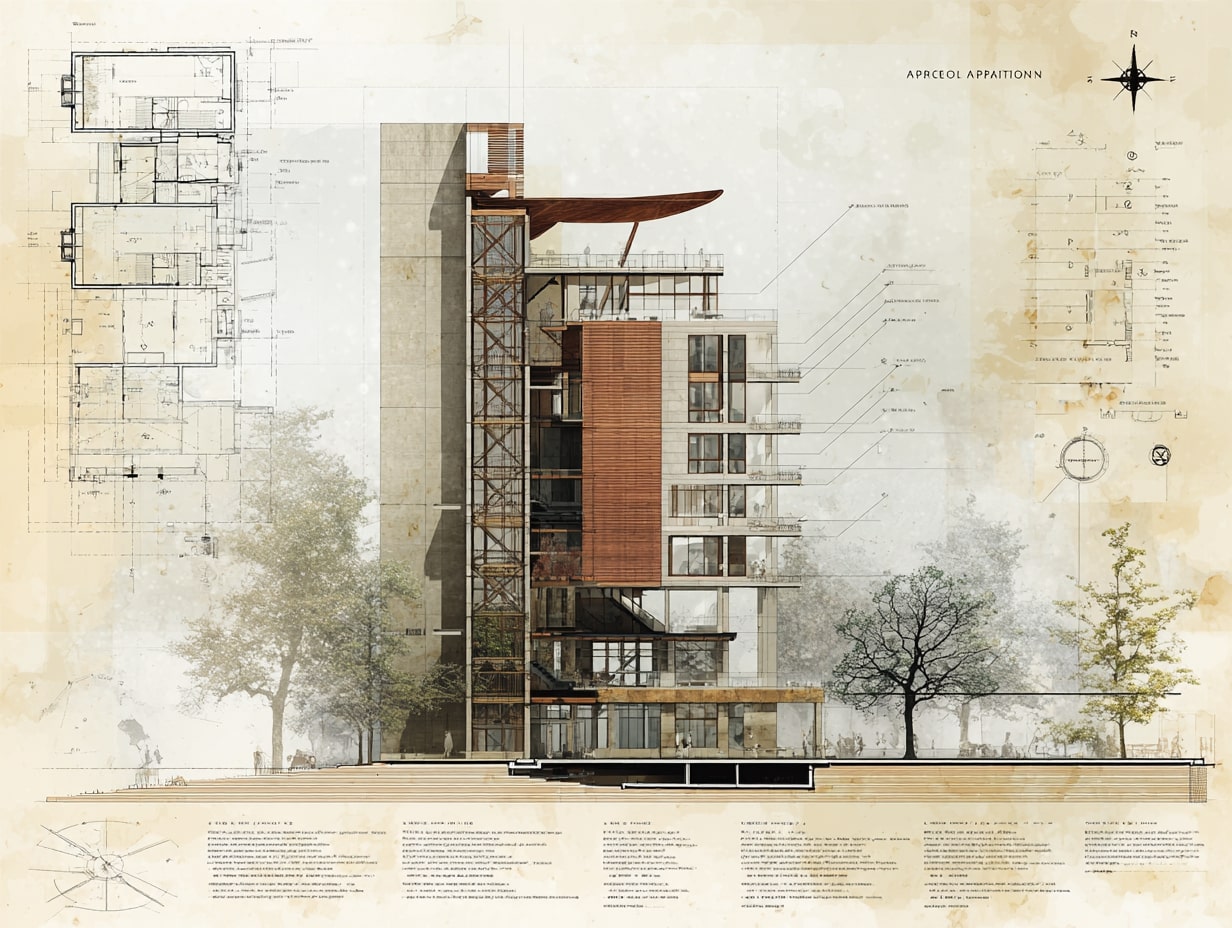
Sheets are organized to move from big picture to fine detail. A typical flow: cover sheet and code plans → overall site and floor plans → enlarged plans → elevations and sections → details → schedules. Naming often follows A-101 (plan), A-201 (elevation), S-301 (details). Keep a mental map: plans show “where,” elevations show “what it looks like,” sections show “how it’s built,” and details show “exactly how parts meet.”
Free Online Staircase Calculator
Free online staircase calculator for architects, builders and DIY enthusiasts. Calculate riser height, tread depth, stair angle, stringer length and verify compliance with international building codes including IRC, IBC, UK Building Regulations, Eurocode and Australian BCA.
Dimensions
Optional Settings
Building Code
Comfort Rating (Blondel's Formula)
Formula: 2R + T = - mm
Ideal range: 600-650mm
Building Code Compliance
Enter dimensions and click Calculate
Stringer Details
Quick Reference: Building Code Requirements
| Code | Max Riser | Min Tread | Max Angle | Min Headroom | Min Width |
|---|---|---|---|---|---|
| IRC (USA Residential) | 196mm (7.75") | 254mm (10") | ~37° | 2032mm (6'8") | 914mm (36") |
| IBC (USA Commercial) | 178mm (7") | 279mm (11") | ~33° | 2032mm (6'8") | 1118mm (44") |
| UK Building Regs | 220mm | 220mm | 42° | 2000mm | 800mm |
| Eurocode | 190mm | 260mm | 38° | 2100mm | 900mm |
| Australian BCA | 190mm | 240mm | 38.5° | 2000mm | 600mm |
Decode The Sheet: Title Blocks, Revisions, And Legends
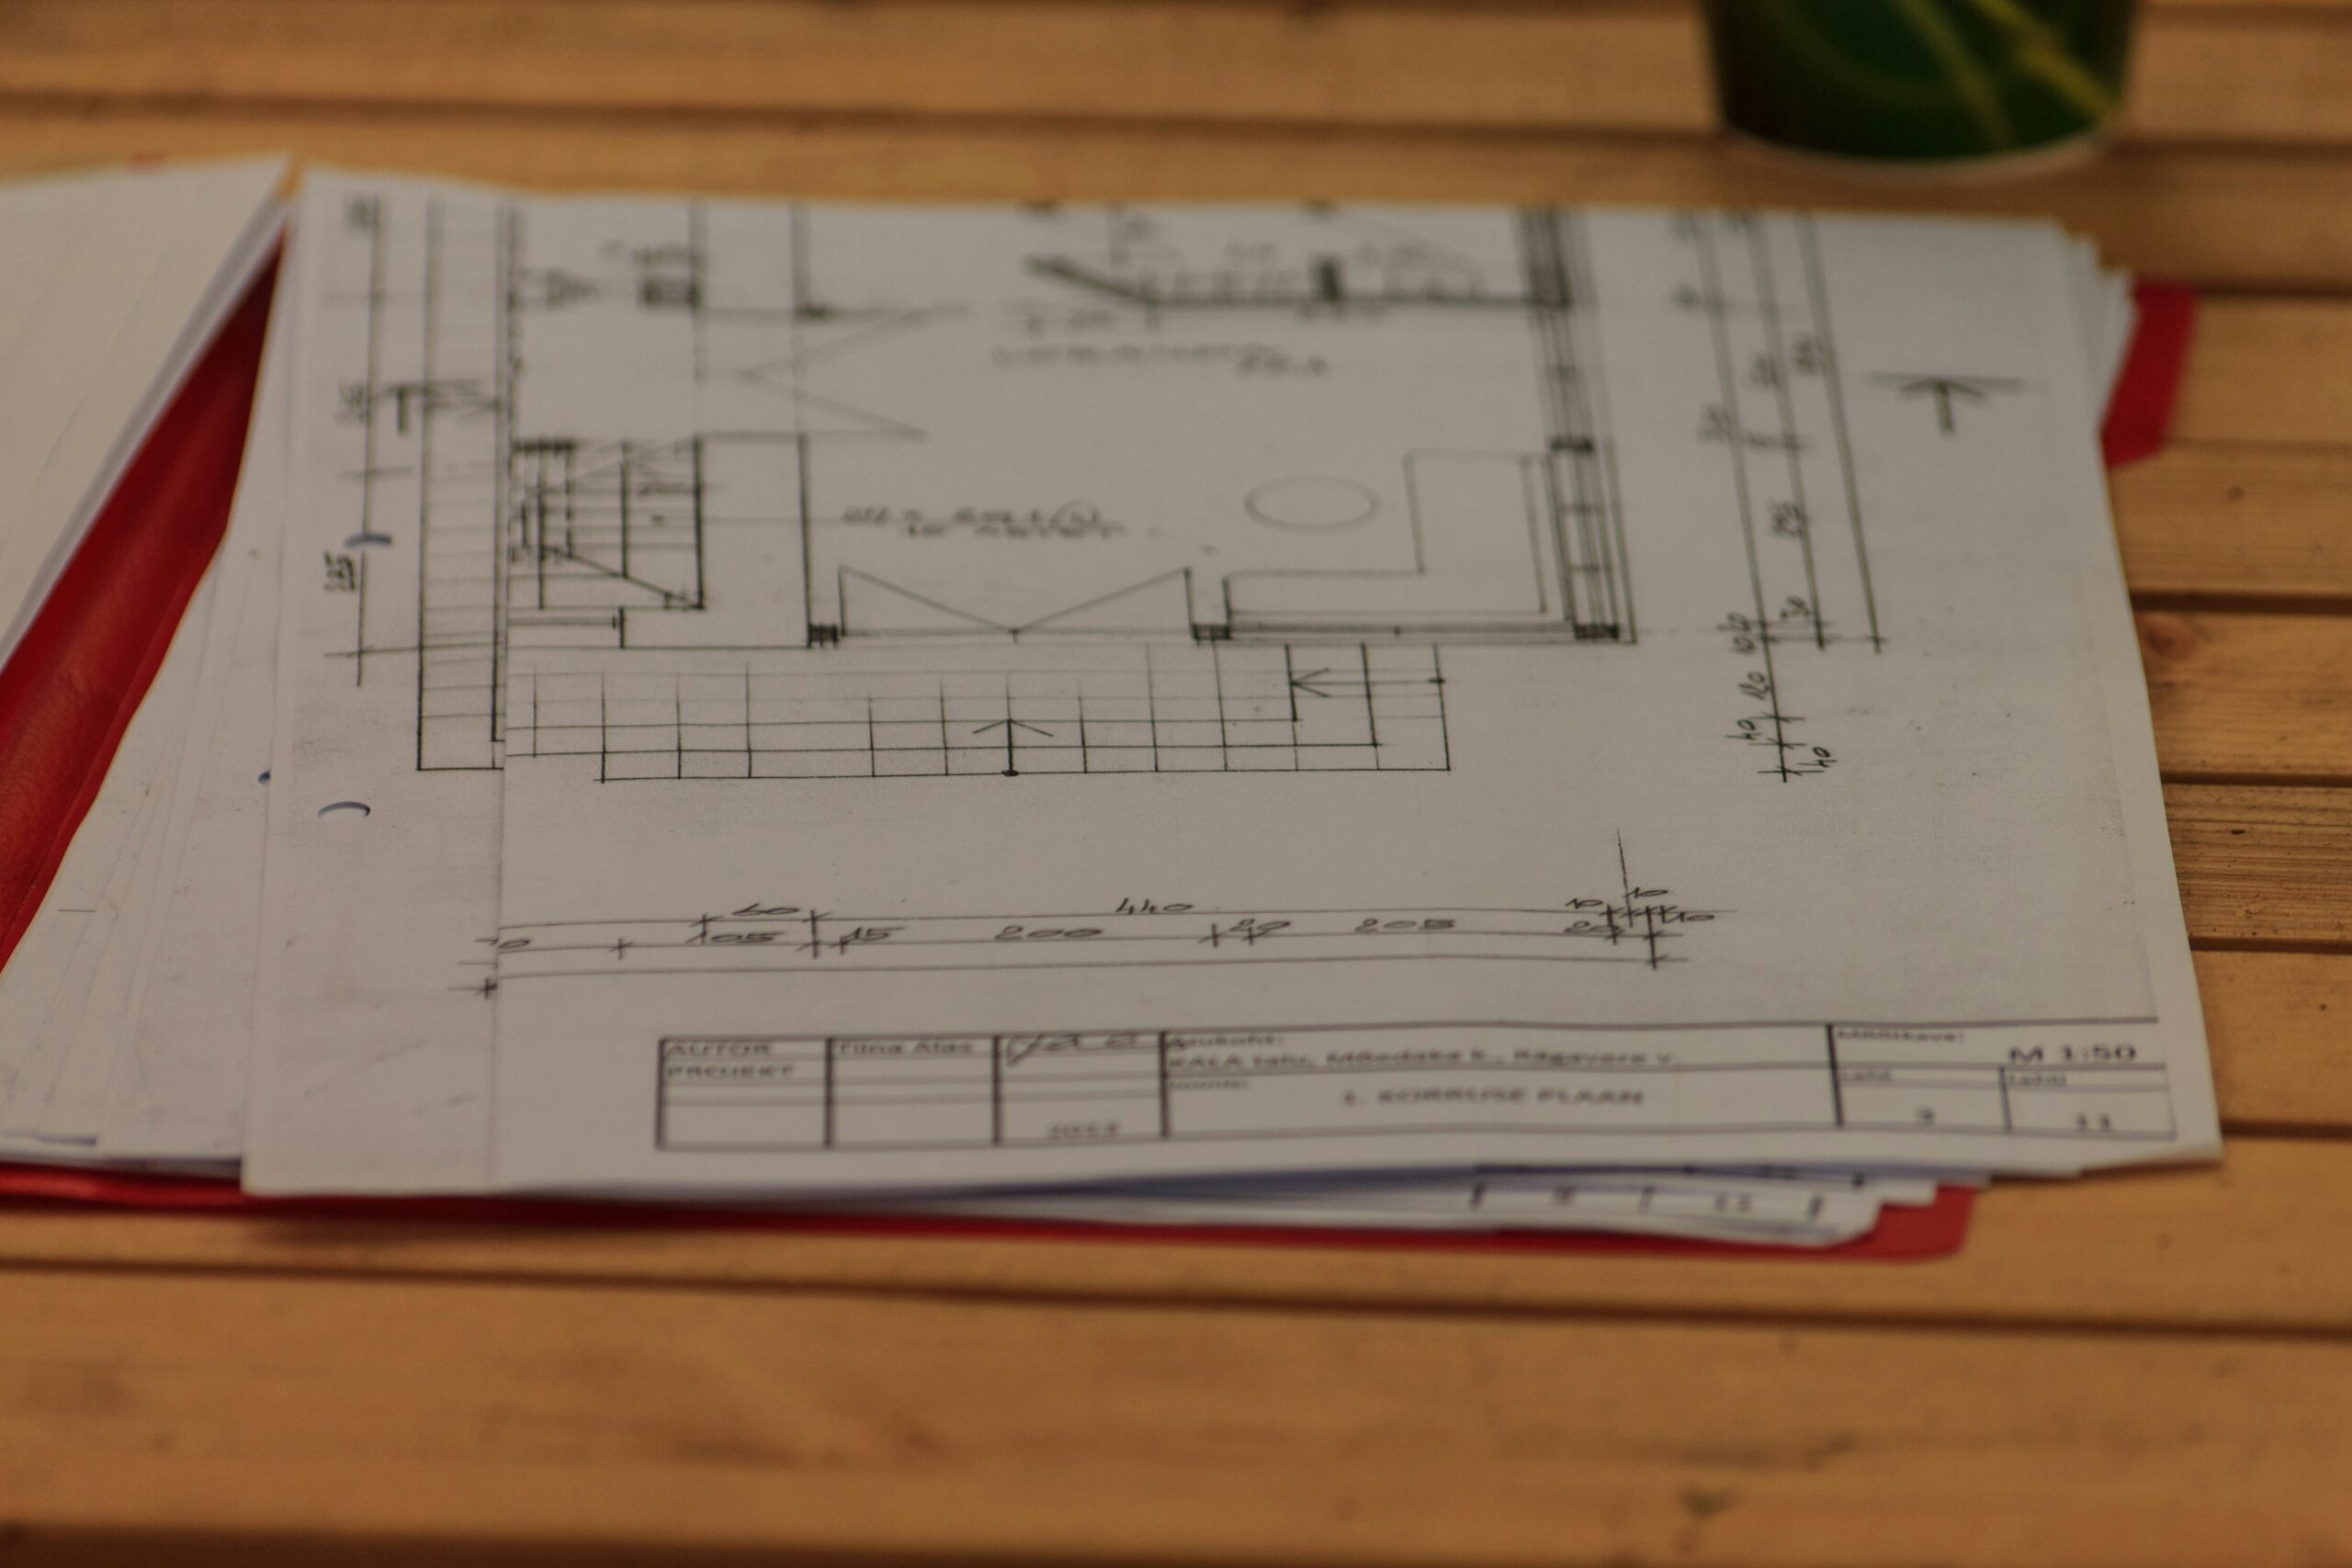
Title Block Fields To Check First
Before anything else, we check the title block:
- Project name and address
- Sheet title and number
- Scale and north arrow (if applicable)
- Designer/engineer of record, seals, and issue date
- Sheet issue set (bid, permit, IFC, addendum)
- Drawing status notes (preliminary vs. for construction)
These tell us whether the sheet is current and what contract it belongs to.
Revision Clouds And Issue Histories
Revisions are marked with clouds and delta symbols. The delta number references a revision entry in the title block with a date and description (e.g., Rev 3: Addendum 2 door changes). We always cross-check the revision index against our set logs, so a clouded door size on A-701 matches the latest coordination on the door schedule and any addenda.
Legend, Abbreviations, And Symbols
Legends decode line types and symbols (e.g., partition types, diffusers, outlets). Abbreviation lists prevent guesswork: AFF (above finish floor), T.O.S. (top of steel), CLR (clear). If a symbol isn’t in the legend, we look for a general note or a discipline-specific legend on another sheet.
Master Scales, Grids, And Dimensions
Using Scales And Scale Bars
Check the stated scale and verify with the scale bar, especially when printing at half-size. Common scales: 1/8″ = 1′-0″ for plans, 3/8″ or 1/2″ for enlarged plans, and 1 1/2″ details. If dimensions conflict with scaled distances, dimensions win.
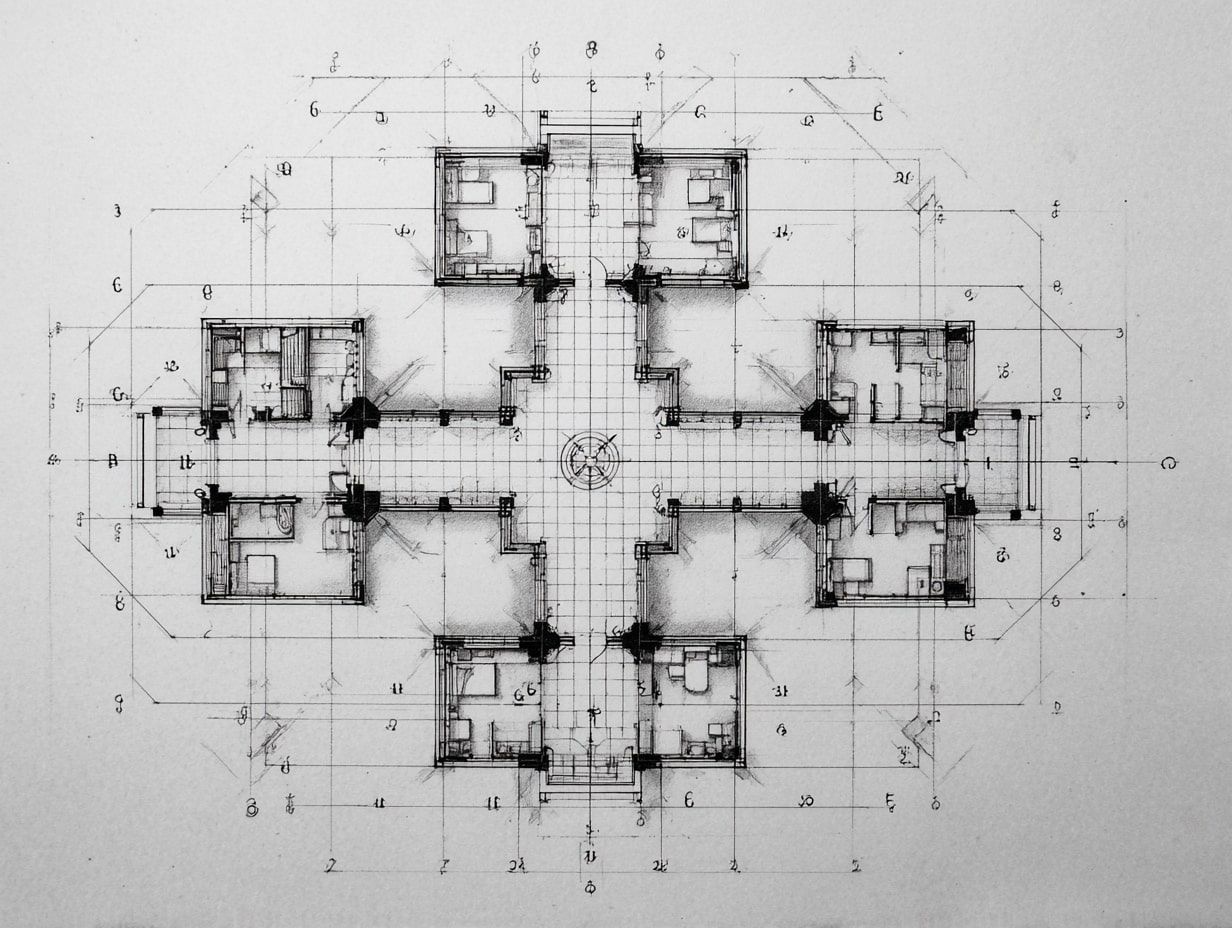
Grid Lines And Control Points
Grid lines (A, B, C… and 1, 2, 3…) anchor layout. We set out columns, walls, and shafts by grid intersections and verify with survey control points and benchmarks. On site, control is king, tie layout to the benchmark elevation and the project coordinate system before pulling tapes.
Reading Dimensions, Elevations, And Tolerances
Look for dimension strings: overall → major bays → openings. Elevations reference a datum (often 0′-0″ at finished floor). Tolerances matter: a door frame rough opening might require +3/8″, and structural camber or slab flatness (FF/FL) can affect built-ins. When in doubt, note the tolerance in our pre-install checklist.
Read Views The Right Way: Plans, Elevations, Sections, And Details
Plan Views And Orientation
Start with the north arrow. Confirm floor, building wing, and orientation tags. Plans show walls, openings, fixtures, and references to other views. We trace flow: entry → corridor → room, then jump to enlarged plans where callouts indicate.
Elevations And Callouts
Elevations translate plan lines into faces. Callouts show material tags, finish heights, and datum lines. Window head and sill heights, parapet caps, and alignments across façades are easier to spot here than on plan.
Sections, Details, And Reference Bubbles
Section marks cut through the building to show assemblies: structure, insulation, vapor barriers, flashings. Reference bubbles pair a detail number with a sheet number (e.g., 5/A-501). Follow these breadcrumbs to understand how the roof ties into the wall or how waterproofing wraps at a curb.
Connect Drawings With Specs, Schedules, And Notes
General Notes Vs. Keynotes
General notes apply to the whole sheet or discipline. Keynotes are numbered tags tied to a list (e.g., K-12: Type ‘X’ gypsum at shaft walls). We read both together: a keynote often relies on a general note for installation standard.
Door, Window, And Finish Schedules
Schedules consolidate data: door types, hardware sets, handing: window types and glazing: finish codes per room. When a door tag says D-117, we jump to the door schedule for size, rating, and hardware, then cross-check life-safety sheets.

Drawing–Specification Coordination
Drawings show quantity and location: specs define quality and performance. We align details with CSI specs (e.g., 08 14 00 for wood doors). If a detail calls for WRB A but Section 07 27 26 lists WRB B, we flag it. BIM and architectural languages can help here, architectural languages like IFC, GDL, and gbXML formalize model data and properties, making it easier to track assemblies across drawings and specifications without translation errors.
Coordinate Across Disciplines And Catch Conflicts
Typical Clash Points To Check
- Ducts vs. beams at tight soffits
- Pipe slopes vs. slab drops
- Sprinkler heads vs. light fixtures and ceiling layouts
- Door swings vs. radiators or card readers
- ADA clearances at restrooms and casework
We walk the model or overlay PDFs to catch these early.

RFIs, Submittals, And Field Clarifications
When something’s unclear, we issue an RFI with a markup referencing exact sheets and details. Submittals should mirror the specified products and note any deviations. Field clarifications, sketches or bulletin drawings, must be folded back into our working set.
As-Builts And Record Drawings
We redline changes during construction: penetrations moved, valve locations adjusted, outlet heights shifted. Those as-builts become record drawings for turnover and future maintenance.
Conclusion
Reading construction drawings isn’t guesswork, it’s a process. We start with the title block, verify revisions, anchor to scales and grids, then follow callouts to details while cross-referencing specs and schedules. Keep an eye on coordination hot spots, document questions fast, and capture changes as they happen. Do this consistently and we’ll cut rework, protect budgets, and deliver exactly what was designed, no surprises when the punch list shows up.
- analyzing construction drawings
- construction blueprints guide
- construction drawings for beginners
- construction drawings interpretation
- field-tested construction drawings
- how to read construction drawings
- interpreting construction drawings
- practical construction drawing tips
- reading architectural drawings
- understanding construction plans


Sydney’s Buildings Are Ageing Faster Than Most Owners Realise
There is a wave of building deterioration moving through Sydney's property stock...

Famous Buildings in Asia: 6 Imperial Palaces That Shaped a Continent
A focused look at six iconic buildings in Asia, each an imperial...

10 Signs It’s Time to Upgrade Your Property Fence
Table of Contents Show Repairs Keep Piling UpPosts Are LeaningBoards Are Cracked...

Walt Disney Concert Hall: Frank Gehry’s Stainless Steel Symphony in Los Angeles
Frank Gehry's Walt Disney Concert Hall took 16 years from initial design...

Leave a comment