

A Beginner’s Guide to Architectural Details
Architectural details explained for beginners: clear terms, key joints, proportions, climate-smart specs, practical tips to design and build with confidence.

Table of Contents Show
Architectural details are where ideas meet reality, the junctions, profiles, and materials that turn a sketch into a building with character and staying power. In this beginner’s guide to architectural details, we’ll demystify the terms, the logic behind them, and the decisions that make a space perform better and feel right. Whether you’re planning a renovation or starting your first ground-up project, understanding detailing helps us design with confidence and communicate clearly with builders.
What Architectural Details Are and Why They Matter
Architectural details are the small-scale components and connections, how a window meets a wall, how a stair turns a corner, how materials stop and start. They’re not decoration tacked on at the end: they’re the bones and seams that determine how a building looks, ages, and works.
Performance, Longevity, and Beauty
A good detail keeps water out, manages movement, and simplifies maintenance. Drip edges throw water clear of the facade. Flashings shingle over each other to shed rain. Proper clearances allow wood to breathe. When performance is handled, beauty follows, clean lines, crisp shadows, and materials that patina gracefully instead of failing.

Context and Human Scale
Details tie a building to its place and people. In a coastal climate, stainless fasteners and rainscreens matter. In a historic neighborhood, the thickness of casings and the reveal of a sill connect to local precedent. At the human scale, the feel of a handrail or the depth of a window jamb shapes daily experience. That’s experiential design in practice, crafting tactile, sensory moments like a warm wood handrail, a sunlit deep window seat, or a textured brick you brush as you enter.
Free Online Staircase Calculator
Free online staircase calculator for architects, builders and DIY enthusiasts. Calculate riser height, tread depth, stair angle, stringer length and verify compliance with international building codes including IRC, IBC, UK Building Regulations, Eurocode and Australian BCA.
Dimensions
Optional Settings
Building Code
Comfort Rating (Blondel's Formula)
Formula: 2R + T = - mm
Ideal range: 600-650mm
Building Code Compliance
Enter dimensions and click Calculate
Stringer Details
Quick Reference: Building Code Requirements
| Code | Max Riser | Min Tread | Max Angle | Min Headroom | Min Width |
|---|---|---|---|---|---|
| IRC (USA Residential) | 196mm (7.75") | 254mm (10") | ~37° | 2032mm (6'8") | 914mm (36") |
| IBC (USA Commercial) | 178mm (7") | 279mm (11") | ~33° | 2032mm (6'8") | 1118mm (44") |
| UK Building Regs | 220mm | 220mm | 42° | 2000mm | 800mm |
| Eurocode | 190mm | 260mm | 38° | 2100mm | 900mm |
| Australian BCA | 190mm | 240mm | 38.5° | 2000mm | 600mm |
The Language and Fundamentals of Detailing
Every trade has a vocabulary. Learning it helps us draw better and avoid costly misunderstandings.
Common Terms and Profiles
- Reveal: A deliberate setback that creates a shadow line or separates materials.
- Return: How a profile comes back to meet a surface (e.g., casing returns).
- Miter, butt, and scarf joints: Different ways materials meet at corners or in length.
- Profiles: Ogee, bevel, bullnose, chamfer, small geometry shifts that change how light reads a surface.


Scale, Rhythm, and Proportion
We read buildings like music. Regular spacing of windows sets rhythm: consistent mullion sizes keep the beat. Proportion, window height-to-width, stair riser-to-tread, creates harmony. Use simple ratios (1:1, 2:3, the rule of thirds) to guide openings and trim so they feel balanced.
Alignments, Joints, and Shadow
Align horizontal elements (sills, countertops, railings) and let verticals land with intent (door heads meeting cabinet tops). Plan joint locations where they’re either celebrated (expressed kerfs) or hidden (behind downspouts). And don’t fear shadow: a 1/2-inch reveal can make a facade read crisp without adding cost.
Essential Exterior and Interior Details
Openings: Windows, Doors, and Trim
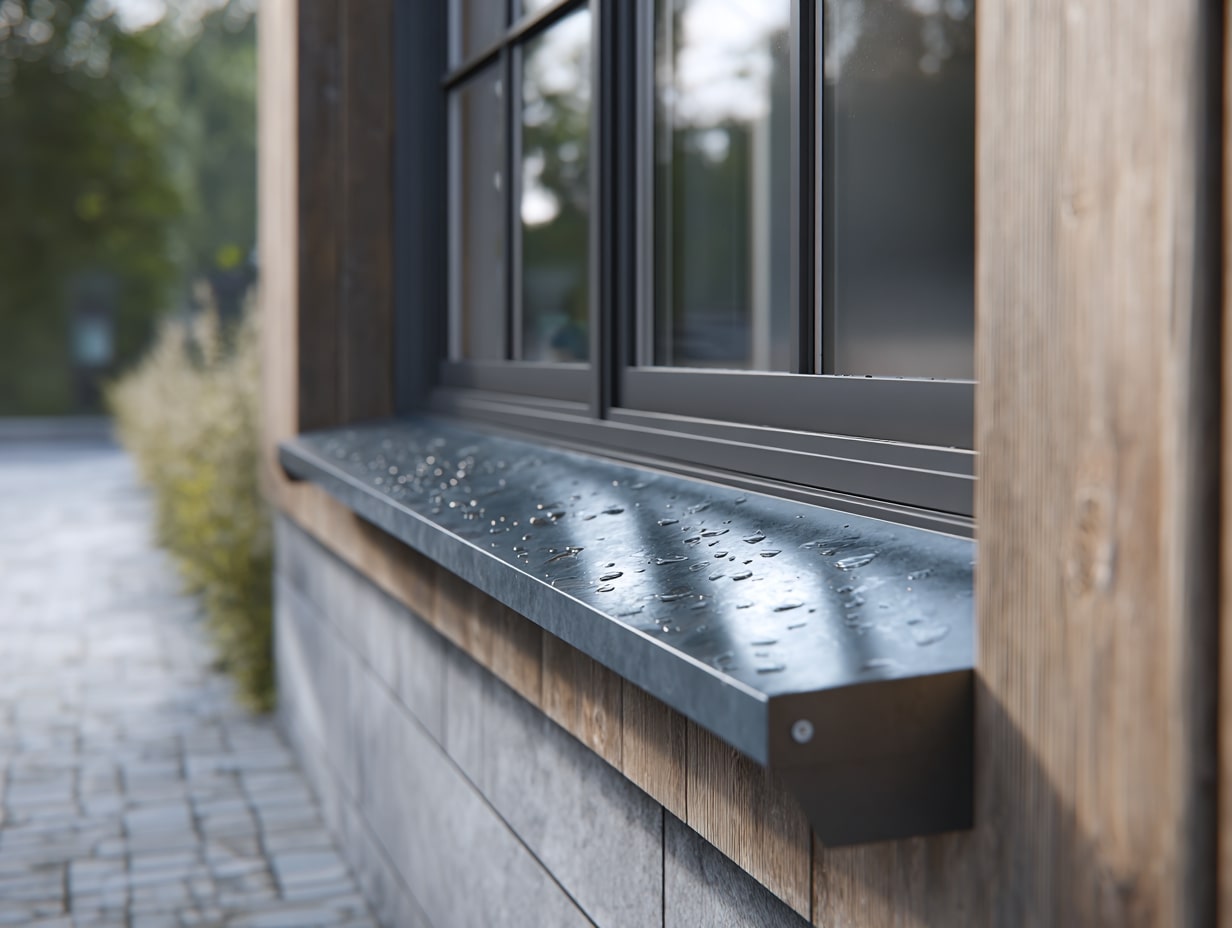
Openings are the eyes of a building. Deep jambs add character and improve insulation at the perimeter. Use backer rod and sealant joints sized to manufacturer specs (typically 2:1 width-to-depth) for longevity. Sills should slope at least 6–10 degrees: add a drip kerf underneath to keep water off the wall.
Roof Edges, Flashings, and Gutters
The roof edge is a first line of defense. Layer flashings in shingle fashion: underlayment, drip edge, membrane, then counterflashing. Gutters need adequate capacity and downspout placement away from entries. In snowy regions, consider ice and water shield at eaves and kick-out flashings where roofs meet walls.
Facade Cladding and Control Layers
Think in layers: structure, air, water, vapor, then cladding. Use a continuous air barrier, an outward-draining water-resistive barrier, and a ventilated cavity (rainscreen) behind siding or brick. Specify corrosion-resistant fasteners compatible with cladding (e.g., stainless for cedar to avoid staining).
Millwork: Baseboards, Casings, and Crown
Interior trim hides movement and protects walls. Size baseboards to ceiling height (for 8–9 ft ceilings, 4–6 in bases read balanced). Keep casing widths consistent across rooms. When budgets are tight, choose one elegant profile and repeat it, consistency beats complexity.
Stairs, Railings, and Transitions
Stairs feel best around 7 in riser and 11 in tread (check local code). Handrails should be comfortable to grip and return to the wall to avoid snags. At flooring transitions, use reducers or metal schluter profiles for a clean, durable edge. These are everyday touchpoints, the heart of experiential design, think of a leather-wrapped rail in a library or a cool steel balustrade in an art studio.
Choosing Materials, Style, and Budget
Translating Historical Styles to Today
We can borrow logic, not just looks. A Craftsman home’s deep eaves and exposed rafters were about weather and craft: we can express that with simplified brackets and modern membranes. Georgian symmetry can inform window placement even with contemporary, thin-profile frames.

Climate and Maintenance Considerations
Materials must match climate. In wet zones, favor fiber cement, brick, or well-detailed wood with ventilated cavities. In high-UV areas, choose finishes with strong UV inhibitors. Plan for maintenance cycles: factory-finished metals and acetylated woods last longer with fewer repaints.
Where to Splurge Versus Save
Splurge on touchpoints and interfaces: entry doors, hardware, stair rails, and high-abuse surfaces like countertops. Save on broad, low-touch areas: secondary room flooring, stock interior doors, or simplified crown. Spend where detailing elevates daily life.
From Concept to Construction
Drawing Conventions and Shop Drawings
Start with clear 2D details at key conditions: window head, jamb, sill: roof eave: wall base: stair nosing. Use consistent line weights, cut elements heavy, beyond light, and label assemblies by layer. Expect shop drawings from fabricators for windows, railings, and millwork: review alignment, clearances, and finishes.

Tolerances, Fasteners, and Weatherproofing
Nothing is perfectly straight. Build in tolerances: adjustable clips, slotted holes, scribing trim. Select fasteners for environment and compatibility, galvanized or stainless, and avoid galvanic reactions between metals. Weatherproofing is a system: pan flashings at sills, continuous tapes, corner patches, and positive laps. Test early, hose tests or blower-door tests catch leaks before finishes go in.
Working With Contractors, Codes, and Specs
Bring the builder in early. Talk through sequencing: which layers go first, and how trades coordinate at overlaps. Codes set minimums, not ideals: meet them, then detail beyond where it matters. Specifications should name products, performance (per ASTM or AAMA where relevant), colors, and maintenance expectations so bids compare apples to apples.
Common Mistakes and How to Avoid Them
Proportion and Alignment Errors
Mismatched heights, like door heads and window heads out of sync, make spaces feel off. Establish control lines and stick to them. Use story poles or a dimensioned elevation grid to keep elements aligned across rooms.

Over-Detailing or Mixing Styles
Too many profiles and clashing motifs create visual noise. Pick a vocabulary, square-edged and minimal, or soft curves and traditional, and apply it consistently. If we mix, do it intentionally: a modern reveal base in a historic shell can work when proportions and colors relate.
Ignoring Durability and Maintenance
Pretty but fragile is a trap. Avoid flush exterior trim at grade, specify drip edges, and choose finishes homeowners can actually maintain. If a material needs annual oiling and we know it won’t happen, choose a stable alternative that ages gracefully.
Conclusion
Architectural details are small decisions with outsized impact. When we align proportions, choose materials for climate, and design tactile moments people actually touch, buildings perform better and feel more personal. Start with a few key nodes, openings, roof edges, stairs, and draw them clearly. Ask how water leaves, how movement is accommodated, and what the hand feels. That’s how a beginner’s guide to architectural details becomes a confident practice, one thoughtful joint at a time.


Sydney’s Buildings Are Ageing Faster Than Most Owners Realise
There is a wave of building deterioration moving through Sydney's property stock...

Famous Buildings in Asia: 6 Imperial Palaces That Shaped a Continent
A focused look at six iconic buildings in Asia, each an imperial...

10 Signs It’s Time to Upgrade Your Property Fence
Table of Contents Show Repairs Keep Piling UpPosts Are LeaningBoards Are Cracked...

Walt Disney Concert Hall: Frank Gehry’s Stainless Steel Symphony in Los Angeles
Frank Gehry's Walt Disney Concert Hall took 16 years from initial design...

Leave a comment