

How to Build an Architecture Physical Model From Scratch
Building an architecture physical model from scratch takes the right scale, tools, and materials. This step-by-step method walks from base and walls to details, finishing, and the mistakes that warp or smear a model.
 Furkan Sen14 July 20266 Mins read2
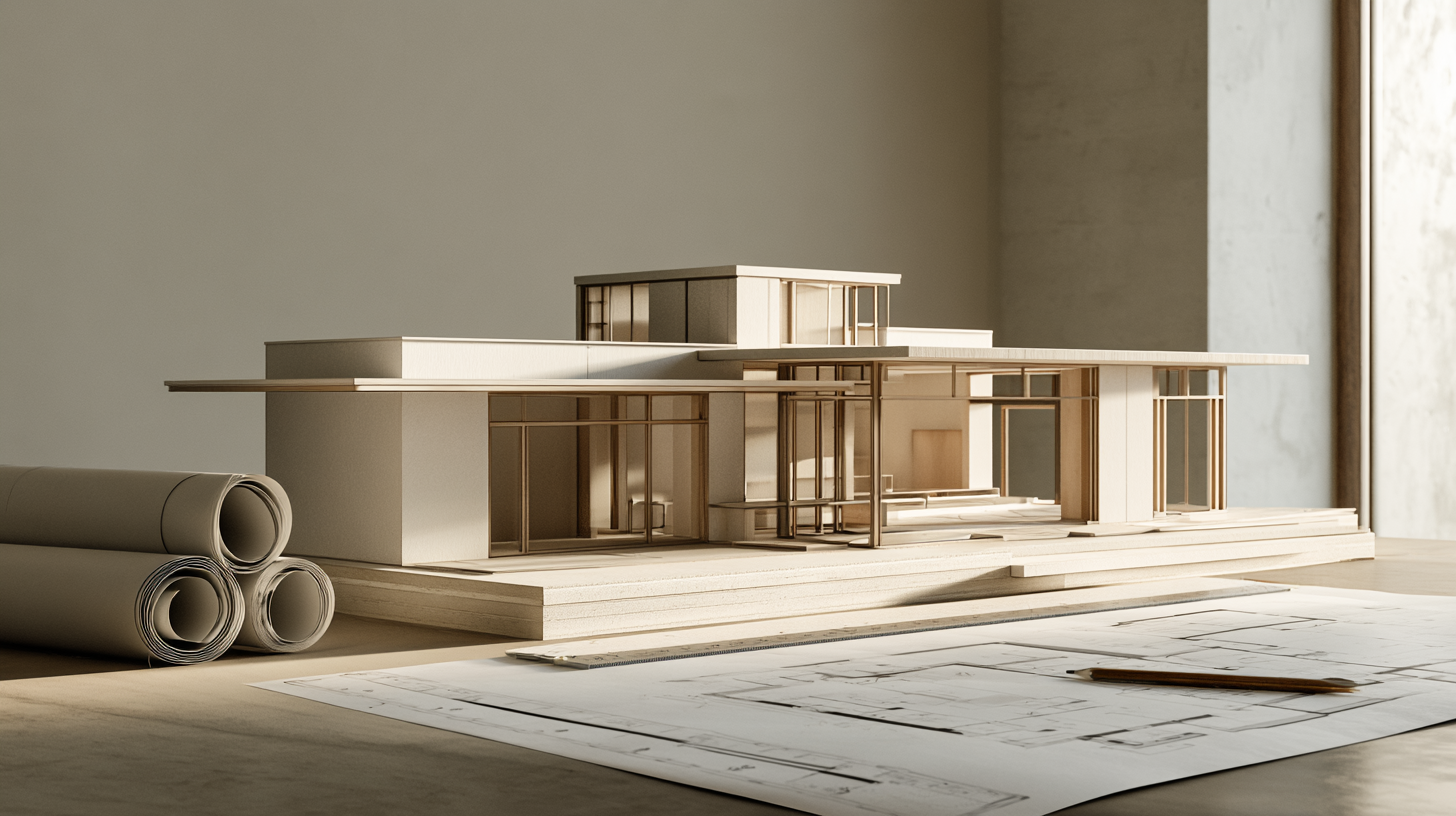
Table of Contents Show
An architecture physical model is a scaled three-dimensional version of a building you construct from materials like foam board, basswood, and acrylic. Building one from scratch means setting a scale, cutting parts from your drawings, then assembling the base, walls, and details into a model that reads clearly as form and space.
A good model does something a render cannot: it lets you turn the design in your hands, hold it up to a desk lamp to study shadows, and spot proportion problems before they reach a client. Below is a working method for taking a project from flat drawings to a finished model, including the tools, materials, scale decisions, and the assembly order that keeps the result clean.
Why Build an Architecture Physical Model by Hand?
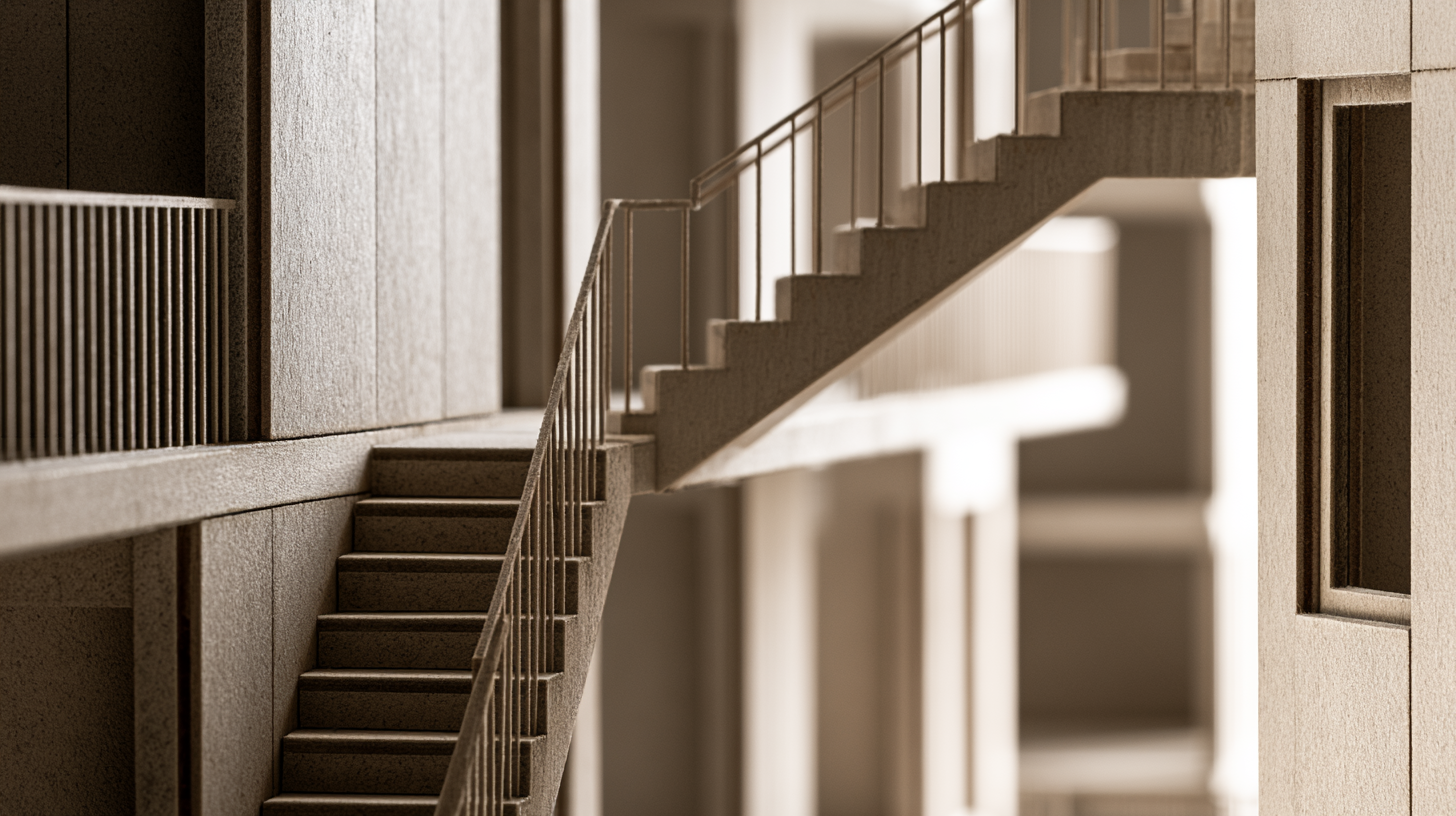
Digital tools are fast, but a physical model forces decisions that a screen lets you avoid. When you cut a wall and stand it up, you commit to a thickness, a junction, and a sequence of assembly. That friction is useful. It exposes weak connections and awkward proportions early, while changes still cost a sheet of card rather than a construction detail.
Hand models also communicate to people who do not read plans. Clients, juries, and community groups understand a small building they can look into far more quickly than an orthographic drawing. For a fuller argument on where these models fit in practice, illustrarch covers the role of the physical model in architecture across the design process.
📌 Did You Know?
Antoni Gaudi built an upside-down hanging chain model for the Church of Colonia Guell, loading strings with small weighted bags to find the structure’s natural compression lines. Photographed and flipped, that physical study generated the geometry he could not have calculated by hand at the time.
Tools and Materials for an Architecture Physical Model
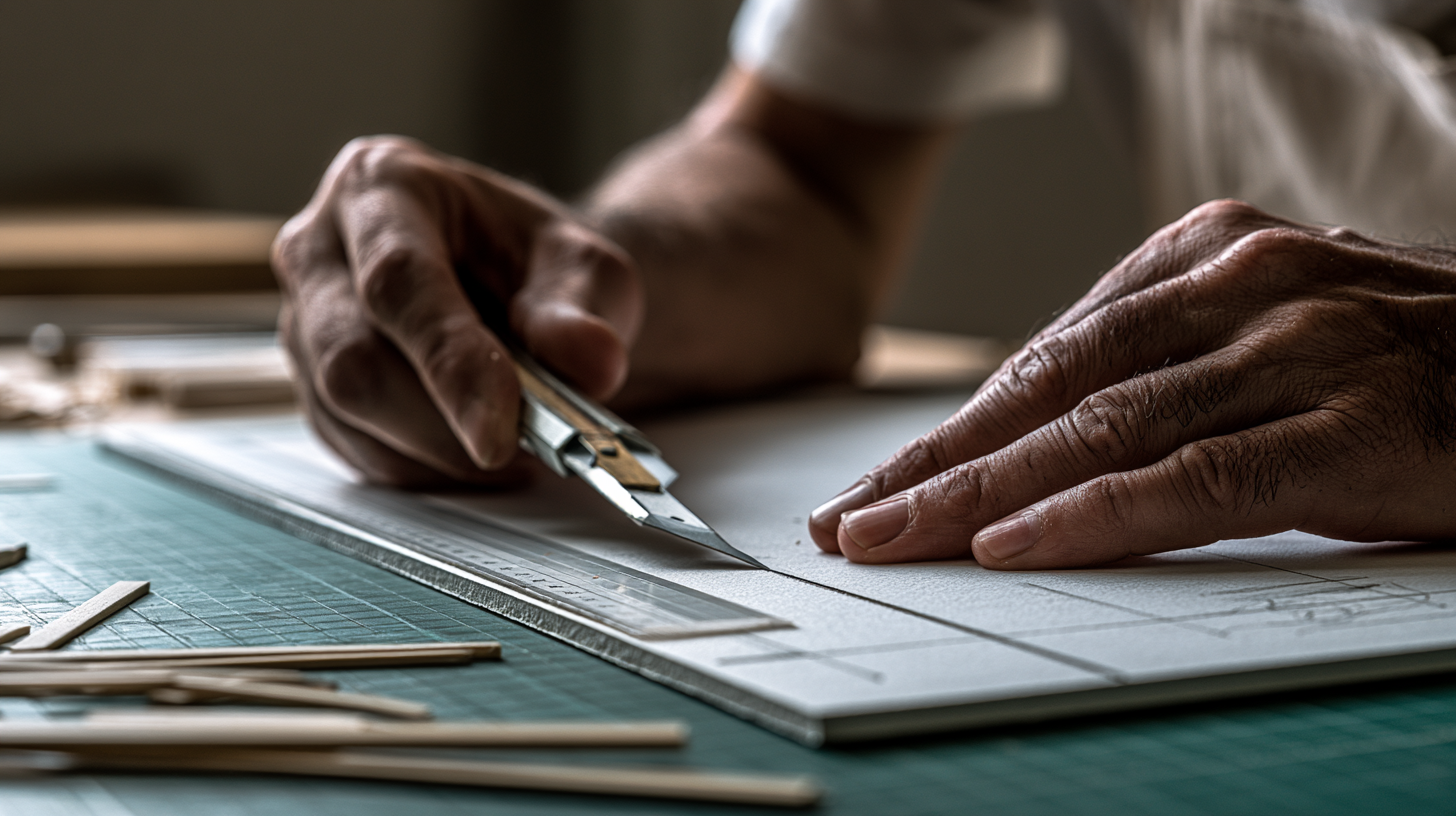
You can build a strong architecture physical model with a small kit. The point is precision, not an expensive bench. Sharp blades and accurate measuring matter more than the price of any single item.
Essential cutting and measuring tools
Start with a fresh scalpel or snap-off knife, a self-healing cutting mat, a steel ruler with a cork back, a set square, and a fine pencil. Add PVA wood glue for porous materials and a cyanoacrylate (super glue) for acrylic and fine joints. A sanding block and a pin vise for drilling small openings round out the basics. For a deeper kit list, see illustrarch’s guide to architectural model making equipment.
⚠️ Common Mistake to Avoid
Reusing a dull blade is the fastest way to ruin clean edges. A worn blade crushes foam board instead of slicing it, leaving fuzzy, compressed corners. Change blades far more often than feels necessary, and always cut against a steel edge rather than a plastic ruler, which the knife will shave into your line.
Choosing the right materials for your scale
Material choice follows the model’s job. Early massing studies want cheap, forgiving stock you can recut without hesitation. Final presentation pieces want materials that hold crisp detail and a consistent finish. The table below maps common options to the work they suit best, and illustrarch’s breakdown of affordable model making materials goes further on cost and sourcing.
| Material | Best For | Difficulty | Finish |
|---|---|---|---|
| Foam board | Massing and study models | Beginner | Matte, light |
| Chipboard / card | Quick volumes and bases | Beginner | Neutral, paintable |
| Balsa wood | Frames and lightweight parts | Intermediate | Soft, warm |
| Basswood | Detail, mullions, presentation | Intermediate | Crisp, clean |
| Acrylic sheet | Glazing and light effects | Advanced | Clear, glossy |
For fine detail and client-facing work, basswood earns its reputation because it holds sharp window frames and column edges without splintering. Suppliers such as National Balsa Wood Co. stock sheets and strips sized for model work, which saves time over cutting down hobby stock.
How to Build a Physical Architecture Model Step by Step
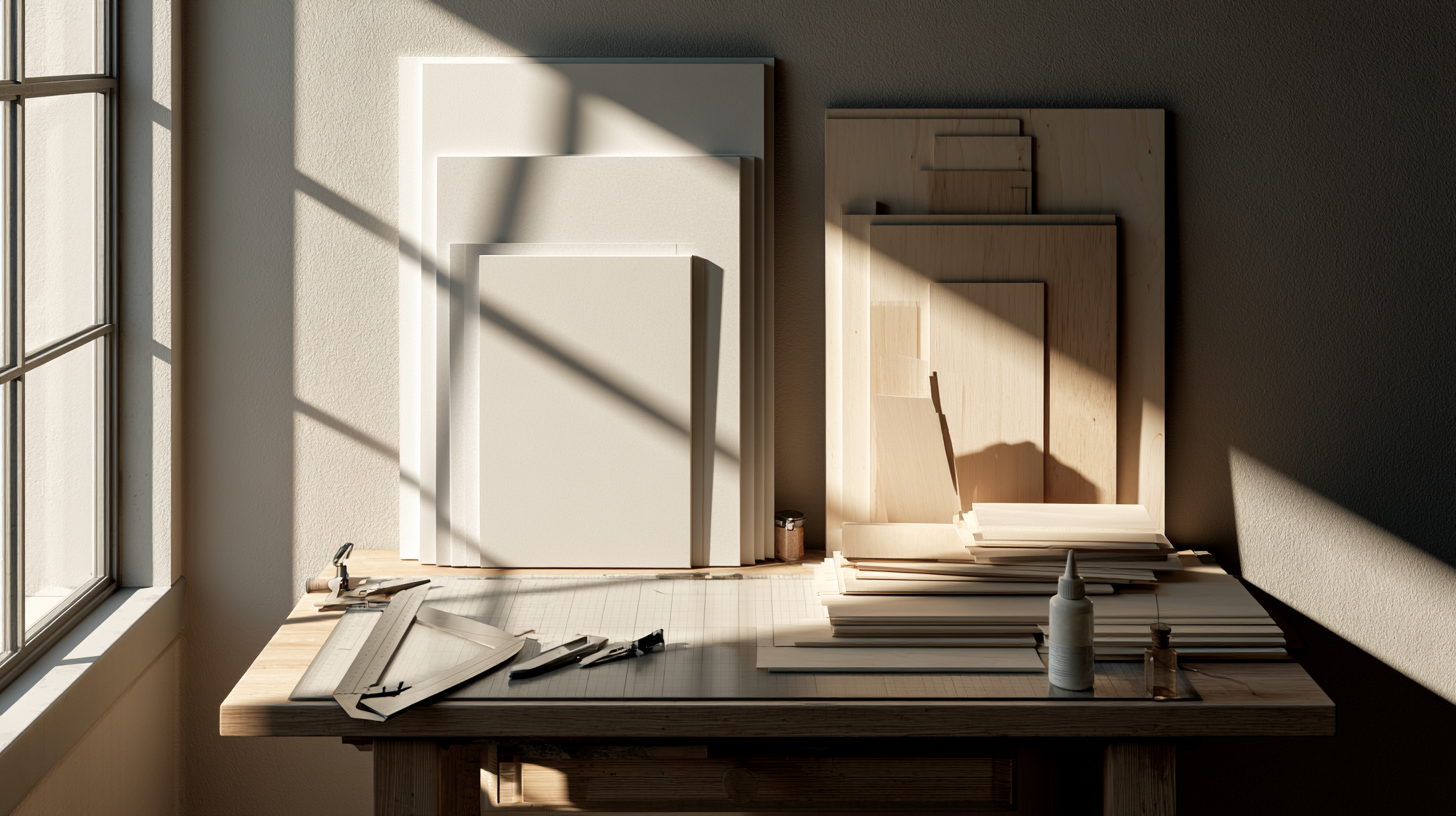
With tools and stock ready, the build follows a predictable order. Working base first and details last keeps the model stable and stops you from snapping delicate parts while you handle the heavier structure.
Step 1: Set your scale and prepare drawings
Scale comes first because it sets every cut that follows. Urban and site models often sit at 1:500, building massing reads well at 1:200, a detailed single building works at 1:100, and interior or sectional studies usually want 1:50. Print your plans and elevations at the chosen scale so you can transfer dimensions directly. If scale ratios still feel uncertain, review illustrarch’s guide to architectural scale before you cut anything.
📐 Technical Note
Remember to subtract material thickness at corners. At 1:50, a 5 mm foam board wall already represents 250 mm of real wall, so butt-jointed boxes will read larger than your drawings. Cut one face to the inside dimension and let the adjacent face overlap its edge, or mitre the corners to keep external dimensions true.
Step 2: Build the base and site
The base carries the whole model, so make it rigid. Use thick foam board, MDF, or a stack of laminated card, and cut it square. Mark the building footprint and any contours, paths, or planting directly onto the base. A slightly oversized base gives the project breathing room and a place to label the scale and project name.
Step 3: Cut and assemble the main volumes
Transfer wall outlines onto your sheet material and cut each face with a single confident pass rather than several timid ones. Dry-fit the walls before gluing to check that openings line up. When the fit is right, glue corners in sequence and let each joint set before adding the next, using a set square to hold true right angles while the adhesive grabs.
💡 Pro Tip
Cut a few spare pieces of every repeated element, such as columns, mullions, or balustrade strips, and treat the first clean one as a template. Experienced model makers batch-cut these parts in one session so the whole model shares identical dimensions, which reads as far more precise than parts cut one at a time.
Step 4: Add openings, details, and texture
With the shell standing, work back into it. Score window and door reveals, glue in basswood frames, and add floor slabs, stairs, and roof planes. Keep texture restrained. One or two materials with a limited palette look more intentional than a surface crowded with patterns. For glazing, a thin acrylic or acetate behind the opening suggests glass without heavy framing.
Step 5: Add scale figures and finish
Scale figures, a single tree, or a parked car tell the viewer how big the building is at a glance. Place them sparingly. Clean stray glue, touch up cut edges with fine sanding, and photograph the model against a plain backdrop under raking light so the shadows describe the form. For more refinement ideas, illustrarch’s tips for building a physical model cover finishing and presentation in detail.
Common Problems and How to Fix Them
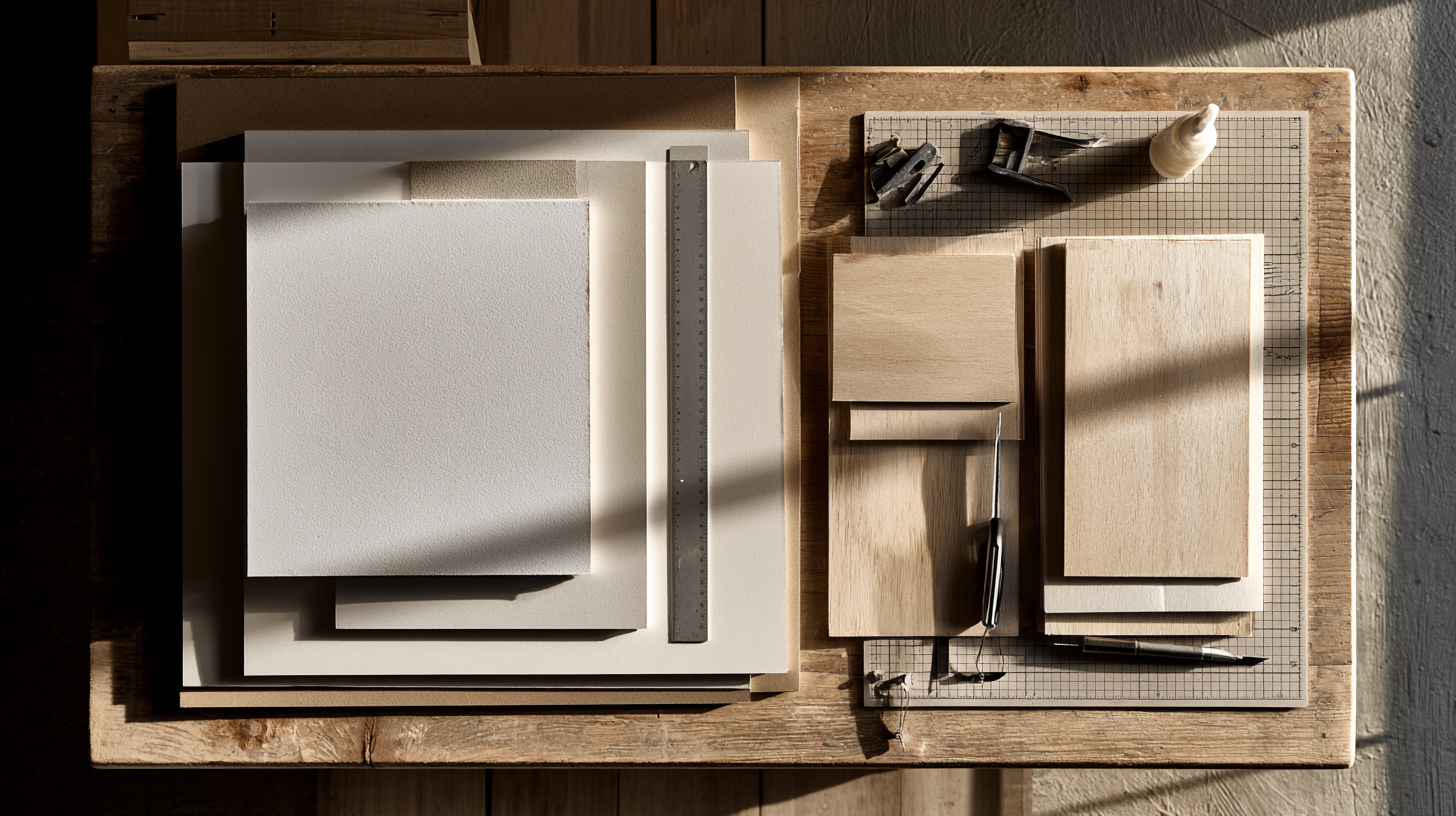
Warping is the most frequent failure. Foam board and card cup when glue dries unevenly or when a thin base soaks up moisture, so weight large panels flat while they cure and choose a base stiff enough to resist pulling. Visible glue smears are the second offender. Apply adhesive in thin lines well inside the joint, and wipe excess immediately rather than after it skins over.
Mismatched scale between parts ruins the read of an otherwise tidy model. If figures, furniture, or trees come from a kit, confirm they match your chosen ratio before placing them. When a school laser cutter is available, machines like the Kern laser cutter at the Yale School of Architecture produce repeatable parts that hand-cutting struggles to match, though every shop sets its own training and material rules. For broader habits worth borrowing, ArchDaily’s 16 tips to improve your model-making skills is a useful reference.
Where to Go From Here
Your Next Step: Pick one simple massing from a current project and build it at 1:200 in foam board this week, using only a fresh blade, a steel ruler, and PVA. A single quick study will teach you more about cutting, gluing, and scale than any amount of reading, and it gives you a baseline before you commit to basswood and a presentation piece.
Frequently Asked Questions
What is the best material for a beginner architecture model?
Foam board is the best starting point. It is cheap, light, cuts cleanly with a sharp knife, and forgives mistakes since recutting a panel costs little. Once you are comfortable with straight cuts and square corners, move up to basswood for detail work and presentation models that need crisp edges.
What scale should I use for a single building model?
A scale of 1:100 suits most detailed single-building models, balancing size against the level of detail you can show. Use 1:200 for massing studies, 1:500 for site and urban context, and 1:50 when you want to read interiors or a section closely. Set the scale before cutting, since it governs every dimension.
How long does it take to build a physical architecture model?
A simple massing model can take a few hours, while a detailed presentation model with openings, glazing, and landscaping may need several days. Time depends on scale, detail, and material. Allowing glue to cure fully between stages adds waiting time, so plan around drying rather than rushing joints.
Can I combine 3D printing with a handmade model?
Yes, and many studios do. Print repetitive or curved elements such as facades, domes, or complex roofs, then hand-build the flat walls, base, and site around them. Mixing methods gives you machine precision where it helps and the speed of cutting sheet stock everywhere else.
- 3d physical model architecture
- architectural interior physical models
- architectural model physical
- architectural physical model
- architecture physical model
- architecture physical model making
- architecture physical model materials
- physical architectural models
- physical architecture model
- physical model architecture





Sydney’s Buildings Are Ageing Faster Than Most Owners Realise
There is a wave of building deterioration moving through Sydney's property stock...
 illustrarch Editoral Team10 Mins read

Famous Buildings in Asia: 6 Imperial Palaces That Shaped a Continent
A focused look at six iconic buildings in Asia, each an imperial...
Furkan Sen6 Mins read
10 Signs It’s Time to Upgrade Your Property Fence
Table of Contents Show Repairs Keep Piling UpPosts Are LeaningBoards Are Cracked...
illustrarch Editoral Team3 Mins read

Walt Disney Concert Hall: Frank Gehry’s Stainless Steel Symphony in Los Angeles
Frank Gehry's Walt Disney Concert Hall took 16 years from initial design...
Furkan Sen6 Mins read


Leave a comment