

Procreate for Architects: A Practical Review Beyond Illustration
A practical look at Procreate for architects, covering concept sketching, perspective guides, the best brushes for architecture, rendering paint-overs, pricing, and how the iPad app compares to desktop tools in a working design process.

Table of Contents Show
Procreate for architects is far more than a sketching app. On iPad, it handles concept massing, perspective studies, presentation rendering, and quick site markups in one place. With a deep brush library, built-in perspective guides, and a one-time price, it has become a core tool for architectural drawing and visualization.
Most architects meet Procreate as an illustration app, then find it quietly fitting into real project work. A massing idea sketched in a meeting, a redline over a site photo, a color study on top of a clay render: these are everyday tasks where an iPad and Apple Pencil beat opening a desktop workstation. This review looks at where Procreate for architects earns its place in a working design process, which features matter, and where it stops being the right tool.
What Makes Procreate Work for Architects?
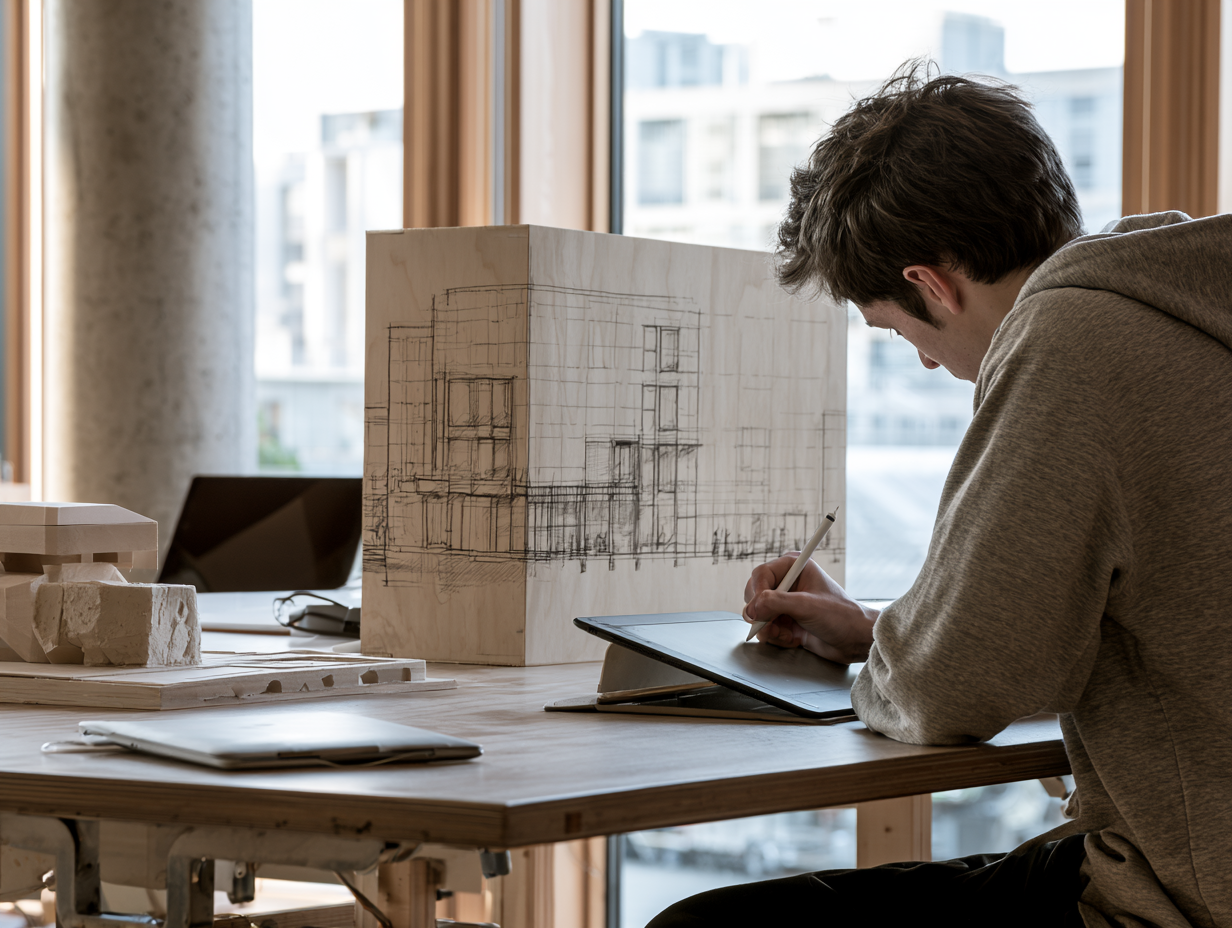
Procreate works for architects because it removes friction from early design thinking. You open the app and draw within a second, with no file setup or workspace configuration. During concept phases, when an idea has to be captured before it fades, that speed matters more than raw rendering power.
The app runs only on iPad and pairs tightly with Apple Pencil for low latency and reliable pressure and tilt. The right pen makes a noticeable difference here, which our guide to the best stylus and pen for architectural sketching covers in detail. A massing gesture, a parti diagram, or a facade rhythm can be tested in seconds, then layered, traced, and refined. Because every Procreate architect works in layers, you keep a reference photo, a trace layer, and a color pass separate without committing to anything early.
📐 Technical Note
Procreate supports canvases up to 16,384 x 8,192 pixels on M-chip iPad Pro models, with color in RGB or CMYK profiles set at canvas creation. The Valkyrie graphics engine is Metal-native and 64-bit, which keeps large architectural canvases responsive during zoom and pan. (Source: procreate.com)
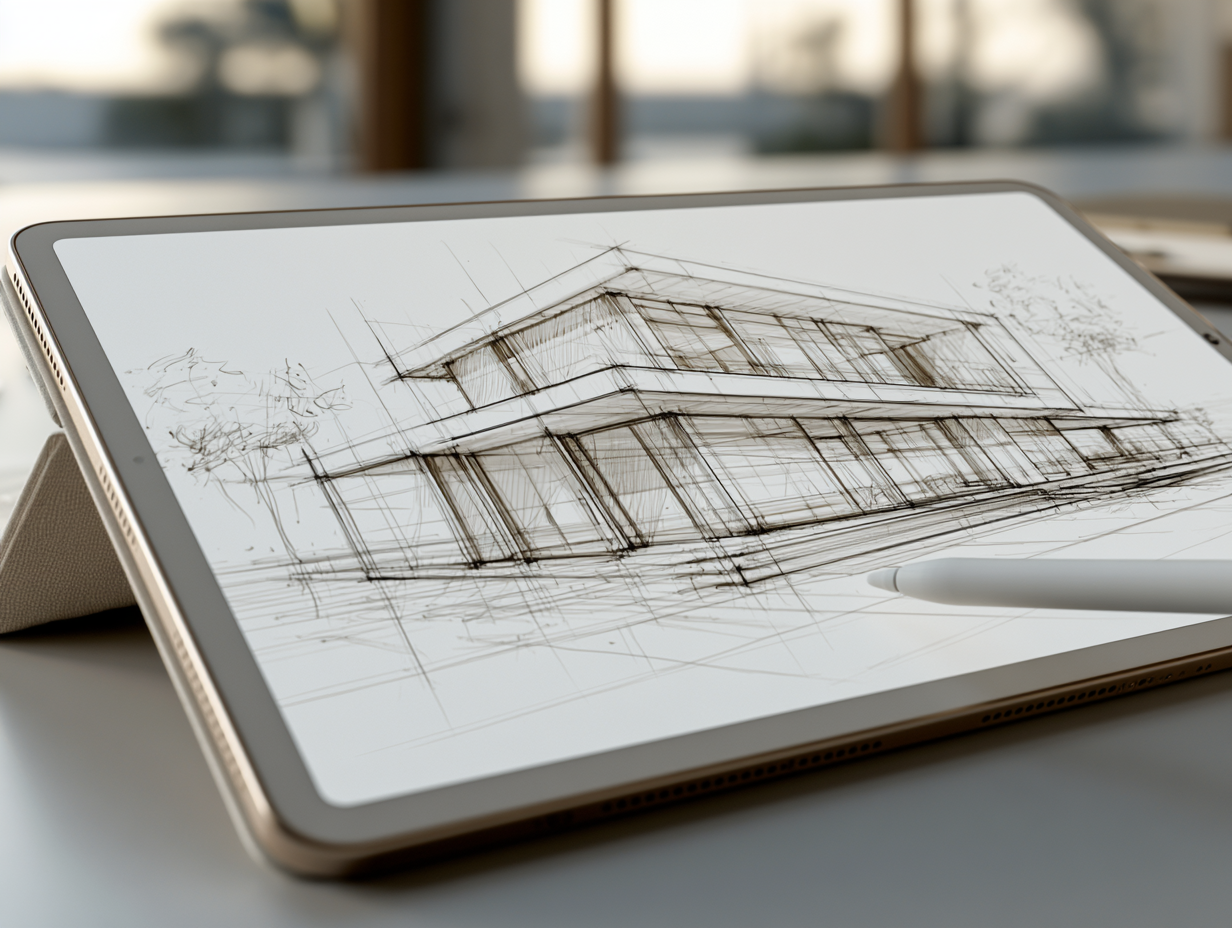
Procreate Architecture Sketching: From Concept to Presentation
Procreate architecture sketching covers the full range from rough thumbnails to polished presentation drawings. The same canvas can hold a five-minute idea sketch and a finished perspective with shadow and entourage, so you rarely have to switch tools mid-thought.
Perspective Guides and Drawing Assist
The Drawing Guide is the feature most architects underuse. It offers one-point, two-point, and isometric perspective grids, and with Drawing Assist turned on, your strokes snap to the active vanishing points. That means a clean two-point street view without manually ruling every edge. For axonometric studies, the isometric guide keeps angles consistent across an entire drawing. If your perspective fundamentals need work first, our architectural sketching tips and techniques are a useful refresher.
💡 Pro Tip
Set up your Drawing Guide and vanishing points on a separate layer first, then lock it. You can sketch freely on layers above without nudging the guide, and you can reuse the same perspective setup to test several design options on one canvas.
Tracing Over References and Renders
A common architecture workflow is importing a flattened export, a SketchUp view, a Revit render, or a site photo, then tracing and annotating on top. Procreate handles PNG, JPEG, TIFF, and PSD imports, so a clay render becomes the base for a quick mood pass or a redline markup. This is where the app shifts from pure illustration to working design tool.
The trace-and-overlay habit also speeds up client reviews. You can drop a photo of a physical model into a layer, sketch proposed changes on top in a contrasting color, and export a marked-up PDF before the meeting ends. No desktop, no file handoff, no waiting.
⚠️ Common Mistake to Avoid
Many architects start a canvas at screen resolution, then find the drawing is too small to print or project clearly. Set your canvas dimensions and DPI before you draw, around 300 DPI for print boards, so a concept sketch can scale up to a presentation panel without pixelation.
Best Procreate Brushes for Architecture
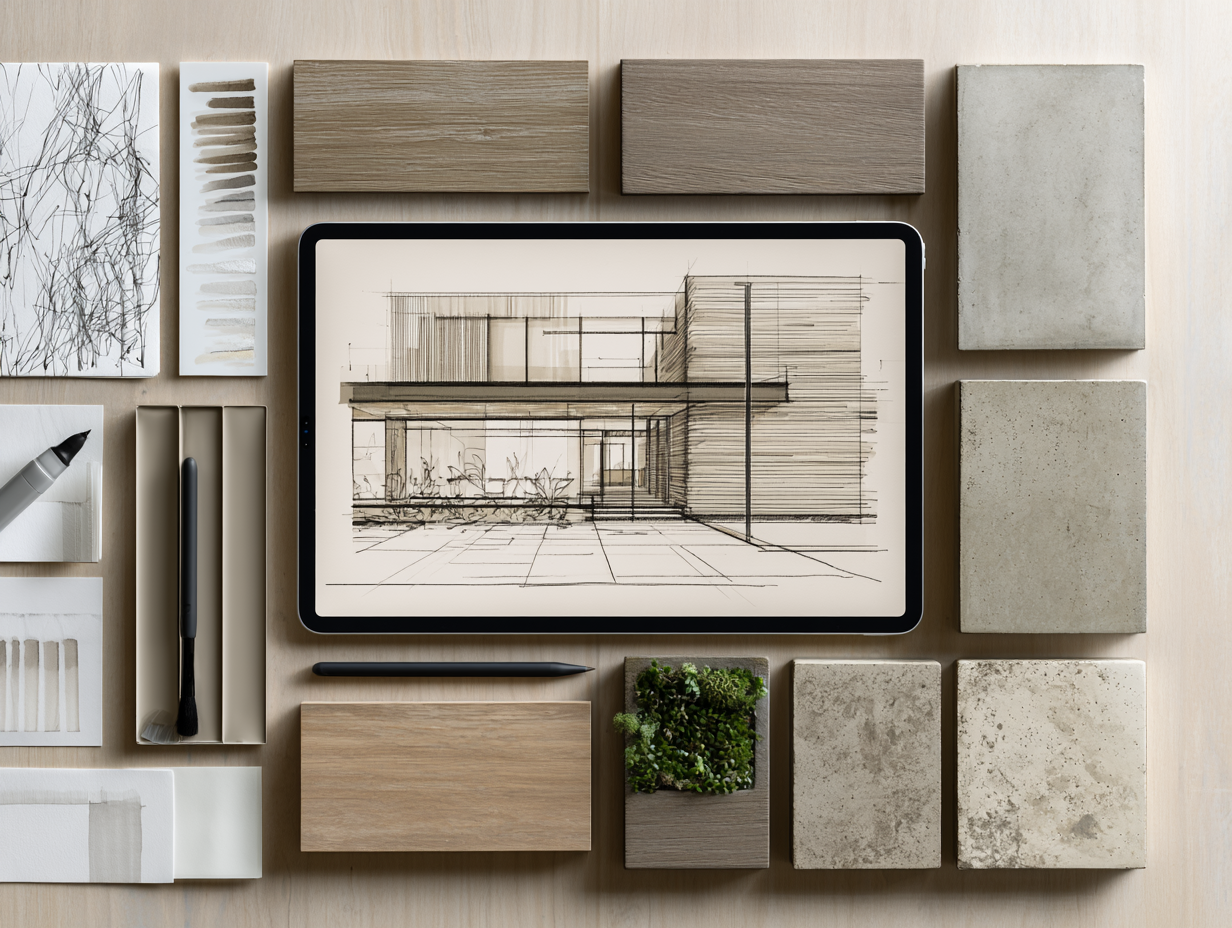
The right brushes turn Procreate from a painting app into an architectural drawing kit. The best Procreate brushes for architecture fall into a few working groups, and most architects build a small custom set rather than collecting hundreds. A practical starting kit looks like this:
- Technical liners for clean linework and crisp edges
- Pencil and graphite brushes for loose concept sketching
- Marker and ink brushes for presentation drawings
- Texture brushes for foliage, concrete, brick, and shading
- Wash and gouache brushes for color and atmosphere
Procreate ships with over a hundred built-in brushes, and Brush Studio lets you adjust more than a hundred settings per brush. That means an architect brush in Procreate can be tuned for taper, pressure response, and grain to match your own hand. Many architects start with the default sketching and inking sets, then add a dedicated pack of Procreate brushes for architects to cover entourage and materials. The point is not quantity, it is having a tight set you know well.
💡 Pro Tip
Build one folder of five to eight go-to brushes for architecture and keep it at the top of your brush list. Switching between a liner, a soft pencil, a marker, and a foliage brush should take one tap, not a scroll through dozens of sets, when you are sketching live in front of a client.
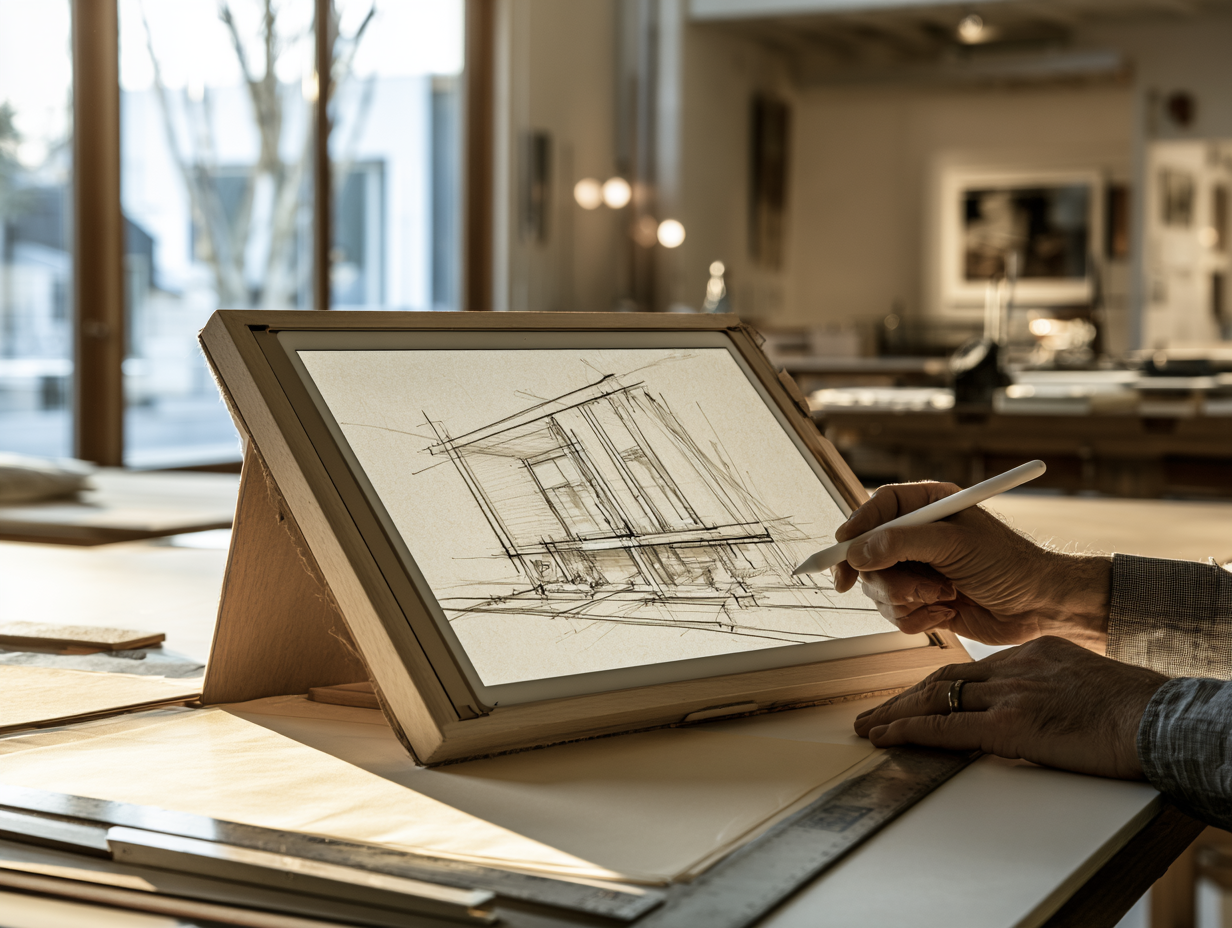
Procreate Architecture Rendering and Paint-Overs
Procreate architecture rendering is strongest as a fast, expressive layer on top of base geometry rather than a full photorealistic pipeline. Architects use it for mood studies, hand-painted atmosphere, and presentation images where character matters more than absolute realism.
A typical pass works like this: import a clay or line render, block in sky and ground, add light and shadow on a multiply layer, then paint entourage and texture. Around two dozen blend modes, plus adjustment tools for curves and color balance, give enough control for convincing concept imagery. For final, color-managed, print-ready boards, most architects still move to desktop software, which is where the comparison below comes in.
Procreate vs Photoshop and Desktop Tools
Procreate and Photoshop solve different parts of the same job. Procreate wins on speed, mobility, and natural sketching, while Photoshop and similar desktop tools win on heavy compositing, precise color management, and print production. A practical split is to sketch, trace, and paint concepts in Procreate, then export a layered PSD for final production work. Our detailed Procreate vs Photoshop comparison breaks down where each tool fits across an architecture workflow, and the best tools for digital architectural sketching roundup covers alternatives like Morpholio Trace and Concepts.
Procreate at a Glance for Architects
Here is a quick reference for the specifications architects ask about most:
| Feature | Detail |
|---|---|
| Platform | iPad only, optimized for Apple Pencil |
| Price | One-time purchase, around $12.99, no subscription |
| Graphics engine | Valkyrie, Metal-native, 64-bit |
| Max canvas | 16,384 x 8,192 px on M-chip iPad Pro |
| Color | RGB and CMYK profiles, 64-bit color, P3 gamut |
| Perspective tools | One-point, two-point, and isometric Drawing Guides |
| Best for | Concept sketching, site markups, presentation paint-overs |
Is Procreate Worth It for Architecture Students?
For most architecture students, Procreate is worth it. At a one-time price of around $12.99 with no subscription, it costs less than a single month of most desktop creative suites and runs on an iPad many students already carry to studio.
Procreate for architecture students works well because the learning curve is short. The gestures are intuitive, and a beginner can produce a usable perspective sketch in an afternoon. The real investment is hardware, an iPad and Apple Pencil, not the app itself. For students already inside the Apple ecosystem, it is one of the easiest ways into digital architectural sketching. If you want structured learning, our guide to the best courses for learning the Procreate iPad app points to solid starting points, and the introduction to digital architectural sketching covers the fundamentals. You can confirm current pricing and device support on the official App Store listing.
📌 Did You Know?
In August 2024, Procreate publicly committed to keeping generative AI out of its apps, stating it would not add generative image features. For architects who value hand-drawn authorship and original linework, that position keeps Procreate firmly a tool for drawing rather than image generation. (Source: procreate.com and Wikipedia)
Cost figures are approximate and vary by region, device model, and Apple pricing.
Where to Go From Here
Your Next Step: Download Procreate, set up one architecture canvas at 300 DPI with a two-point perspective guide, and trace a single site photo or render this week. One real drawing teaches you more about whether the app fits your workflow than any feature list can.


Why Is the Architecture Physical Model Still Taught in Schools?
Digital tools run modern architecture, yet schools still put students at the...

Schematic Design and Design Development: Key Differences Explained
Schematic design and design development are sequential architectural phases that answer different...

The 10 Longest Bridges in the World
The world's longest bridges are dominated by Asian high-speed rail viaducts, led...

Apaulinha: Nine Architect-Designed Homes Across the Alentejo Landscape
In the rural territory of Grândola, close to Melides and Portugal’s Atlantic...

Leave a comment