

How to Turn a Furniture Sketch into a 3D Model for an Interior Concept
A furniture sketch can set the mood of an interior before the room is resolved. This walkthrough prepares a clear reference, generates a study model with N4D, sets its scale and tests it in a restrained interior scene.
 illustrarch Editoral Team4 November 20264 Mins read2
Table of Contents Show
A furniture sketch can give an interior its identity before the rest of the room is resolved. A curved chair back or an unusually shaped side table may establish the mood, yet a drawing alone leaves questions about depth and how the object will sit beside other pieces. N4D offers image-based 3D generation that can help designers explore those questions with a model they can inspect from different viewpoints.
Using a 2D to 3D converter gives that exploration a practical starting point. An original sketch becomes the reference for a generated mesh, which can then be reviewed and prepared for a concept scene. The useful outcome is a clearer design conversation: whether the silhouette belongs in the room, how much visual space it occupies, and which details need further drawing.
Choose a furniture piece with a clear role
Start with the decision the interior concept needs to support. Perhaps a reading corner needs a chair that feels light beside a broad sofa. Perhaps a compact hallway needs a narrow table with a softer outline. Identifying that role makes it easier to judge the generated object against the room rather than judging it as an isolated image.
For a first study, use a freestanding piece with a recognizable outline. A simple chair, stool, or side table provides a manageable balance of visible surfaces and open space. A transparent cabinet packed with objects introduces more ambiguity about where one surface ends and another begins.
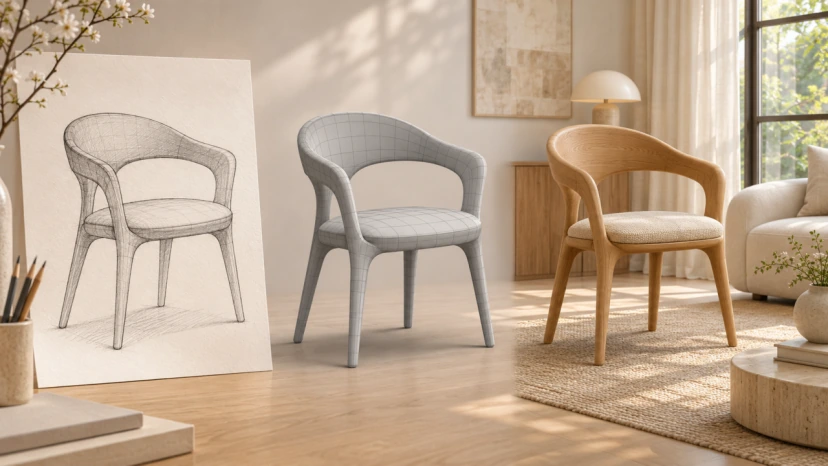
Consider an original lounge chair with four tapered legs and a curved back that continues into the arms. Its main design question might be whether that continuous curve looks welcoming or too heavy. Keep that question in view throughout the process. A decorative seam matters less at this stage than whether the chair has the right presence.
Prepare a sketch that explains the form
Give the image a clean background and a consistent viewpoint. A three-quarter drawing can reveal the front, one side, and part of the seat in a single reference. Use enough separation between the legs to show which parts are distinct, and make the connections between the back, arms, and seat legible.
Remove competing sketches, dimension notes, and surrounding furniture from the generation reference. Keep the annotated drawing separately as a design document. A cropped image of one object gives the generator a more focused input than a complete presentation board.
Shading should clarify volume. A dark patch beneath the seat can help communicate depth, but a strong cast shadow can also resemble an attached shape. If an outline becomes hard to read, simplify the drawing before adding further detail. Changing the source is often more useful than repeatedly generating from the same ambiguity.
Use a sketch you created or have permission to use. When developing a recognizable furniture design from someone else’s photograph, check the applicable rights before using the result in a commercial project. An AI-generated interpretation does not resolve ownership questions about the reference.
Generate a study model and inspect every side
Upload the prepared image to N4D’s Image to 3D workflow and generate an initial model. Decide whether the immediate task calls for a shape study or a textured concept. If the design discussion is still about proportions, a neutral material can make the geometry easier to assess.
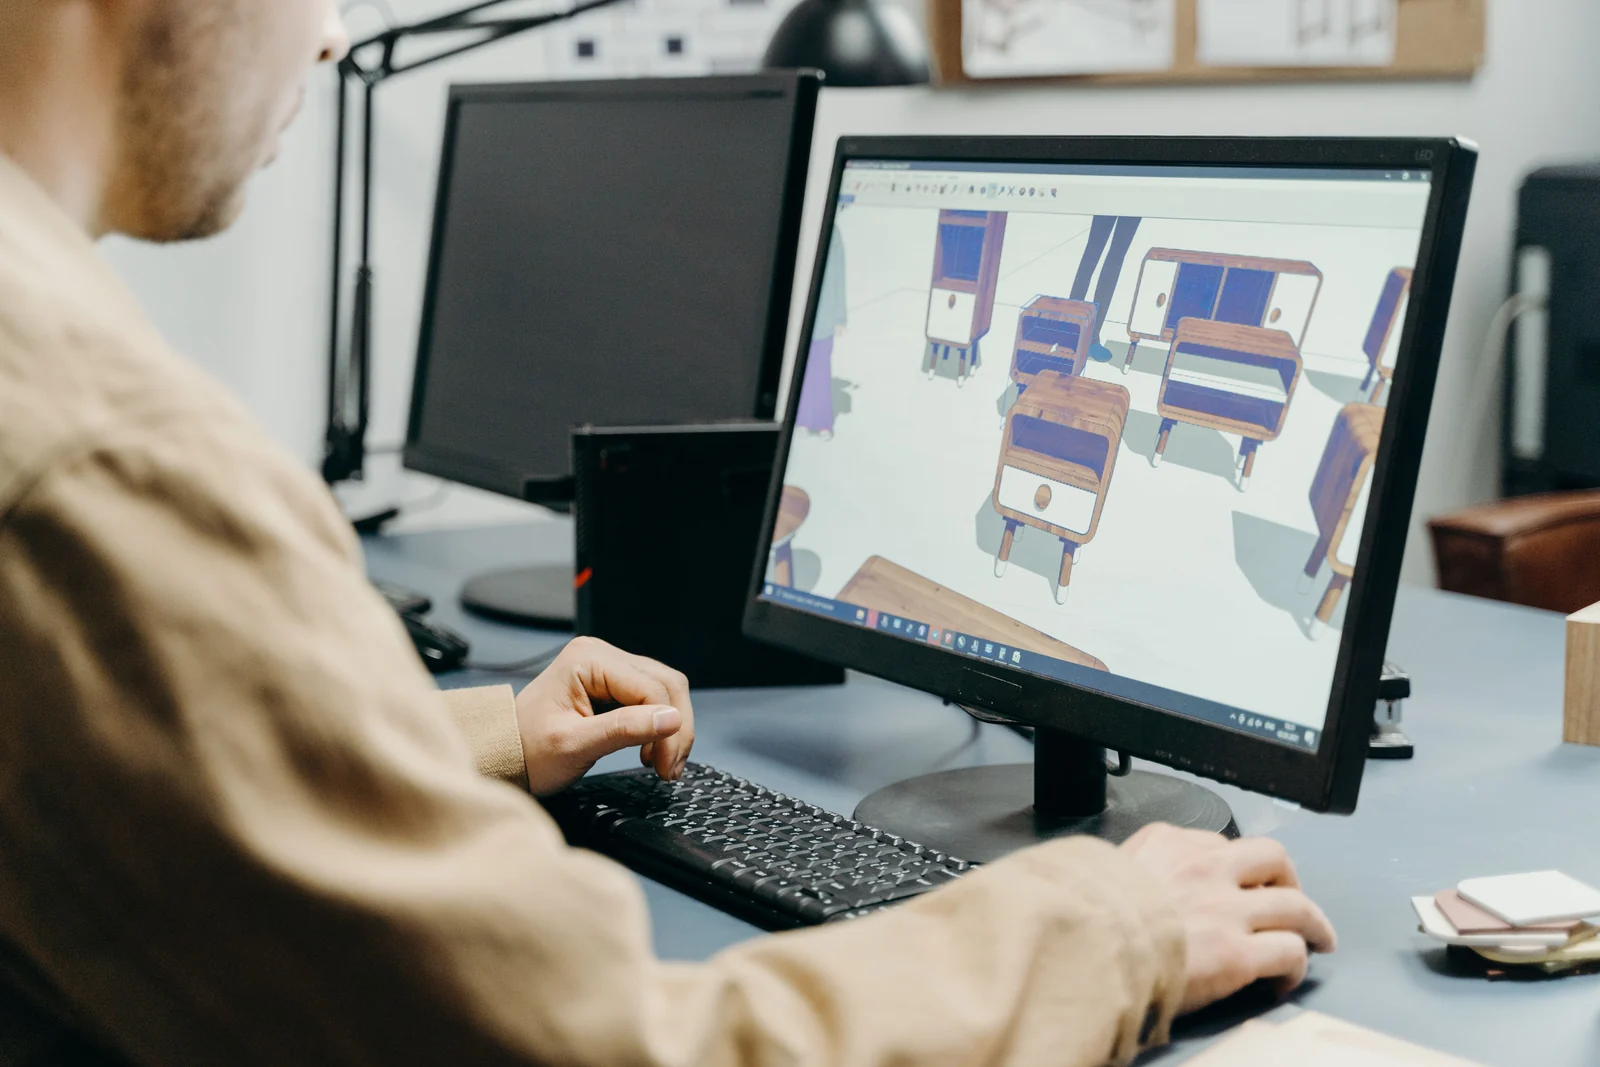
Rotate the result through a full turn. Compare the front with the sketch, then inspect the rear, underside, and connections. A single image cannot fully specify hidden geometry, so those areas require judgment. An attractive front view can conceal a back panel that is too thick or a leg that joins the seat awkwardly.
For the chair example, check the opening between the arms, the continuity of the back, and the spacing of all four legs. Look at whether the seat appears attached to the frame. Then view the model from the camera angle planned for the room, where a small distortion may become more visible.
Keep a short review note beside each version. Record a specific observation, such as “the back reads too broad from the entrance view,” rather than a general preference. If the basic form is wrong, clarify the sketch and regenerate. If only a small region needs refinement, decide whether editing the mesh in your usual 3D application is the more direct route.
Establish scale before placing the model
Treat scale as an explicit design task. A model derived from a sketch has no reliable physical dimensions unless those dimensions are established and checked. Choose a known reference dimension, set the scene units, and size the object deliberately in the destination application.
For a concept chair, seat height can serve as a reference, with overall width and depth checked against the intended design. These are chosen design dimensions, not measurements recovered from the picture. A manufacturer drawing or a measured object is needed when dimensional accuracy is part of the brief.
Check the model’s orientation and where its origin sits before arranging it in the room. Confirm that the feet meet the floor and that the object can be moved predictably. Save the original generated file separately so later changes to scene scale or materials do not erase the starting point.
Test the furniture in a restrained interior scene
Begin with the room shell and a few neighboring objects. Place the chair beside the sofa, rug, and table that define its context. This makes it easier to evaluate visual balance without hiding problems behind accessories or elaborate lighting.
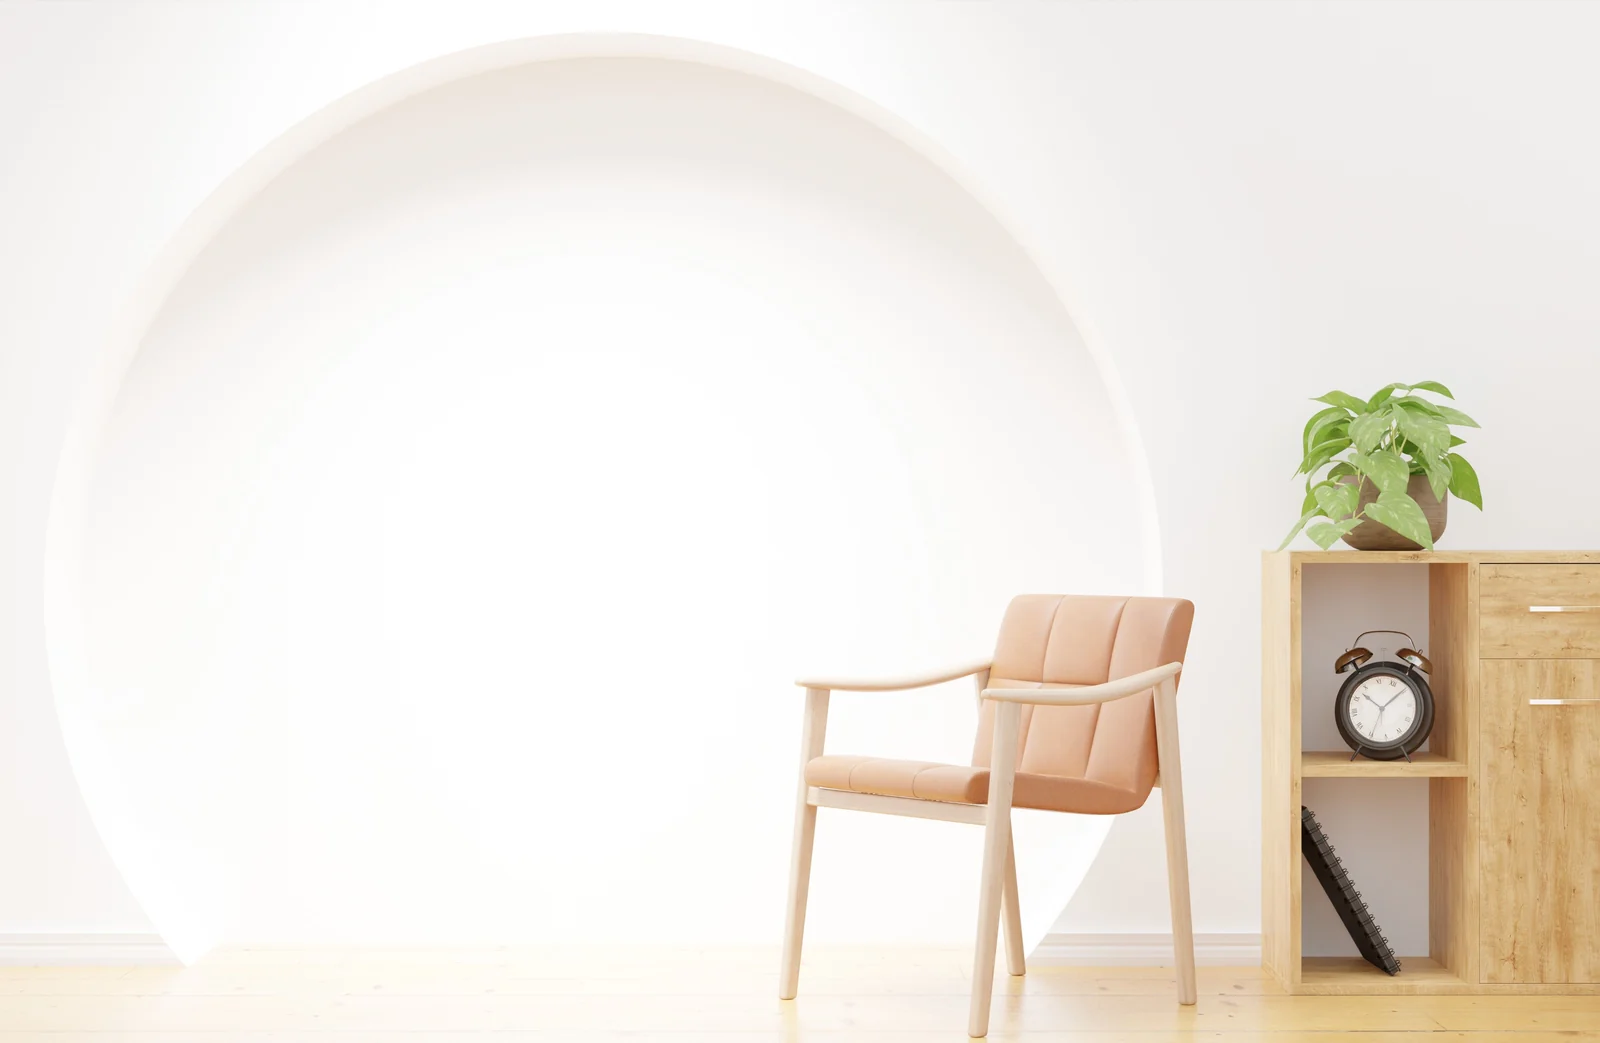
Use a neutral material first. Inspect the chair from the entrance, the main seating position, and the presentation camera. Notice whether the back interrupts an important sightline or whether the legs disappear against the floor. Adjust the concept intentionally, rather than allowing an attractive generated detail to dictate the rest of the room.
Once the form works, introduce the intended material direction. Wood tone, fabric roughness, and color affect how substantial the piece feels. Keep the lighting consistent when comparing alternatives so that a brighter render is not mistaken for a better design.
Present the concept with a useful handoff
Show the original sketch, a neutral model view, and one contextual room view together. Explain which aspects were explored and which remain unresolved. A concept study can communicate the relationship between a furniture idea and a room without suggesting that the object has been engineered for manufacture.
Keep the reference image, selected model version, material notes, and chosen dimensions in the project folder. Mark any unresolved geometry before handing the asset to a visualization artist or furniture designer. The next person should be able to see what was intentional and what still needs interpretation.
The value of N4D in this workflow is the ability to bring a furniture idea into a three-dimensional design discussion. Preparing a clear reference, inspecting the generated form, and testing it at an intentional scale turns that starting model into a useful part of an interior concept.







A Courtyard Reading Corner Takes Shape with Nano Banana 3
A narrow courtyard can look finished on plan and still feel uninviting...
illustrarch Editoral Team5 Mins read

From SketchUp View to Client-Ready Render: A Hands-On Look at Vizbase
Vizbase co-founder Mikus Zarāns shows how the browser-based AI renderer turns SketchUp...
illustrarch Editoral Team4 Mins read

OpenAI’s Astra Model Aims to Turn AI Into an Architecture Workflow Operator
OpenAI's Astra model, launched Sept. 3, 2026, runs multi-step tasks across software,...
illustrarch Editoral Team3 Mins read

JLL Design Rolls Out AI Floor Plan Tool laiout Across 65 Studios Worldwide
JLL Design has adopted AI floor plan tool laiout across all 65...
illustrarch Editoral Team3 Mins read


Leave a comment