

From Blueprints to Beautiful Spaces: Creating a Photobook of Your Architecture Journey
A photobook of your architecture journey should chronologically or thematically showcase projects, balancing technical details with artistic visuals to tell a cohesive story.
 Muhammad Abdullatef - Tifa Studio30 December 20243 Mins read474

Table of Contents Show
Architecture is poetry in concrete and steel, and every project tells its own unique story. Whether you’re a student documenting your designs or a professional showcasing your portfolio, a custom-made photobook transforms your architectural journey into a compelling narrative.
Planning Your Architecture Photobook
Start with the end in mind – your photobook should tell a coherent story from concept to completion. Consider organizing your projects chronologically or thematically. Each project deserves its own chapter, flowing naturally from initial sketches to final photographs.
“Architecture is the learned game, correct and magnificent, of forms assembled in the light.” – Le Corbusier
The beauty of platforms like Mixbook lies in their flexibility to handle both technical drawings and artistic shots. Before diving in, gather your materials:

- Project Documentation
- Initial concept sketches
- Design development drawings
- Technical specifications
- Material samples and swatches
- Site analysis photos
- Construction progress shots
Essential Elements to Capture
Your architectural photobook should balance technical precision with artistic vision. Include these key components:
- Design Development
- Hand sketches showing initial ideation
- 3D renderings and visualizations
- Material palette evolution
- Structural system diagrams
- Site context studies
- Environmental analysis
Create dedicated spreads for pivotal moments in each project – the breakthrough sketch that solved a design challenge, or the moment when 2D drawings transformed into 3D reality.
Technical Details Matter
While beautiful photos are essential, don’t forget the technical aspects that make architecture unique. Include:
- Scale references in your photos
- Detail drawings of innovative solutions
- Construction sequences
- Technical specifications that influenced design
- Sustainability features and their implementation
“Details are not details. They make the product.” – Charles Eames
Consider creating overlay pages where technical drawings can be superimposed on finished photographs, showing the journey from paper to reality.
Creative Layout Approaches
Your photobook’s design should reflect architectural principles. Use white space deliberately, create rhythm through repetition, and establish hierarchy in your layouts. Some effective approaches:
- Contrast pages: juxtapose before/after shots
- Process spreads: show evolution through multiple images
- Detail focus: zoom from whole to part
- Context studies: site relationship documentation
- Material studies: texture and pattern exploration
When using Mixbook, take advantage of panoramic spreads for wide architectural shots and consider using fold-out pages for important drawings or site plans.

Finishing Touches
The final touches make your photobook truly professional:
- Include a project index with key information
- Add captions explaining design decisions
- Create a consistent labeling system
- Reference materials and collaborators
- Document project specifications
Remember, your photobook is both a personal record and a professional tool. Make it thorough enough to tell the complete story, yet concise enough to maintain interest. Like architecture itself, the best photobooks find that perfect balance between function and form.
Your architectural journey deserves to be documented with the same care you put into your designs. Let each page reflect the thoughtful process behind every architectural decision, creating a lasting testament to your creative vision.
Choosing the Right Format and Size
The shape of your photobook shapes how your work reads. A landscape format suits wide exterior shots and panoramic site views, while a portrait format flatters tall facades and vertical sections. A large square is a versatile middle ground that handles mixed content gracefully. Consider how the book will be used as well: a compact size travels easily to interviews and meetings, while a larger volume makes a stronger statement on a studio shelf or a client’s coffee table.
Preparing Images for Print
Print is less forgiving than a screen, so image quality matters. Export photos at a high resolution, ideally around 300 dpi at the printed size, to avoid soft or pixelated results. Keep an eye on color, since screens are backlit and tend to look brighter than paper; soft-proofing or ordering a small test print helps you catch surprises early. Leave a safe margin around important content so nothing critical is lost in trimming or the binding gutter at the center of each spread.
Writing Captions and Project Text
Strong visuals carry a photobook, but a few well-chosen words give them context. For each project, include the location, year, brief, and one or two sentences about the design challenge and your solution. Keep captions short and consistent in tone, and use the same typeface and placement throughout so the book feels unified. Resist the urge to over-explain; let the images lead and use text to fill gaps the photos cannot show, such as scale, program, or client goals.
Tailoring the Book to Your Audience
A photobook can serve different purposes depending on who will see it. A version for prospective clients should emphasize finished spaces, atmosphere, and outcomes. A version for academic or job applications can lean more on process, sketches, and the thinking behind each decision. You do not need a separate book for every audience, but ordering and emphasis can shift the same material toward whichever story you most need to tell.
Keeping Your Photobook Current
An architecture journey keeps evolving, and your photobook should too. Treat it as a living document by setting a regular schedule, perhaps once or twice a year, to add new projects and retire weaker ones. Saving your layout file lets you reprint an updated edition without starting over. Over time this habit creates a clear record of your growth, showing not only individual projects but the development of your design voice across your career.



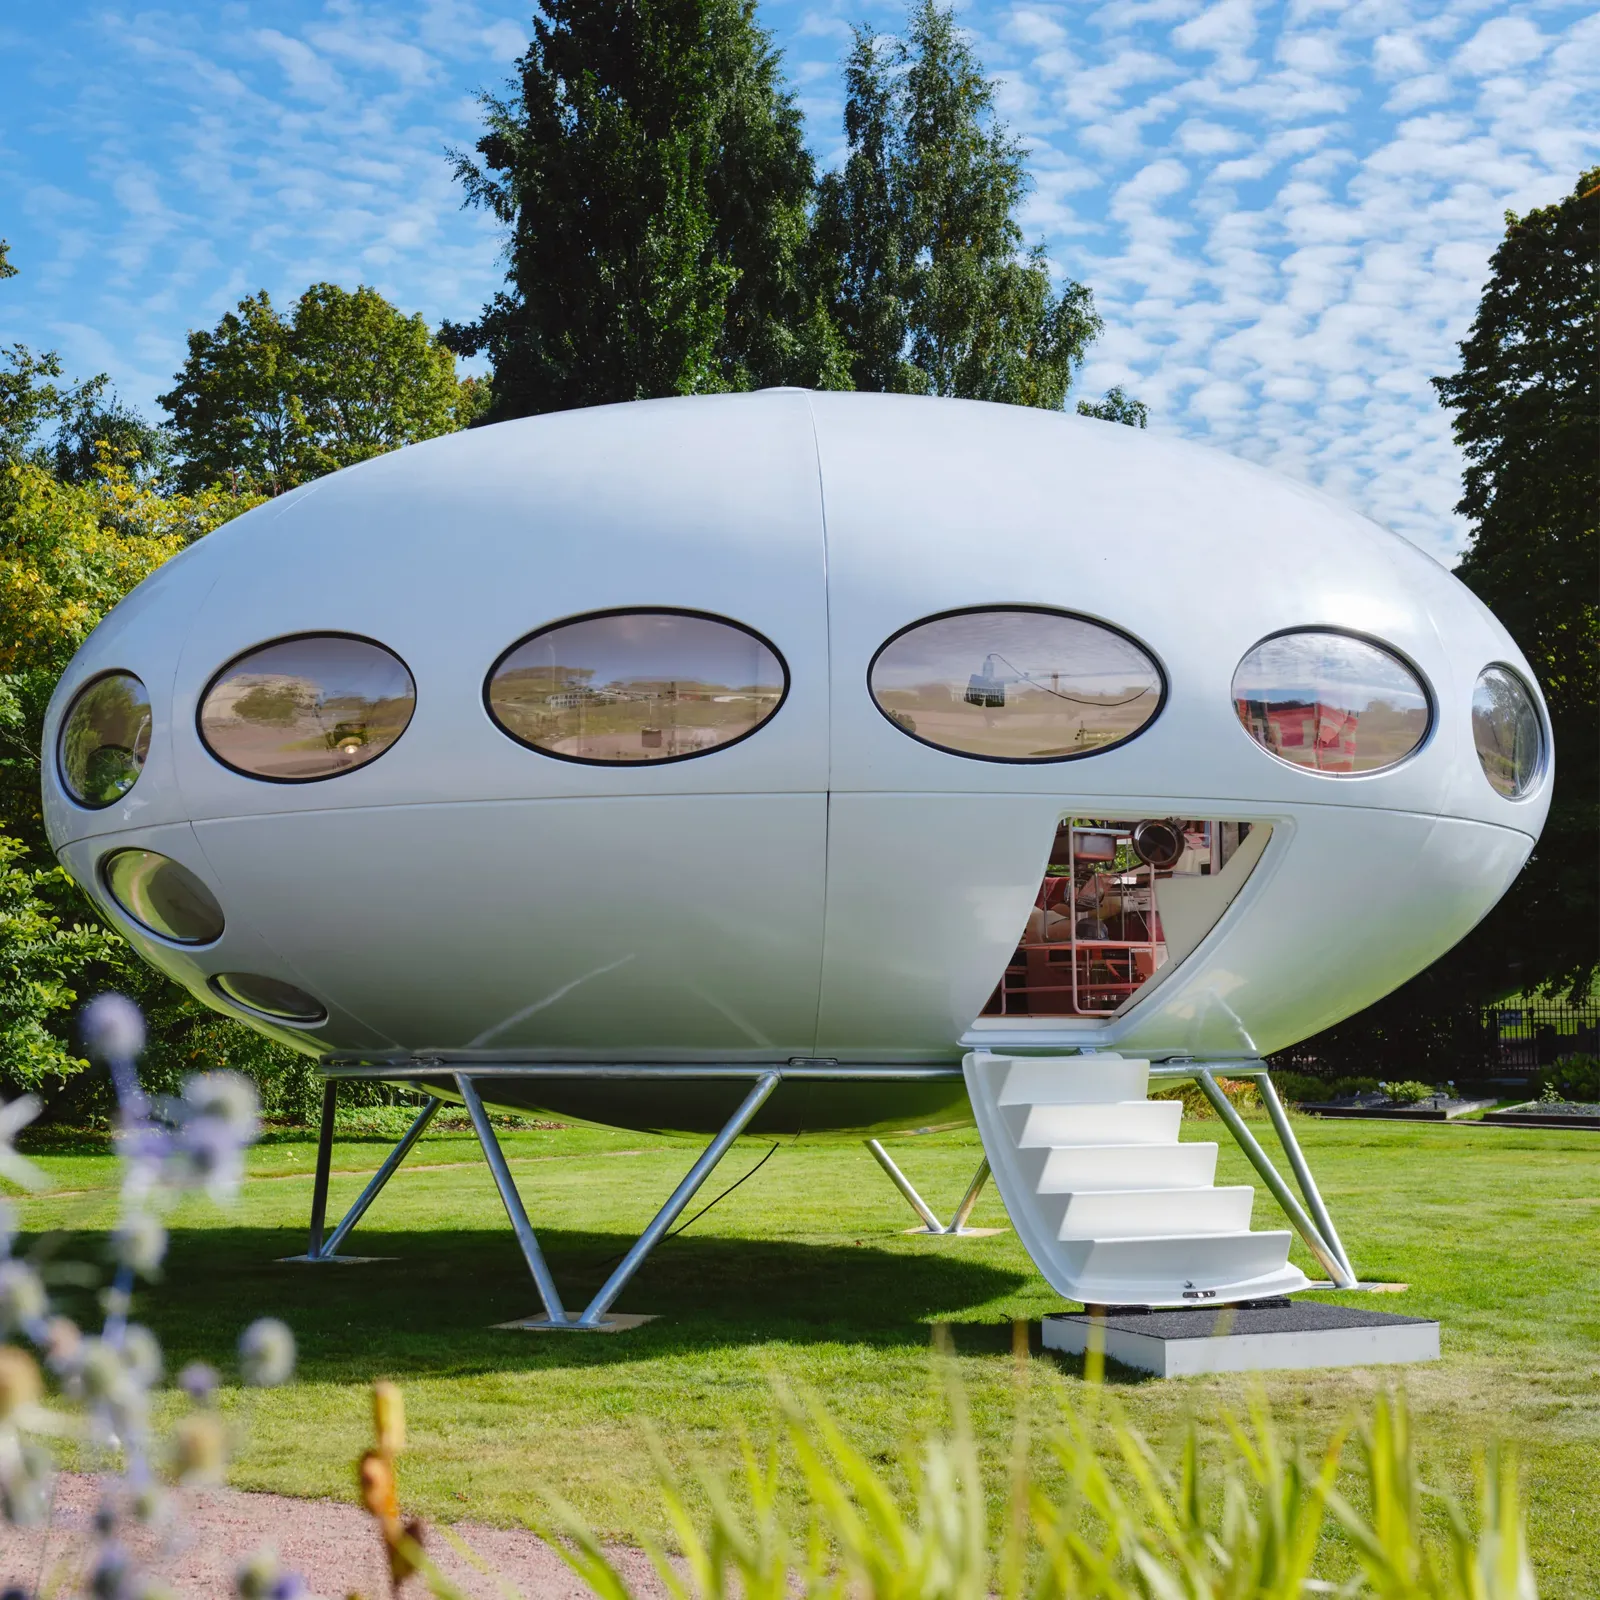
Futuro House Production Revived in Finland After Decades-Long Hiatus
A Facebook listing for abandoned moulds led to the first new Futuro...
 illustrarch Editoral Team3 Mins read
Building Your Dream Home in NSW: What You Should Know About Montgomery Homes
Montgomery Homes has been building across Sydney, Newcastle, the Hunter, Wollongong and...
illustrarch Editoral Team4 Mins read
Designing a Home Theater: Where Drapery Fits Into the Plan
In a media room the curtains are a performance layer, not decoration....
illustrarch Editoral Team3 Mins read

Oscar Niemeyer’s Cathedral of Brasília: The Hyperboloid Concrete Hymn
The Cathedral of Brasília reads as a single gesture, yet it stood...
 Furkan Sen7 Mins read


Leave a comment