

Shopping Mall Bubble Diagram: A Step by Step Retail Planning Guide
A practical guide to the shopping mall bubble diagram: placing anchors so shoppers pass the most frontage, drawing the mall street, attaching food and leisure, and overlaying the service network before any floor plan exists.
 illustrarch Editoral Team6 August 20268 Mins read1.8k

Table of Contents Show
A shopping mall bubble diagram maps anchors, inline retail, food and back of house as connected circles before any floor plan exists. It answers the question that decides whether a mall works commercially: does the route past the shops make sense, and does every visitor walk it?
Retail planning inverts the usual priority. In a house or a school you place the rooms and let circulation fall out of the arrangement. In a mall, the circulation is the product. Rent follows footfall, footfall follows the route, and the route is the thing a bubble diagram tests best. This guide covers how to build one for retail: which spaces to map, the adjacency patterns that repeat across almost every working centre, and the constraints that will break a diagram if you ignore them.
What Is a Bubble Diagram in Shopping Mall Design?
A shopping mall bubble diagram is a freehand sketch in which each circle stands for a retail zone or support function, and the lines between them show how shoppers, staff and goods move. Bubble size carries commercial weight rather than floor area alone, so a department store anchor is drawn large before its lettable area is fixed, because it does the heavy lifting of pulling people into the building.
Retail differs from every other building type in one respect: the diagram has to be read two ways at once. The shopper’s reading asks where I come in, what I pass, where I stop. The operator’s reading asks where goods arrive, where refuse leaves, and how a tenant gets stock to the shop floor without crossing a public route. A diagram that satisfies only the first produces a mall that is pleasant to walk and impossible to run.
If you have not built a bubble diagram before, the general guide to bubble diagrams in architecture covers the notation. This page assumes it and moves straight to retail. For current data on centre formats and how the industry classifies them, the International Council of Shopping Centers publishes the standard definitions.
Why Retail Planning Starts With Circulation
The commercial logic of a mall is easy to state and hard to draw: an inline tenant pays rent in proportion to the number of people who walk past its frontage. The arrangement that earns most is therefore the one that moves the largest number of shoppers past the largest number of shopfronts without the walk feeling like a chore.
That is why the dumbbell plan keeps reappearing. Put a strong anchor at each end of a mall street and shoppers heading from one to the other pass everything in between.

⚠️ Common Mistake to Avoid
Placing a single strong anchor in the middle of the scheme feels balanced and quietly destroys the inline rent. Shoppers walk in, reach the anchor, and leave without passing the smaller units. Two attractions pulling in opposite directions along one route will always expose more frontage than one attraction sitting in the centre of it.
Two other patterns follow from the same logic. Vertical circulation is deliberately offset rather than stacked, so a shopper going up two levels crosses part of each floor instead of riding one escalator bank straight through. And the food court usually sits on the upper level, because hunger is one of the few motives strong enough to pull people upstairs past two floors of shopfronts.
📌 Did You Know?
The two-anchor arrangement goes back to the building type’s origin. Southdale Center in Edina, Minnesota, designed by Victor Gruen and opened on 8 October 1956, was the first fully enclosed climate-controlled shopping mall in the United States, and it opened with two competing department stores, Dayton’s and Donaldson’s, as its anchors.
Free Online Bubble Diagram Maker
Sketch the arrangement here before you commit to a plan. Testing a dumbbell against a single-anchor scheme takes a couple of minutes, and seeing both side by side is more persuasive in a meeting than describing either.
Core Zones to Map in a Retail Bubble Diagram

Trade zones
- Anchors: department stores, hypermarkets, cinemas. Large bubbles, positioned to create pull across the plan.
- Inline retail: the standard units along the mall street. Draw them as a band rather than individual circles at this stage, since you are testing frontage length and not tenancy.
- Food and beverage: split it, because a grouped food court behaves differently from restaurants with their own frontage and evening trade.
- Leisure and entertainment: cinema, gym, play areas. Long dwell times and separate peak hours, which is why they usually sit on upper levels.
Public support
- Entrances from car park, transit and street. Each one decides where a route begins.
- Vertical circulation: escalators, lifts, stairs. Escalators are commercial instruments, not only access.
- Restrooms, family rooms, prayer rooms, customer service. Necessary, and never on prime frontage.
- Seating and rest areas. Dwell time is revenue, and a mall with nowhere to sit empties faster.
Back of house
- Loading dock and goods lifts, with a route from dock to every shop floor.
- Service corridors running behind the inline band.
- Refuse and recycling, on a route that never crosses a public one.
- Plant, management offices and staff facilities.
How to Make a Shopping Mall Bubble Diagram Step by Step
Step 1: Fix the entrances and the anchors first
Everything else follows from these. Mark where people arrive from the car park, from public transport and from the street, then place the anchors so the walk between them passes as much frontage as possible. Do not draw a single inline unit yet.
Step 2: Draw the mall street between them
Sketch the route as a band, not a line. Its width and the way it swells at junctions is where the diagram starts to behave like a building. Keep it legible: if a shopper cannot see the next decision point from where they stand, they turn back.
Step 3: Attach the inline band and note frontage
Line the street with retail on both sides where the plan allows. Single-sided malls halve your frontage for the same walking distance, which is sometimes unavoidable and always expensive.
Step 4: Place food, leisure and the vertical cores
Put the food court where it pulls traffic to the weakest part of the scheme, usually the top level or the far end. Offset the escalators so that changing level means crossing the floor. Then check whether there is any point in the mall from which a shopper cannot see or sign-find their way to a core.
Step 5: Overlay the service layer and test
Draw the dock, the service corridor and the goods lifts as a second network on top of the first. Every trade bubble must connect to it. A tenant that can only be serviced across the public route is a problem you want to find now, not in tender drawings.
💡 Pro Tip
Draw the service network in a second colour on the same sheet, not on a separate diagram. Leasing teams read the public route and forget the dock; keeping both on one page is the fastest way to catch a run of units that can only be serviced across the mall street, which is the change nobody wants to make after the grid is set.
Common Adjacency Patterns in Shopping Centres
| Zone | Keep close to | Keep away from | Why |
|---|---|---|---|
| Anchor store | Mall street end, main entrance | Mid-plan dead ends | Pulls footfall across the inline band |
| Food court | Cinema, upper-level cores, seating | Fashion frontage | Odour and litter devalue adjacent retail |
| Cinema / leisure | Food, upper level | Ground-floor prime frontage | Long dwell, evening peak, low frontage value |
| Restrooms | Food court, cores, play area | Shopfront frontage | Needed where dwell is longest, worth no rent |
| Loading dock | Service corridor, goods lifts, road access | Every public entrance | Vehicle movement and noise near shoppers |
| Supermarket | Car park, trolley route, dock | Upper levels | Heavy goods and trolleys need level access |
| Play area | Food court, family restrooms, seating | Main circulation crossings | Supervision needs a bounded, visible pocket |
Constraints That Will Break a Retail Diagram

Every tenant needs a back door. This is the constraint that most often forces a whole rearrangement. If your service corridor cannot reach a run of units, that run has to move, and moving it changes the street.
Fire strategy and travel distances shape a mall more than they shape most building types, because the spaces are large, open and full of people. Escape routes, smoke reservoirs and compartmentation belong in the conversation at diagram stage; the NFPA 101 Life Safety Code is the usual reference in North America, and most other jurisdictions have an equivalent.
Level change is expensive commercially. Every floor above ground trades at a discount, and each one you add increases the burden on vertical circulation to keep it viable. If the diagram needs four levels to work, question the brief before you question the diagram.
Car park connection deserves full weight. Where the car park meets the mall is effectively a second front door, and it is often the busier one. Treat it as an entrance bubble, not a service connection.
Building codes, fire regulations and lettable area conventions vary by jurisdiction. Verify local requirements with the relevant authority before applying any of the arrangements described here.
From Bubble Diagram to Mall Floor Plan

Then lay the grid. Retail is unusually sensitive to column positions, because a column in the middle of a shopfront is a permanent leasing problem. Expect the grid to push your tenancy lines around, and go back to the bubble diagram rather than forcing the plan. Built examples are worth studying alongside your own sketch; ArchDaily’s shopping centre archive shows how the arrangement resolves at very different scales.
Frequently Asked Questions
What is a shopping mall bubble diagram?
It is an early-stage diagram in which anchors, inline retail, food, leisure and back of house are drawn as connected circles to test the shopper route and the servicing strategy before any floor plan is drawn.
Where should anchor stores go in a mall bubble diagram?
At opposite ends of the mall street, so shoppers moving between them pass the maximum length of inline frontage. A single central anchor lets people enter and leave without seeing the other tenants.
Why is the food court usually on the upper floor?
Upper levels trade at a discount and need a reason to draw people up. Food is a strong enough motive, and the walk to it passes two levels of shopfronts.
How detailed should a retail bubble diagram be?
Detailed enough to show every zone and both circulation networks, public and service, and no more. Individual tenancies belong in the schedule, not the diagram.
Does the same method work for a retail park or a high street scheme?
Yes, with the route redefined. In a retail park the route is the car park edge; on a high street it is the pavement. The question the diagram answers does not change: what does the shopper pass, and how do goods get in.
What This Means for Your Next Project
Bottom Line: A mall plan succeeds or fails on one measurement, which is how much shopfront a visitor walks past between the two things that brought them there. Draw that route first, hang everything else off it, and overlay the service network before you commit, because the servicing problem is the one that forces you back to the beginning.
Sketch two arrangements in the bubble diagram maker, one dumbbell and one with a single anchor, and compare the frontage each puts on the route.
Other building types planned the same way: school design, hospital design, and residential projects. To see the notation in finished work, browse the annotated bubble diagram examples. When the route itself becomes the design problem, the circulation diagram guide picks up where this one stops.







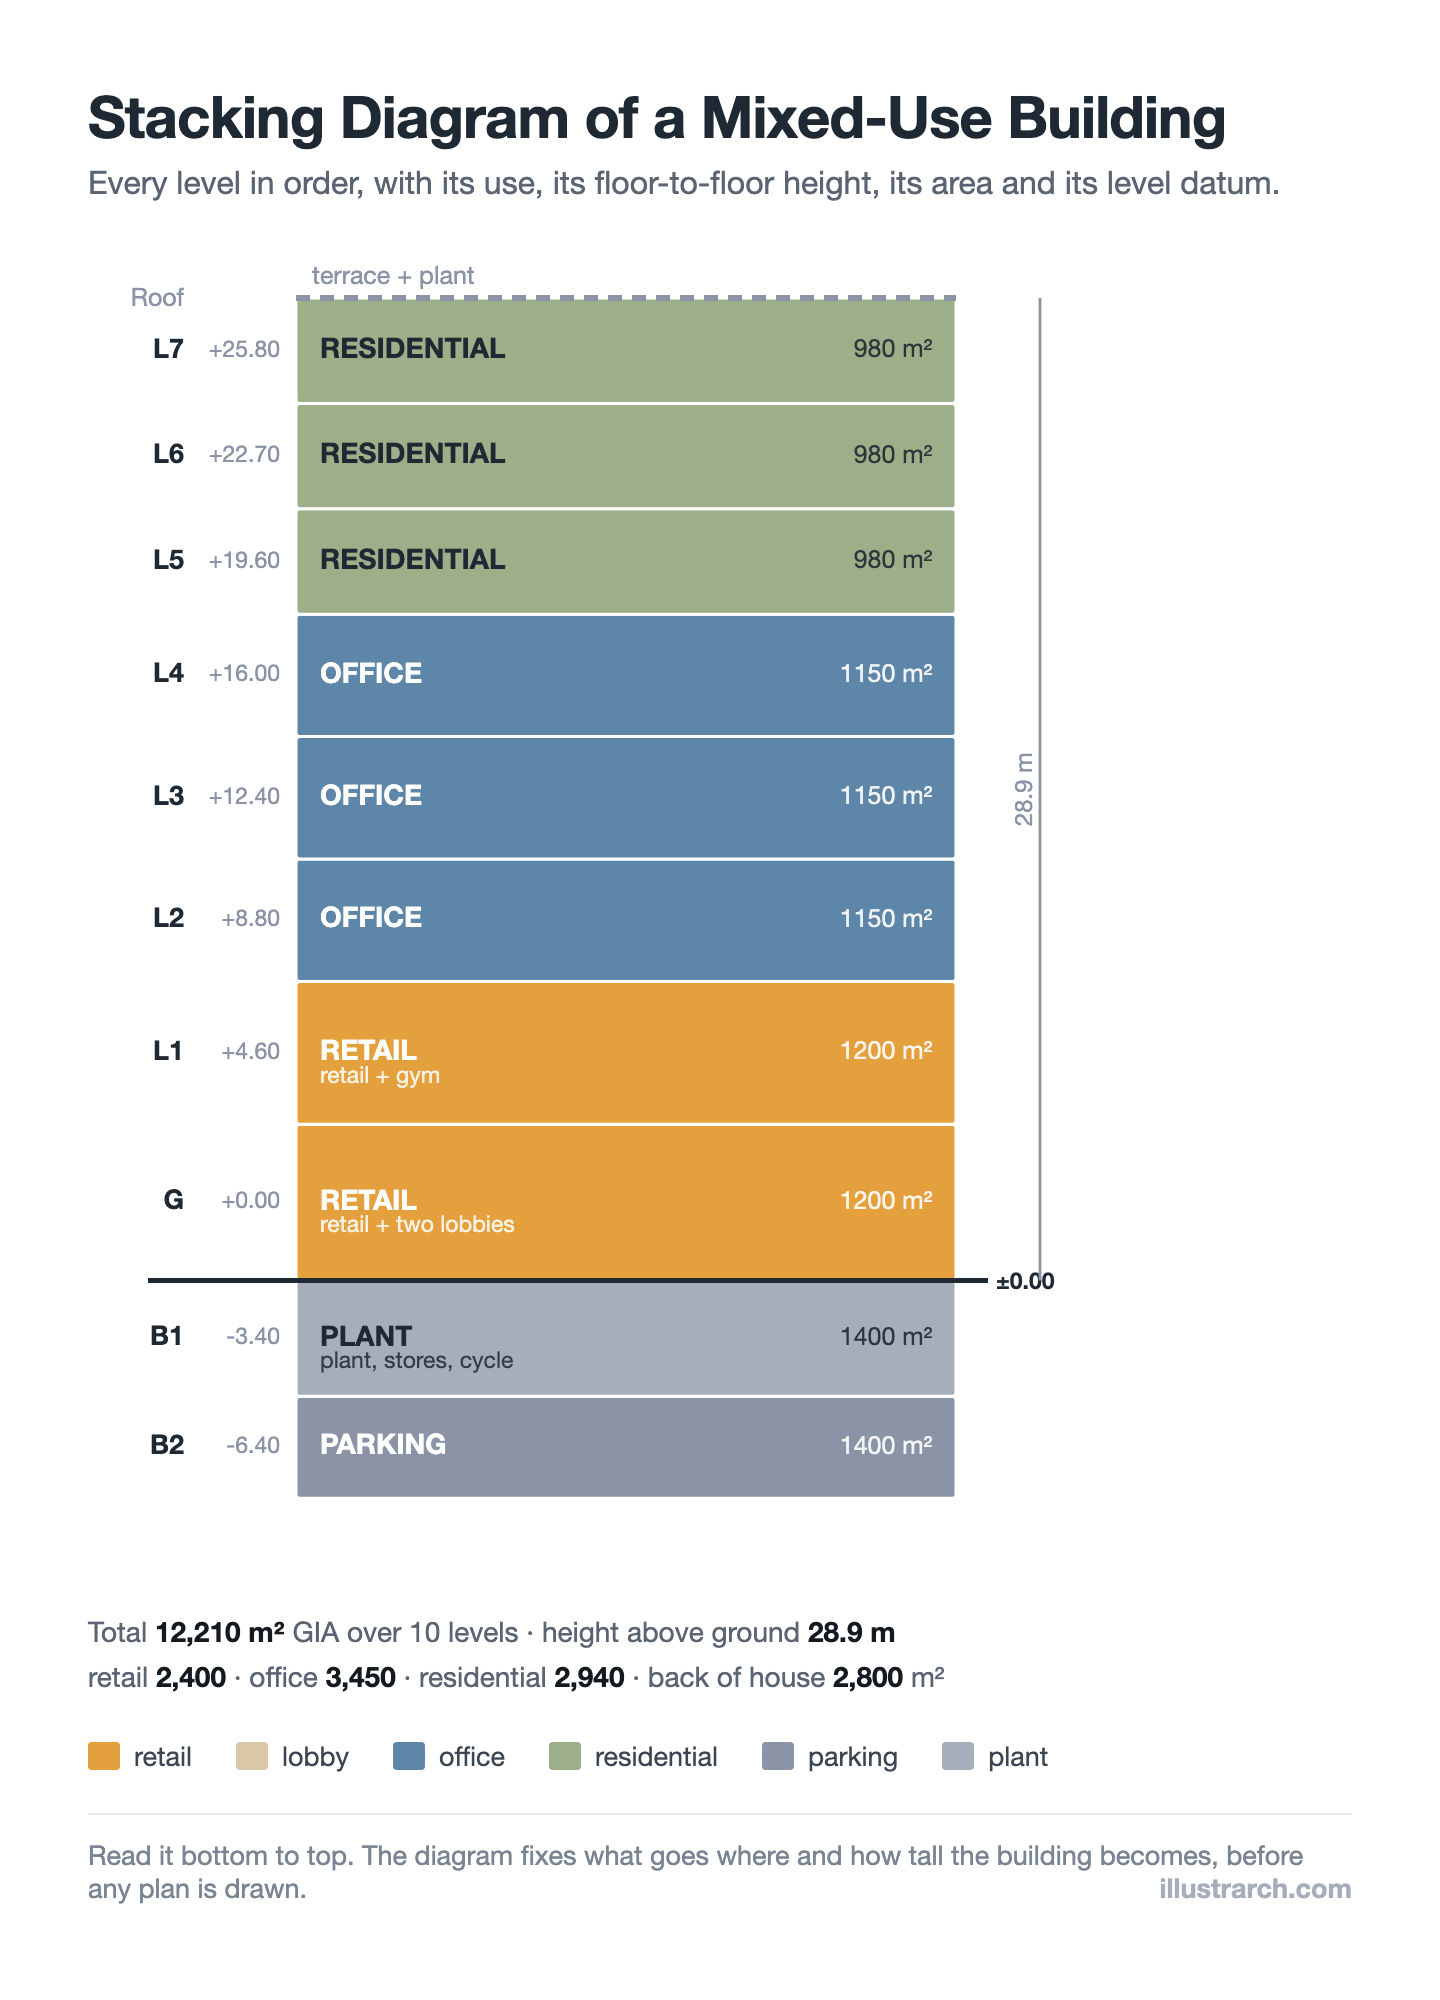
Stacking Diagram: How to Allocate Uses Floor by Floor
A stacking diagram assigns each use in a brief to a level,...
 Sinan Ozen6 Mins read
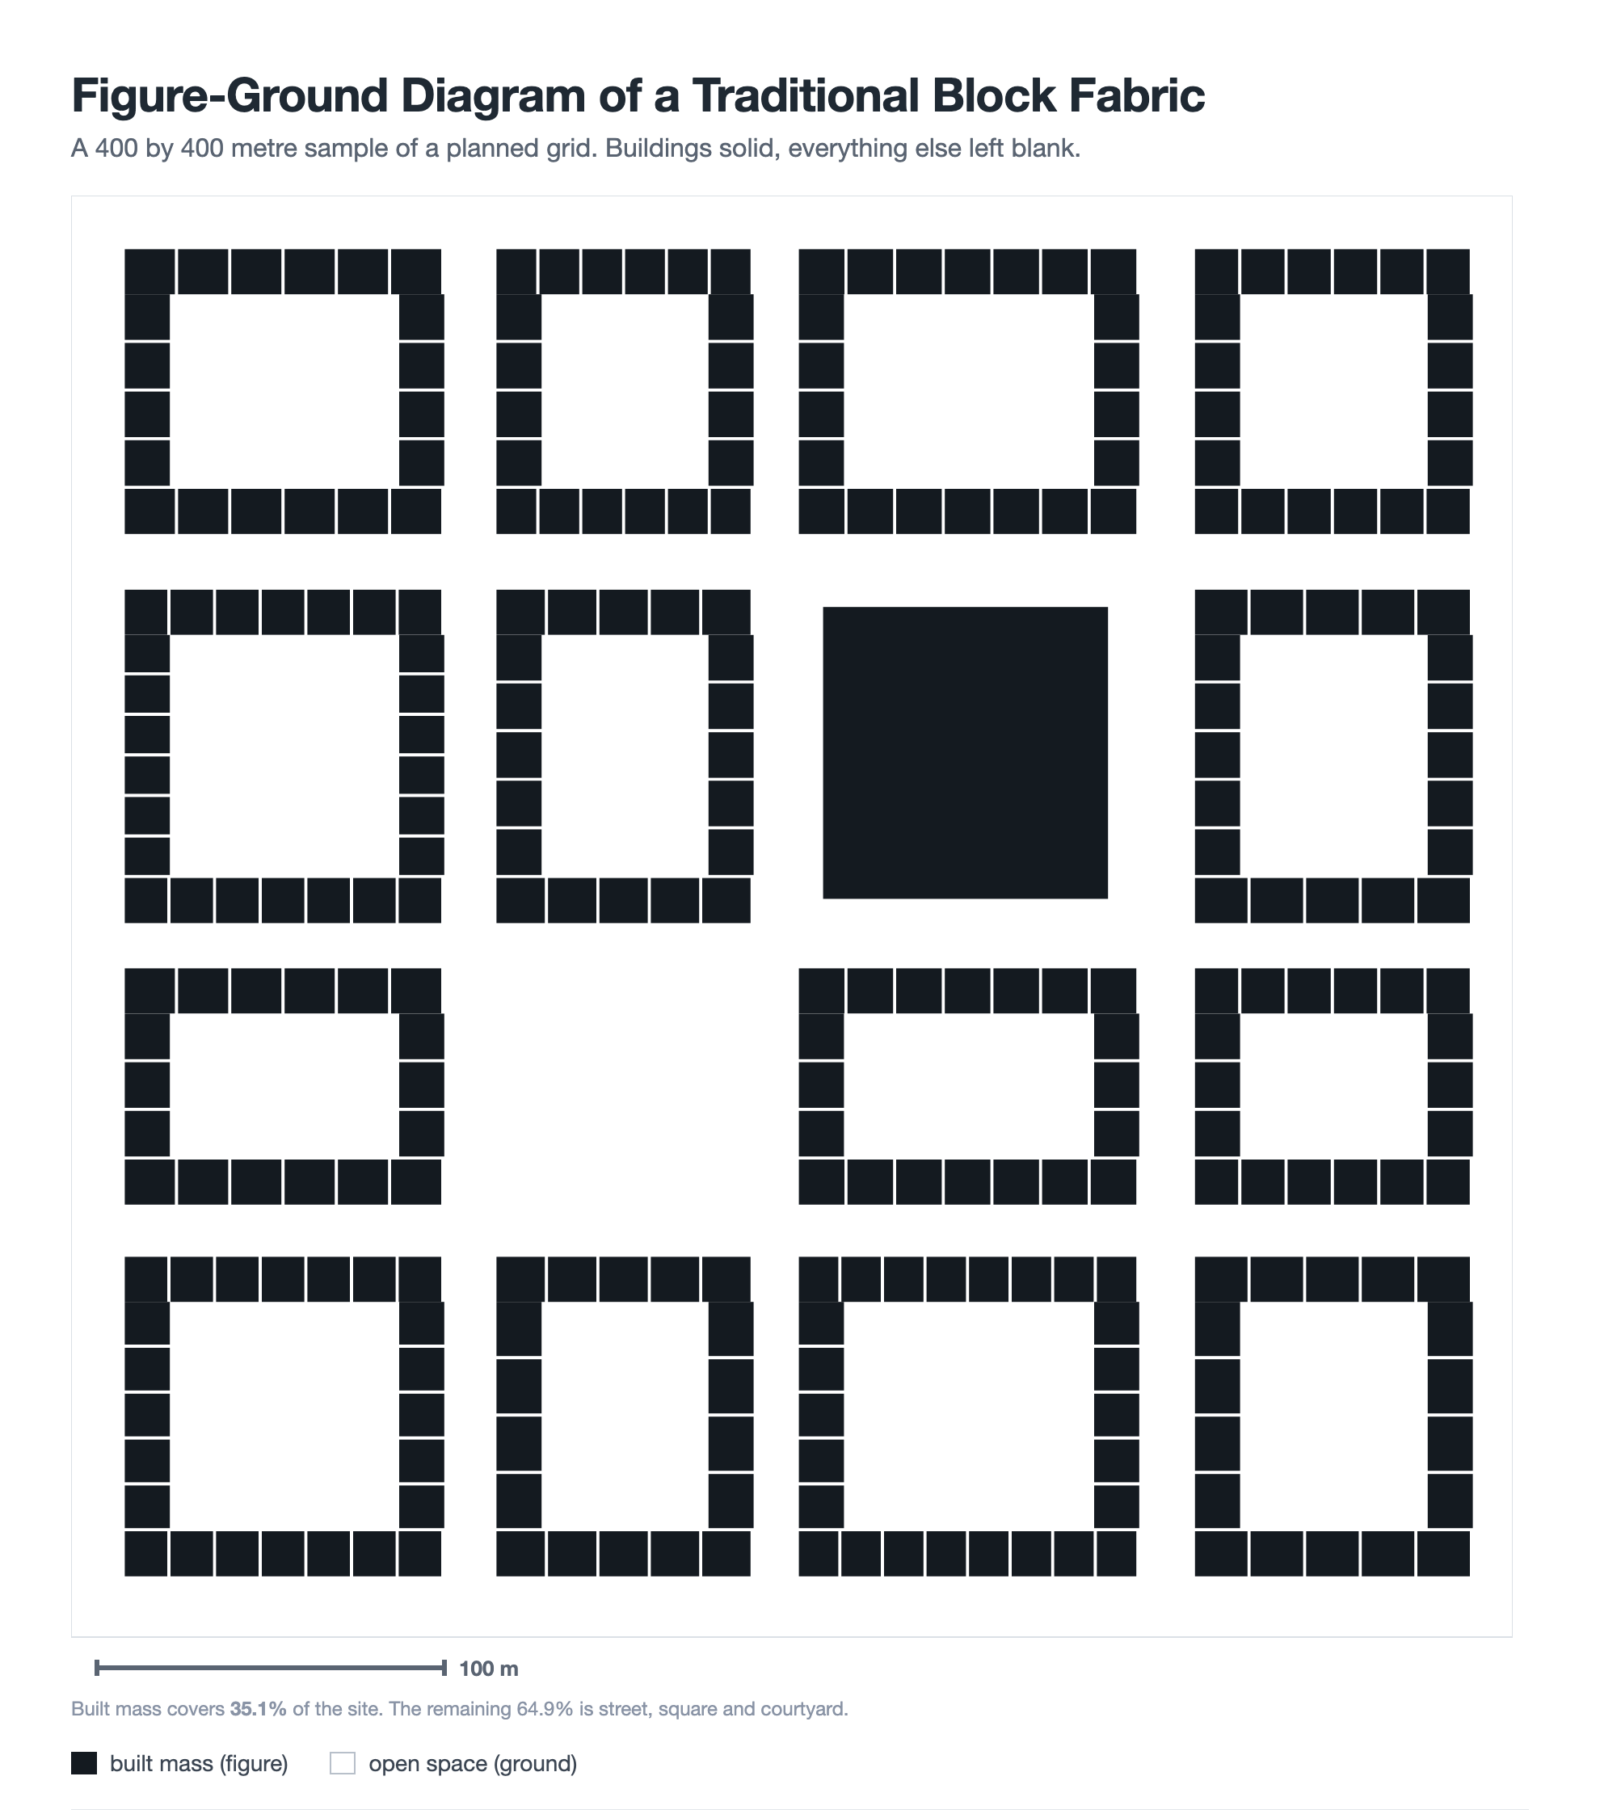
Figure-Ground Diagram: How to Draw and Read Urban Fabric
A figure-ground diagram reduces a city to built mass against open space....
Sinan Ozen7 Mins read
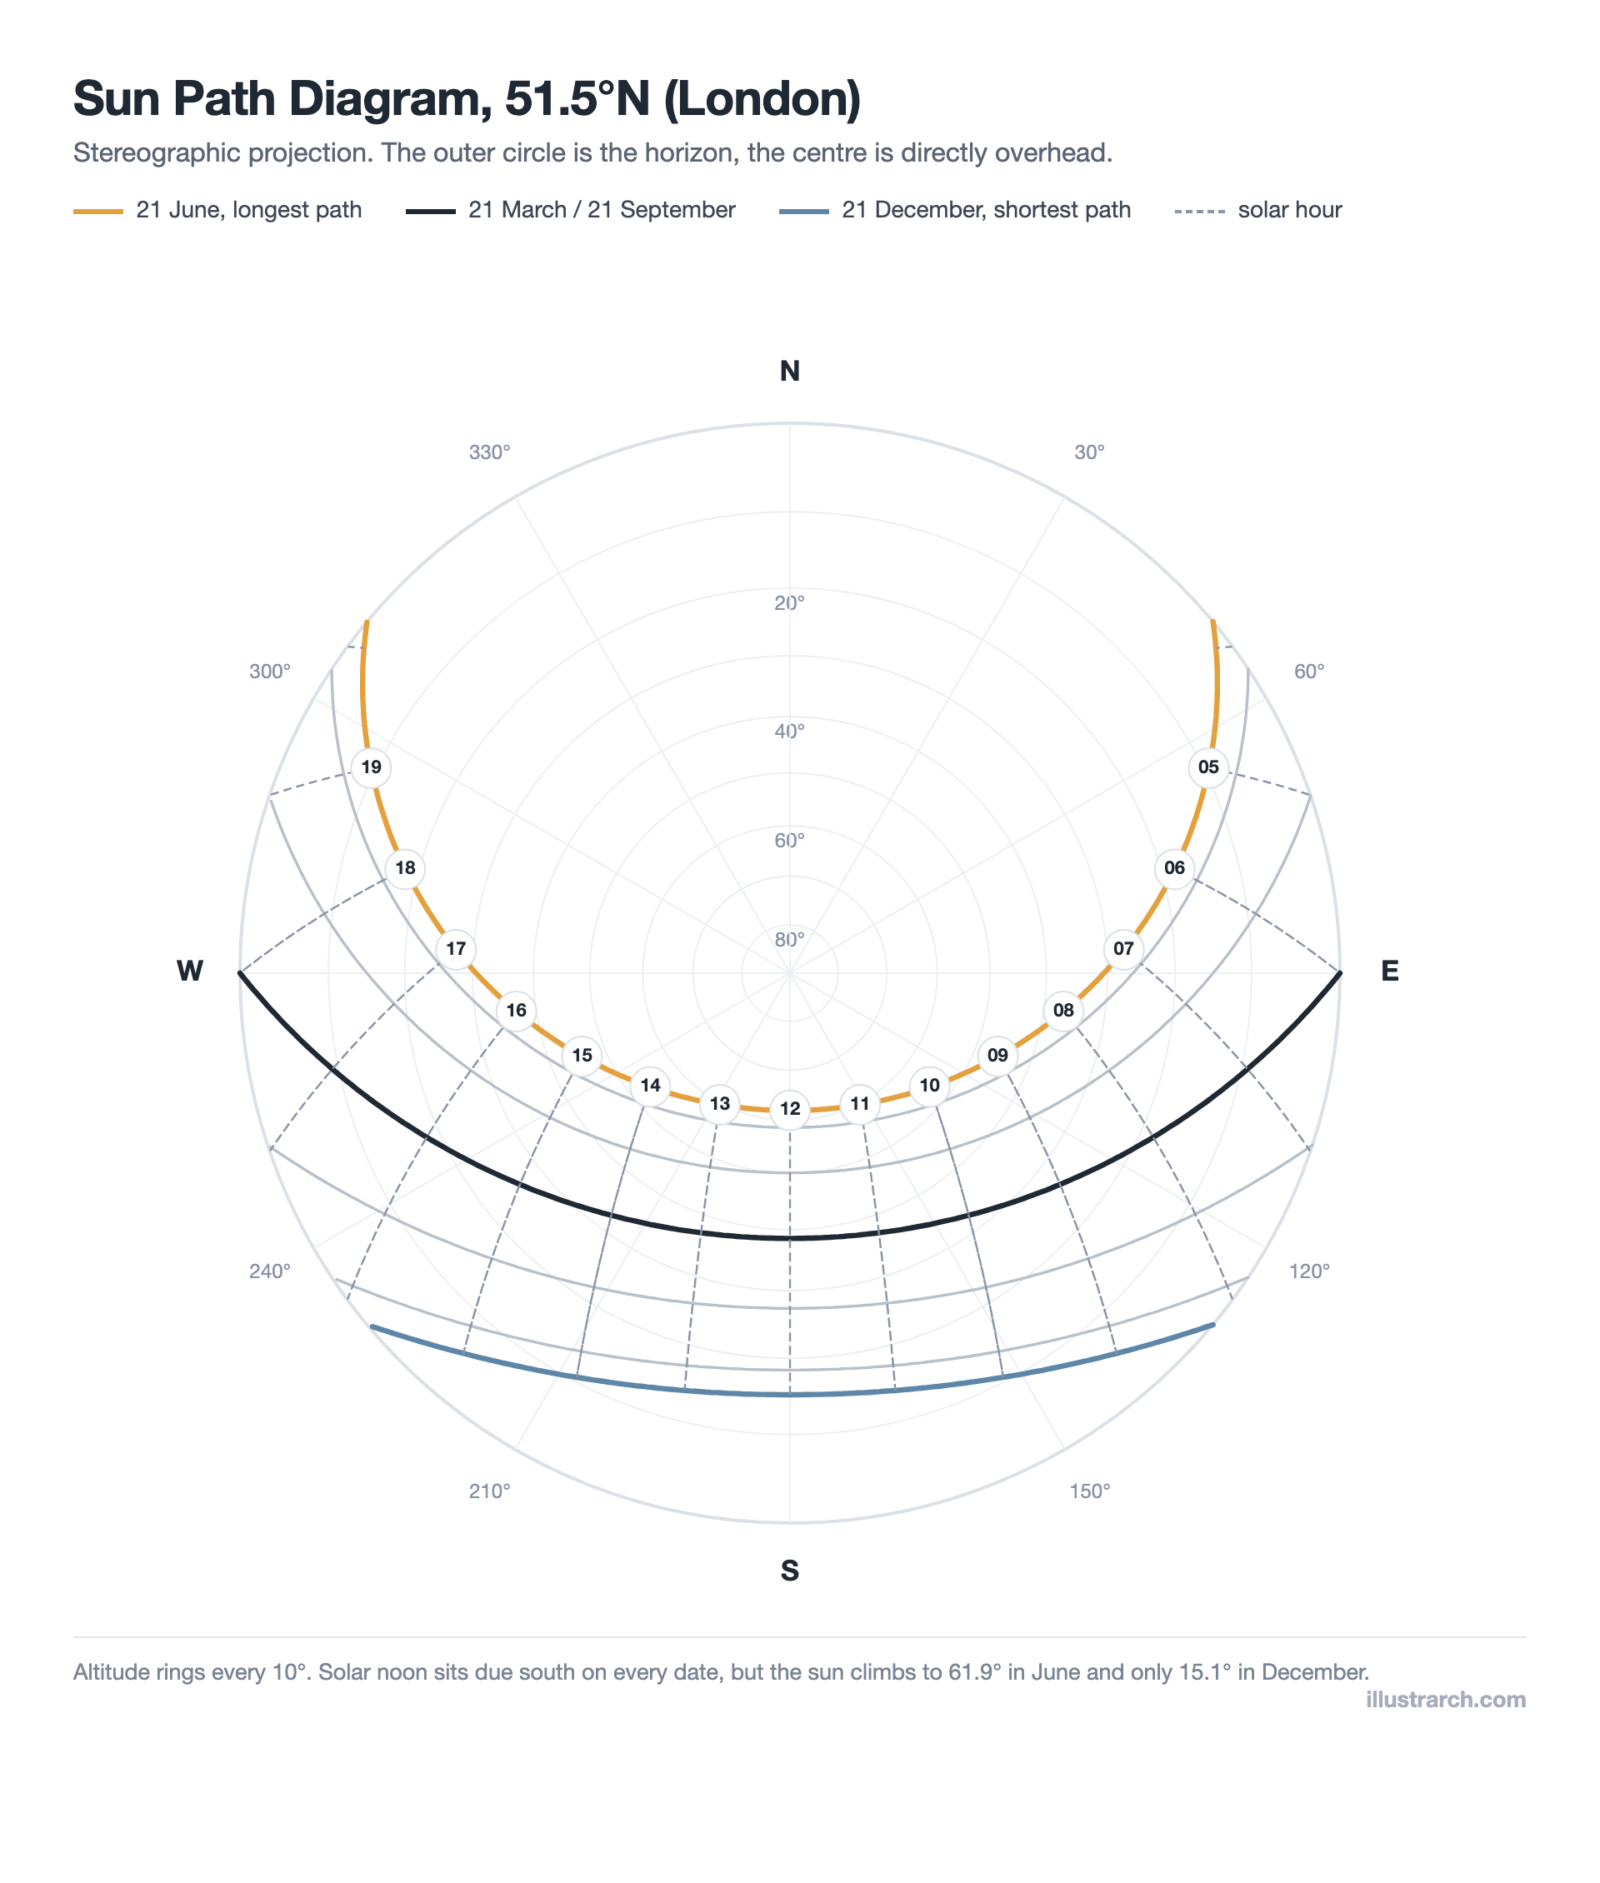
Sun Path Diagram: How to Read One and Use It in Design
A sun path diagram shows where the sun sits all year for...
Sinan Ozen8 Mins read
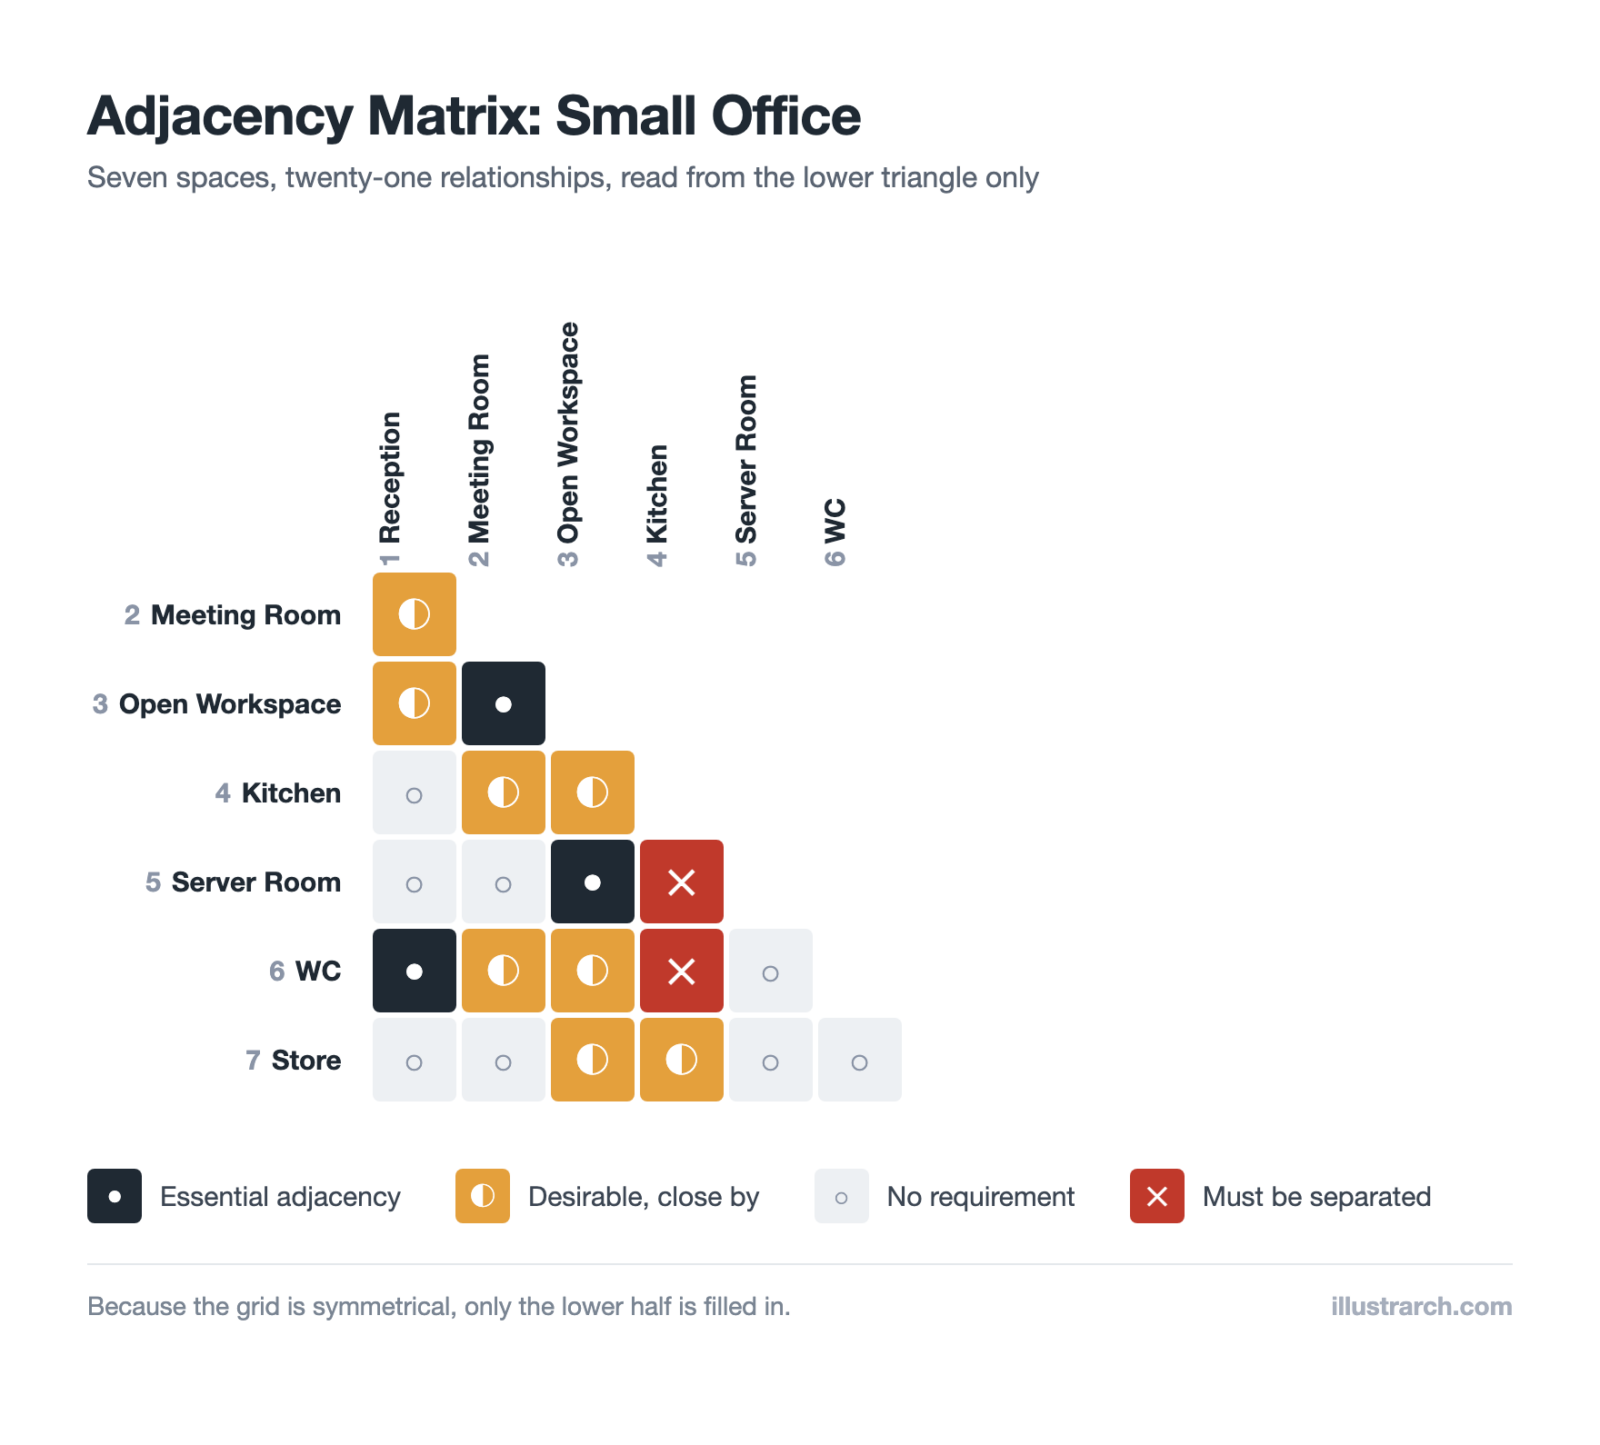
Matrix Diagram in Architecture: How to Map Space Adjacencies
A matrix diagram, or adjacency matrix, maps how every space in a...
Sinan Ozen8 Mins read


Leave a comment